Honda Civic: How to Replace Tie Rod Ends
Faulty tie rod ends in your car can result in accidents. Learn how to replace them yourself and save on professional costs involved.
This article applies to the Honda Civic/Del Sol (1992-2000).
The steering system for your car has tie rod ends that "tie" your steering rack to the steering arm connected to the wheels. They also transmit force from the rack gear to the steering knuckle, which causes the wheels to turn and also keeps the wheels aligned. The function of a tie rod end is friction-intensive, resulting in wear and tear. As a result, when they wear out, you may experience the car pulling to one side, uneven tire wear, shaky steering, or hearing a knocking sound coming from the wheels especially when parking or at low speeds. These things indicate the need to replace the tie rod ends; this article explores exactly how to do it, plus the costs of doing it yourself, versus a garage, and how much time it will take.

Materials Needed
- 17mm socket/ratchet
- 19mm combination wrench
- Pliers
- Hammer
- Jack
- Liquid Wrench or other lubricant
Step 1 – Lift up the front wheels
With the emergency break on, secure the rear wheels with a chock. Use your 19mm socket to loosen the front wheel lug nuts while the car is on the ground. Then, raise the front up and remove the wheels completely. Secure the vehicle on jack stands before beginning any work, as you will need to get under the car for access.
(Related Article: How to Jack Up Your Civic - Honda-Tech.com)

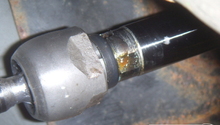
Step 2 – Remove the lock nut
Using the wrench, remove the lock nut on the end of the tie rod end. Then, remove the castle nut's cotter pin with pliers at the base of the tie end rod, next to the steering knuckle. Then, remove the castle nut with a 17mm socket.
Pro Tip
Lubricating the area where the lock nut is located makes the removal task easier; use Liquid Wrench or something similar.
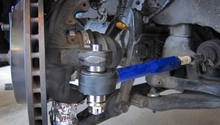
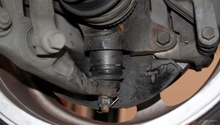
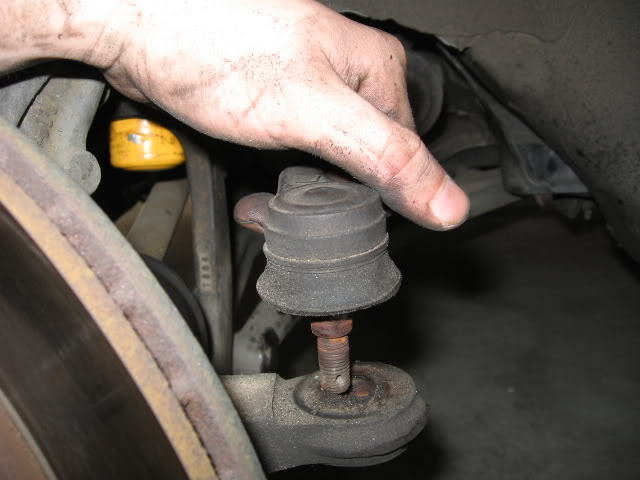
Step 3 – Remove old tie rod ends
Remove the old tie rod ends from the steering knuckle by tapping it with a hammer or by hand. Alternatively, you can use a tie rod end separator to remove it. If removing it is hard due to rusty threads, lubricate them and use a wrench to remove them (tie end rods).
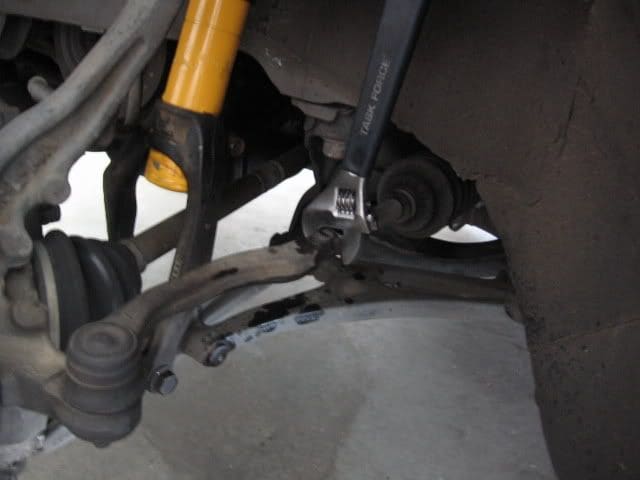
Step 4 – Install new tie rod ends
Once the old tie rod ends are removed, lubricate all the threads. Then, bolt in the nuts and washers that came with the new tie rod ends and screw in the new tie rod ends. Apply the right torque so that the tie rod ends are tight enough when anchored on the steering knuckle.

Pro Tip
Adjust the length of the new tie rod to match that of the old one; this way, you minimize any difference in wheel alignment.
Step 5 – Install the lock nut
Put back the castle nut, followed by the cotter pin. The last to be put back is the lock nut.
Pro Tip
Once everything is completed, take the car in for a wheel alignment. Even a slight variance in tie rod length will change the alignment and cause poor tire wear.
Related Discussions
- Tie Rod End Replacement - Honda-Tech.com
- Tie Rod Discussion - Honda-Tech.com