Honda: How to Replace Wheel Bearings and Lower Ball Joints
The wheel bearings and lower ball joints are two of the most important parts connecting to your wheels. This how-to will show you how to replace them on your Honda Civic.
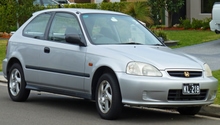
This article applies to the Honda Civic (1992-2000), and Accord (1990-2002).
If one of your wheels isn't spinning or turning like it's supposed to, it could be a problem with your wheel bearings or lower ball joints. At a shop these would be costly to replace. This how-to will show you the way to replace the wheel bearings and lower ball joints yourself.

Materials Needed
- Wheel bearing adapter kit from Harbor Freight Tools
- Ball joint press kit rented from AutoZone
- Grinder
- Ratchet with socket set
- Needle nose pliers
- Flat head screwdriver
- Jack-handle
- Heavy hammer
- Penetrating oil
- Grease
- Jack and jack stands
Step 1 – Lift the car and remove the wheel, caliper and steering knuckle
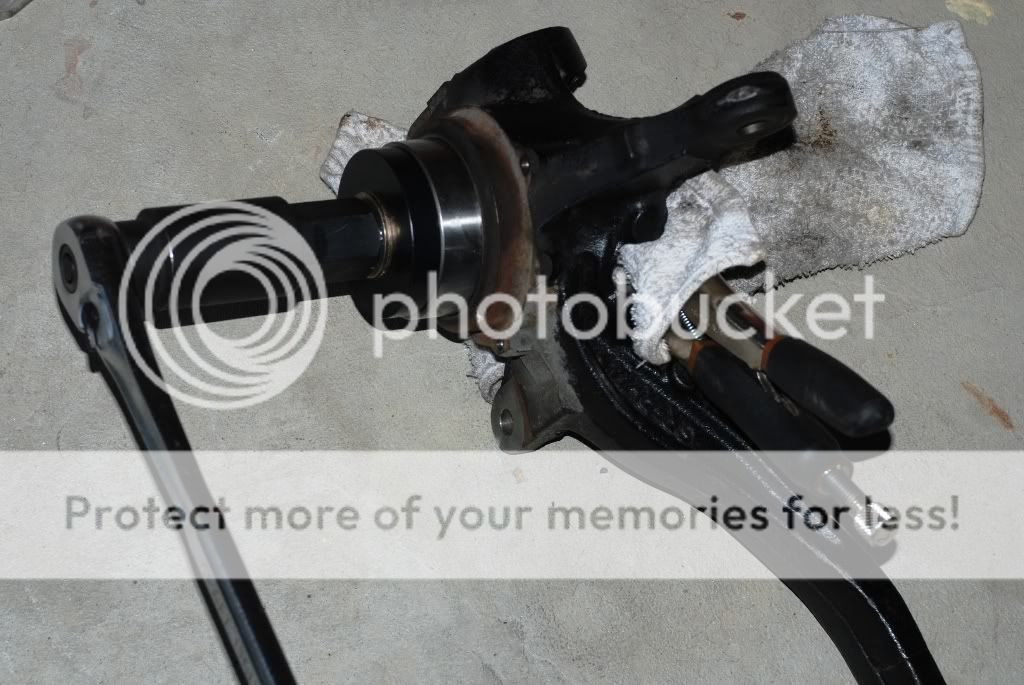
Set the car on jack stands. Then, remove the wheel and brake caliper. Set the caliper where it won't hang on the brake hose. Remove the rotor and axle nut. Pull off the cotter pins on the ball joints and tie rod. Disconnect the tie rod, remove the bolts for the ball joints, and then pull out the steering knuckle.

Related Articles
- How to Jack Up Your Accord - Honda-Tech.com
- How to Jack Up Your Civic - Honda-Tech.com
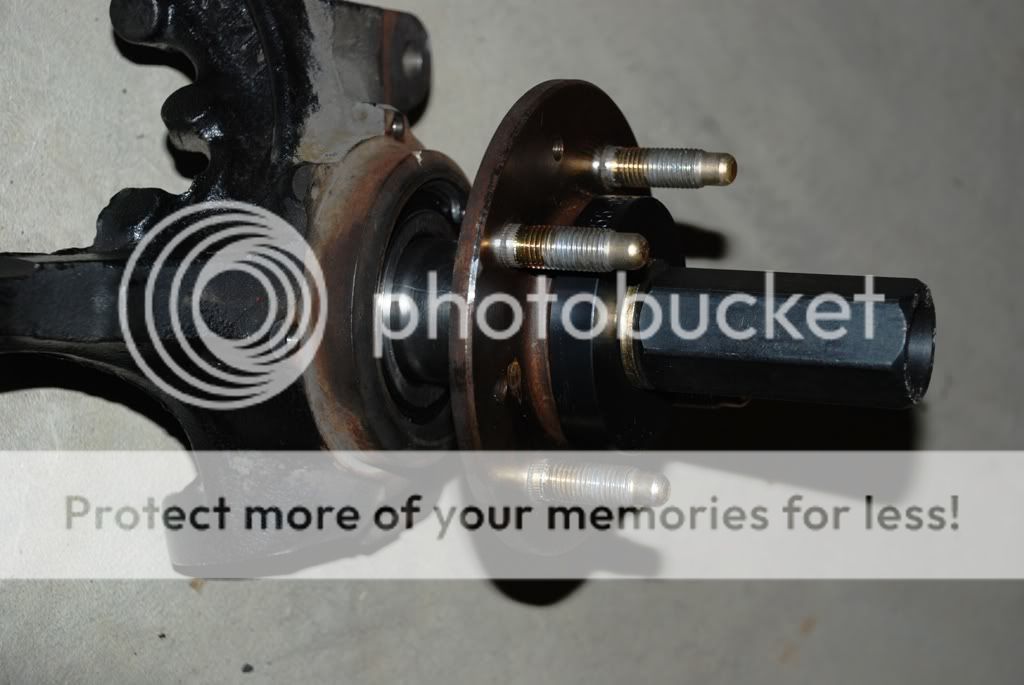
Step 2 – Remove the hub and wheel bearing
Set the steering knuckle between two blocks of wood, and put a large socket over the hub that won't graze the knuckle. Hit the socket with a hammer to knock out the hub.
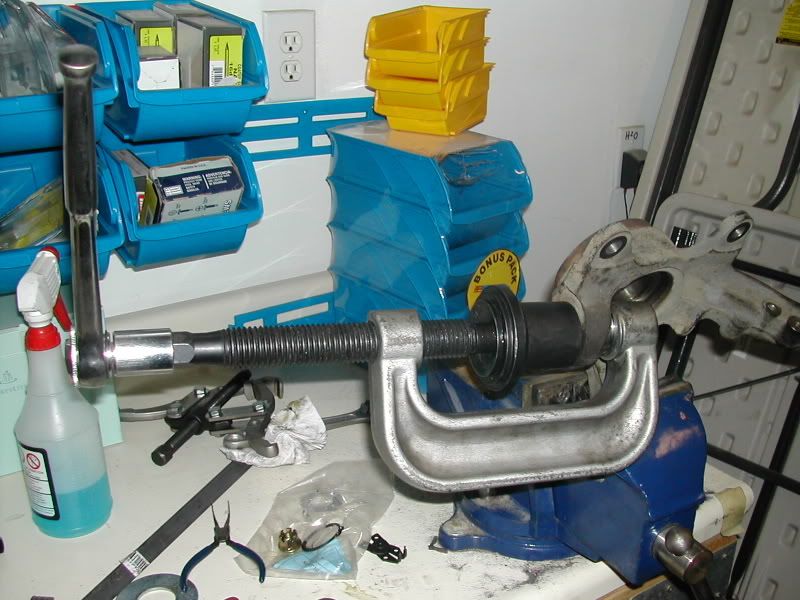
Secure the steering knuckle on a vice. Remove the circlip. Thread the long bolt with cup and adapters from your wheel bearing adapter kit through the wheel bearing, and attach a 32mm hub socket to the other end. Torque the socket to press the wheel bearing loose.
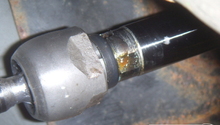
To remove the inner bearing race from the hub, cut a shallow groove into it with a grinder. Then hit it with a hammer, and chisel to crack it. Keep chiseling it until the gap is wide enough to pull it out.

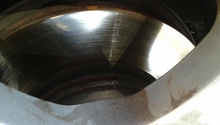
Figure 2. Knock out the wheel hub. 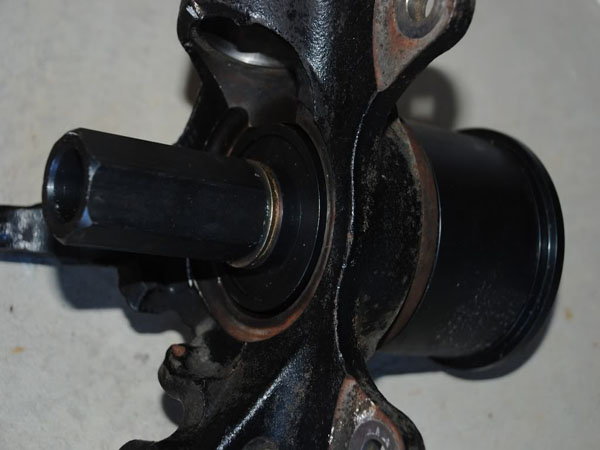
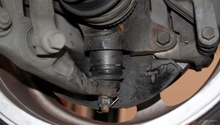
Figure 3. Remove the wheel bearing.
Step 3 – Install new wheel bearing
Grease the new wheel bearing and hub before you start pressing. You want the discs from the kit pressing on the outer bearing race, so you don't damage the wheel bearing.
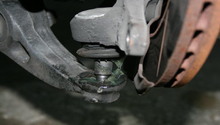
Step 4 – Remove the lower ball joint
Adjust the steering knuckle in the vice to access the lower ball joint. Remove the lower ball joint boot and snap ring. The lower ball joint press kit should come with a series of attachments that fit together along with a C-clamp. Attach this to the lower ball joint, and crank it to remove the old ball joint.

Step 5 – Attach new lower ball joint
Use your kit to attach the new lower ball joint (in the similar way to how you removed the old one) by cranking the clamp and pressing the ball joint.
Step 6 – Reattach the hub and steering knuckle
Use the wheel bearing adapter kit to press the hub back into the steering knuckle. Reattach the steering knuckle, rotor, caliper, and wheel. Then, you're all done.
Featured Video: How to Replace Wheel Bearing
Related Discussions
- How to Install Wheel Bearings/Lower Ball Joints - Honda-Tech.com
- How to Use the Wheel Bearing Tool Kit - Honda-Tech.com
- How to Use the Ball Joint Tool Kit - Honda-Tech.com