Honda Civic: How to Replace Front and Rear Control Arms
Control arms help keep the tires caster correctly positioned. When these units fail, the geometry of the tires goes along with it, causing static steering issues and excessive wear on your tires. With this article, you will learn how to safely replace your worn front and rear control arms.
This article applies to the Honda Civic (1992-2000).
There are four control arms positioned in the front and back of the chassis, with an upper and lower control arm for each wheel. The upper control arms are used to aim the directions of the tire, while the lower controls arms support the hub assembly. Each control arm is made up of steel and rubber bushings, which allow many of the roads vibrations to travel through each system and limit the turbulence in the cabin. Unless you own a race car you will find that control arms rarely break, but the bushing used in them will eventually wear out. Sometimes, the bushing can be pressed out; however, most replacement parts are less expensive then the cost of doing the procedure, so the easiest way to repair it will be to replace the whole unit.

Materials Needed
- 3/8" ratchet
- Metric socket set
- Pliers
- Pickle fork
- Tire iron
- Hammer
- Jack and jack stands
Step 1 – Prep the wheels
Loosen the lug nuts on the side of the vehicle that will be worked on, and then proceed to jack the car up. Secure the chassis using jack stands, and remove the wheels.

(Related Article: How to Jack Up Your Civic - Honda-Tech.com)
Step 2 – Remove the castle nut
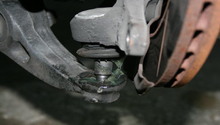
The upper control arm has a castle nut with a cotter pin in front of it. Use the pliers to remove the cotter pin. Then, use a 17mm socket to loosen the castle nut. Once the nut is off, grab your pickle fork to pry the upper ball joint off.
Step 3 – Remove the upper control arms
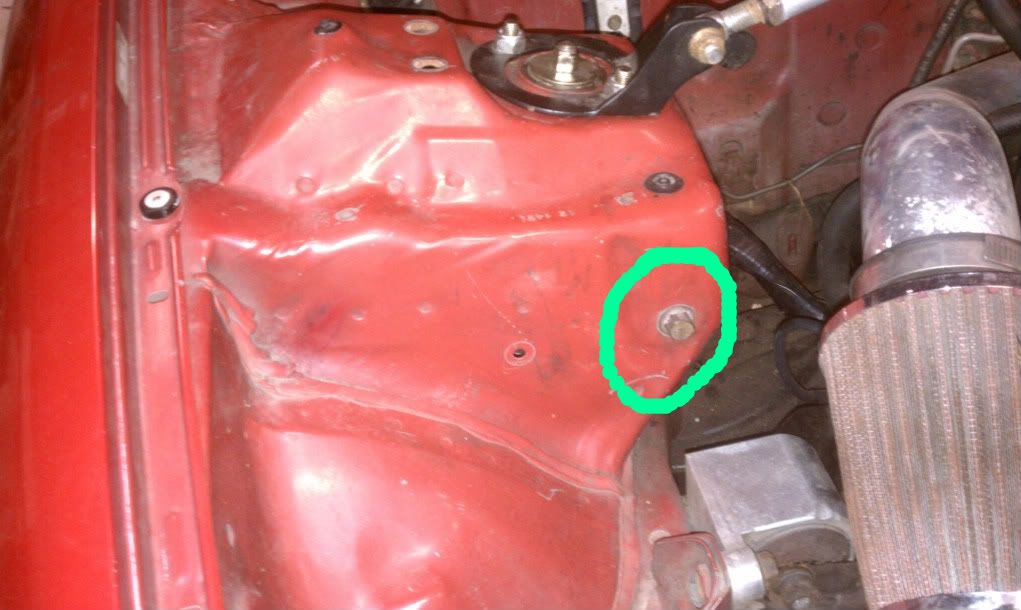
Access the 14mm mounting bolts located inside the engine compartment. They are both located on the strut tower. Remove the upper control arm.
Step 4 – Install the new control arms
Install the new upper control arms. Bolt the mounting bolts on the strut tower, and place a new cotter pin onto the upper control arm ball joint.
Step 5 – Remove and replace the lower control arm
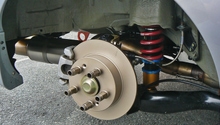
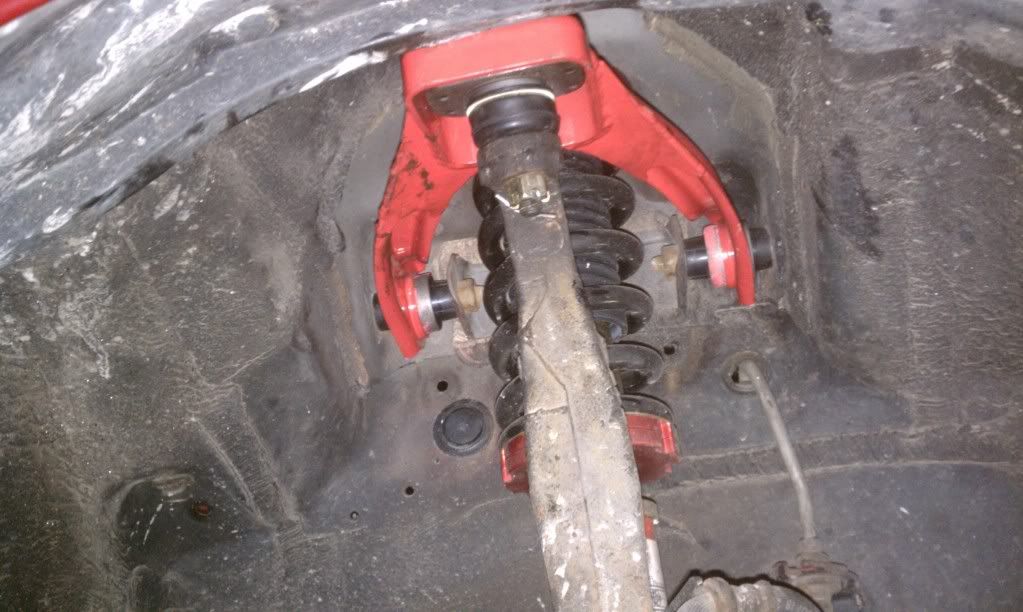
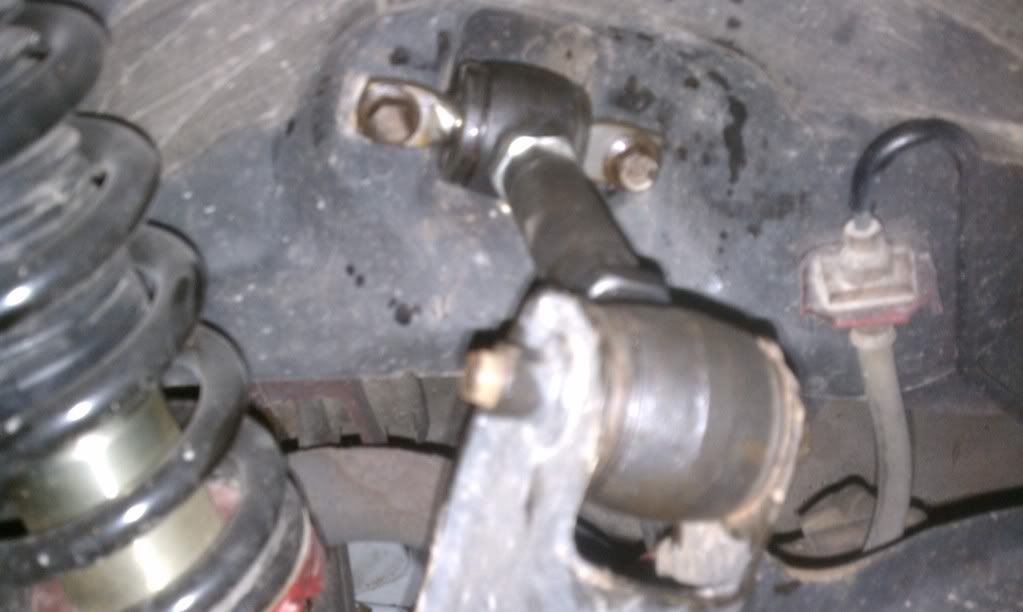
Front: The lower control arm is held in place with two pivot bolts, sway bar end-links, and a lower ball joint. Use a pickle fork to remove the ball joint. Loosen the sway bar end-links and pivot bolts. Then, remove the lower control arm.
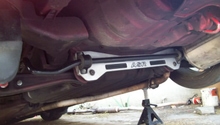
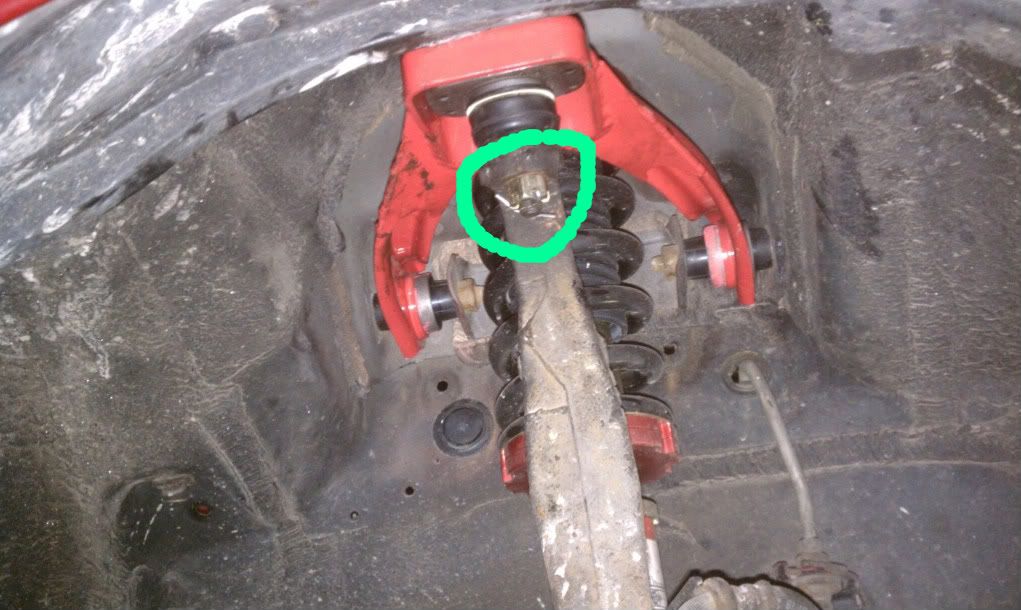
Rear: The rear lower control arm is held in place with two 14mm bolts that hold the strut fork and hub assembly. There is one more 14mm bolt holding the lower control arm to the rear sway bar, which you will need loosen and remove it. Then, replace the lower control arm.

Figure 5. Front lower control arm. 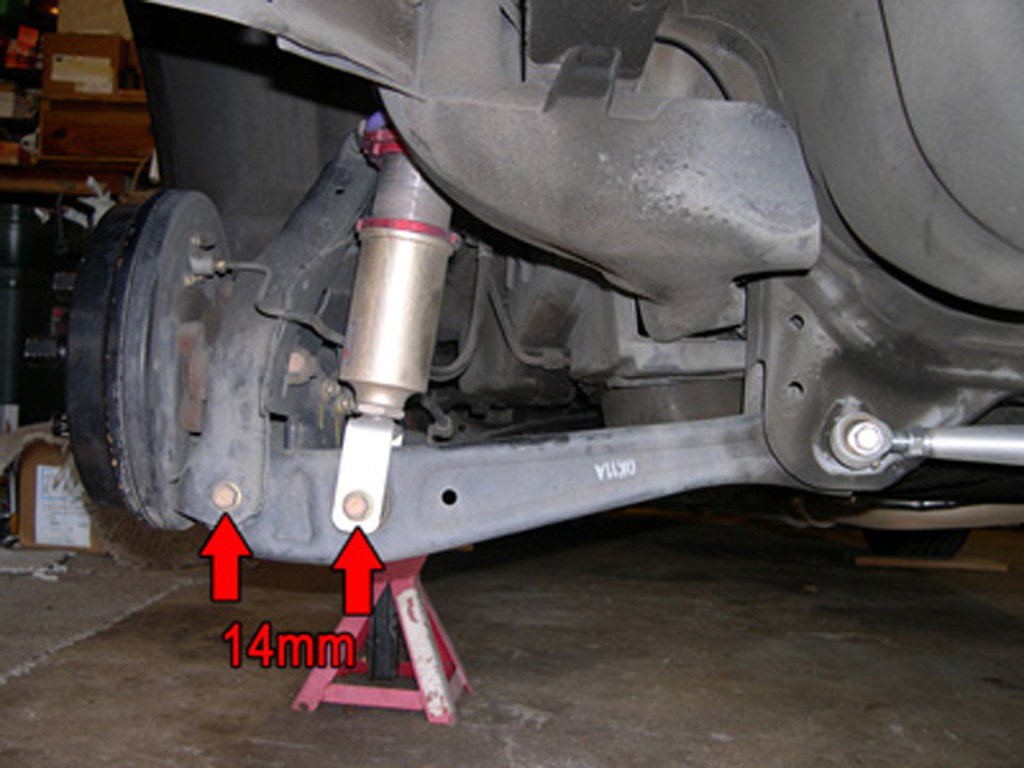
Figure 6. Remove the rear mounting bolts.
Step 6 – Raise the rear of the vehicle
Raise the rear of the vehicle, and support it with jack stands. Loosen and remove the wheels.

Step 7 – Remove the upper control arm mounting bolts
There are three 14mm bolts that hold the upper control arm in place. Loosen and remove them. Once they are off, remove and replace the upper control arm. For the rear bottom lower control arm refer to Step 5. Once you're finished, re-install the wheels, lower the car, and get an alignment.
(Related Article: How to Align Your Tires - Honda-Tech.com)
Featured Video: How to Replace Front and Rear Control Arms in Civic
Related Discussions
- 96-00 Camber Kit/New Control Arm Install - Honda-Tech.com
- Budget Sway bar Install 96-00 Civic - Honda-Tech.com
- Civic Control Arm Issue - Honda-Tech.com