Honda Civic: How to Install Lowering Springs
Lowering the center of gravity on your vehicle can improve handling and performance. There are a large variety of options on the market available today. Read on for tips, and how to install lowering springs on you Honda Civic.
This article applies to the Honda Civic/Del Sol (1992-2000).
Hondas use a spring and shock combination to make up the suspension. There are improvements gained by upgrading to a stiffer, shorter spring, and a better more durable shock absorber. Many kits are sold together, but springs are also sold separately. You can choose to keep the stock shocks, while simply upgrading the springs; however, swapping out the shocks for upgraded components won't hurt.

Materials Needed
- Hydraulic jack and stands
- 14 and 17mm wrenches
- 5mm allen wrench
- Spring compressor
- Pry bar (optional)
Step 1 – Lift vehicle and remove wheels
- Loosen the lug nuts.
- Jack the vehicle, and secure it with jack stands.
- Remove the front wheels.
- Repeat for the rear of the vehicle.

(Related Article: How to Jack Up Your Civic - Honda-Tech.com)
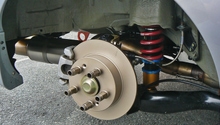
Step 2 – Remove the entire strut assembly
- Remove the top two bolts from the strut towers.
- Remove the 17mm bolts that hold the base of the strut to the suspension control arms.
- Remove the strut.

Pro Tip
A pry bar is useful for moving stubborn suspension components.
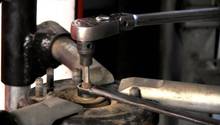
Step 3 – Disassemble the strut assembly and remove spring
- Secure the strut assembly in a spring vice before removing the top of the strut assembly.
- Using a 14mm wrench and 5mm allen wrench, remove the top locking nut.
- With the upper plate removed, slowly release pressure on the spring to remove it.

Pro Tip
Never attempt to unbolt the top of the compressed spring! If you're planning on replacing the entire assemblies, leave them in one piece.
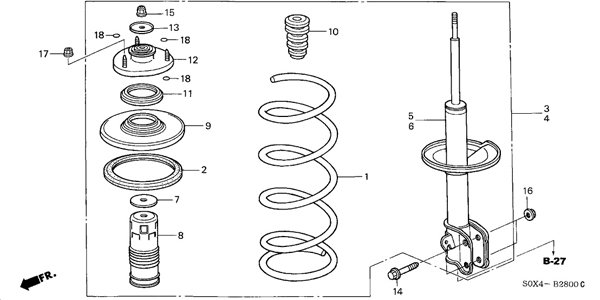
Step 4 – Install new spring
- Set your new spring on the strut assembly.
- Seat the spring on the base of the assembly, and place the hat for the strut over the top.
- Tighten the locking nut down until it is firmly seated at its base.
Pro Tips
- Sometimes rubber seats for the springs are worn out. Be ready to replace them. If you're replacing entire units, the new units should come with them installed.
- If you're upgrading springs/struts, you'll need to use a compressor to compress the components together. You might need to take them to a shop.
Step 5 – Install strut assembly
- Install your completed strut assembly.
- Hand tighten the top two bolts at the top of the strut mounts to hold it in place while you work.
- Install your lower control arm, and any other bolts you removed.
- Mount your wheels back onto their hubs, and lower your car.
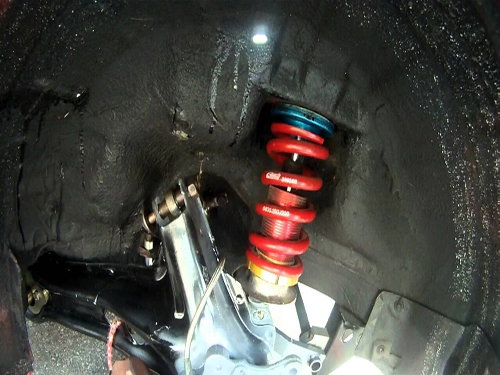
Figure 5. Lowering spring installed. 
Figure 6. The end result.
Pro Tip
Lower springs change the alignment angles of your car. If you are not prepared to perform an alignment on your car, take it to a shop with a professional alignment machine.
Featured Video: How to Install Aftermarket Springs
Related Discussions
- How to Install Lowering Springs/Kits - Honda-Tech.com
- Lowering Springs or Coilovers - Honda-Tech.com
- Lowering Spring Questions - Honda-Tech.com