Honda Civic: How To Replace an Axle
Replacing your axle is a very smart decision. Not only is a bad axle noisy, it could also cause a serious accident.
This article applies to the Honda Civic (1992-2000).
The axle is the part that makes your front wheels turn. Axles need to be replaced as necessary, and failure to do so could lead to big problems. This job is straightforward, but it requires spending some time under the car, so you may want to visit a shop if you aren't comfortable doing this.

Materials Needed
- Jack and jack stands
- Ratchet
- 17mm socket and wrench; 32mm socket
- Needle nose pliers
- Hammer
- Philips screw driver
- Pry bar
- Torque wrench
- Drip pan
- 1/4" punch
Step 1 – Jack up the car and remove the wheels
Follow these steps:
- Loosen front lug nuts.
- Find support spots.
- Jack up the car.
- Set on jack stands.
- Fully remove lug nuts.
- Remove the front wheels.
(Related Article: How to Jack Up Your Civic - Honda-Tech.com)
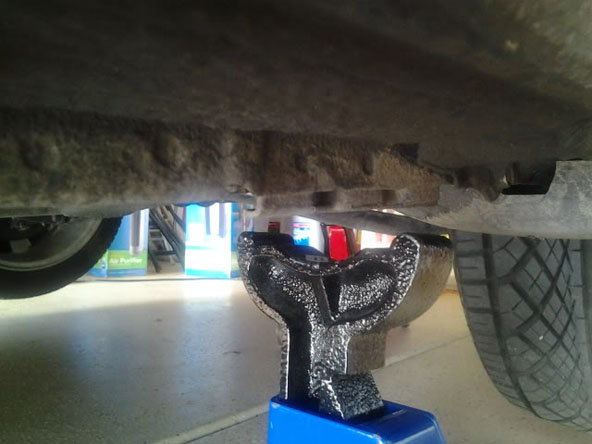
Figure 1. Rest the car on jack stands. 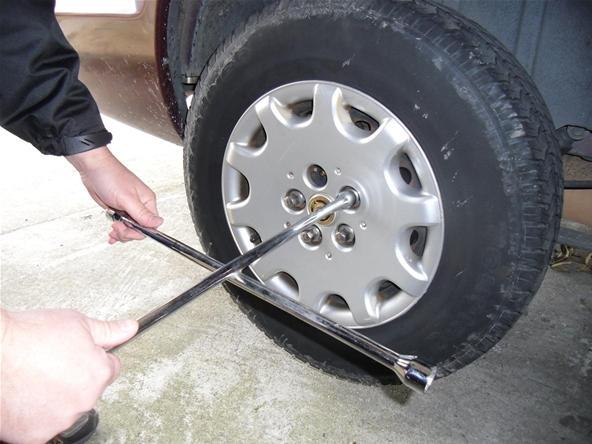
Figure 2. Finish removing the lug nuts once the car is up.
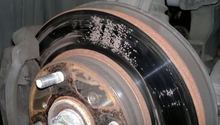
Step 2 – Remove axle nut
The axle nut is a 32mm nut that has been "notched" in for safety. Break the notch with a small chisel or screwdriver, and then remove the axle nut using your ratchet and 32mm socket. These nuts are fastened in excess of 120 ft/lb, so don't be afraid to put some muscle on it.
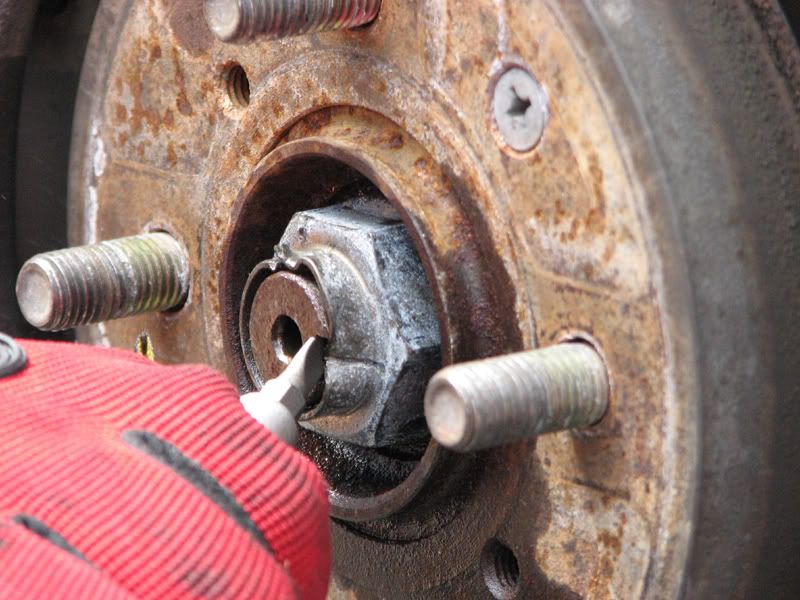
Figure 3. Notch in the axle nut. 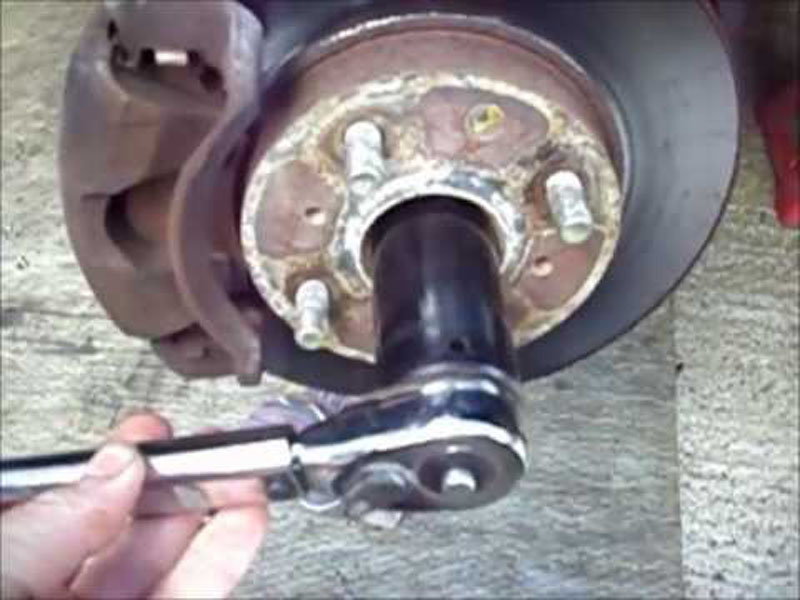
Figure 4. Remove axle nut completely.
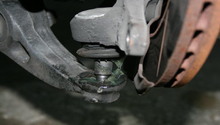
Step 3 – Undo control arm nut
- Locate the lower control arm nut.
- Remove cotter pin.
- Undo castle nut with a 17mm socket and ratchet.
- Use the hammer to tap on the side of the control arm to free the ball joint.
- Ball joint assembly should pop off from control arm.
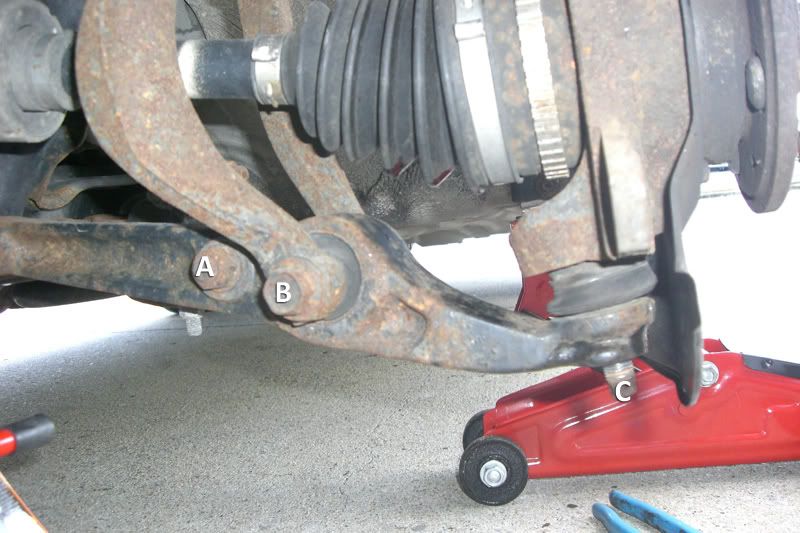
Figure 5. Lower control arm nut is labeled as "C." 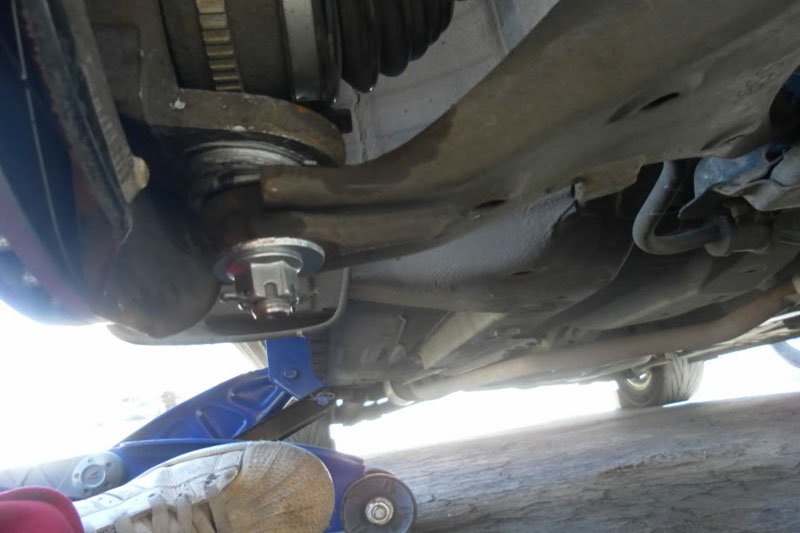
Figure 6. Remove cotter pin and castle nut.
Step 4 – Remove strut bar
For the axle to come off, you have to get the strut out of the way.
- Locate the strut bar bolt (labeled as "B" in Figure 5 above).
- Attach a 17mm socket and ratchet on one end, and a 17mm wrench on the other.
- Hold wrench in place while the ratchet undoes the bolt.
- Once bolt is loose, use the hammer to get it off.
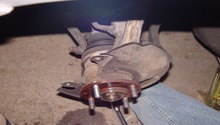
Step 5 – Remove axle
With everything out of the way, the axle is ready to be pulled out.
- Place the drip ban bellow the axle and transmission joint.
- Use the pry bar to wedge the axle out.
- Pull the axle out.
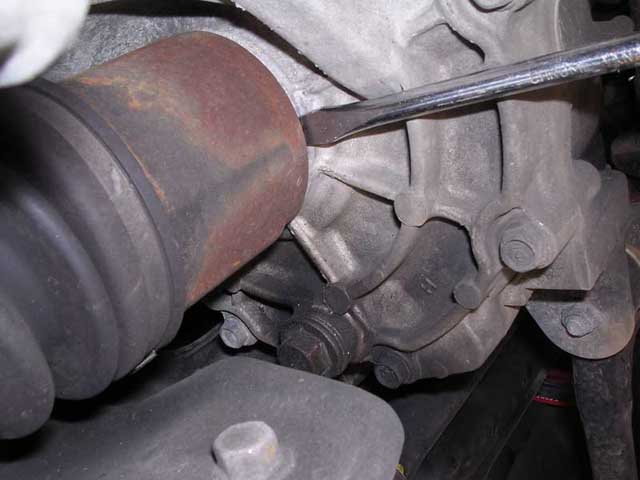
Figure 8. Pry the axle out of the transmission. 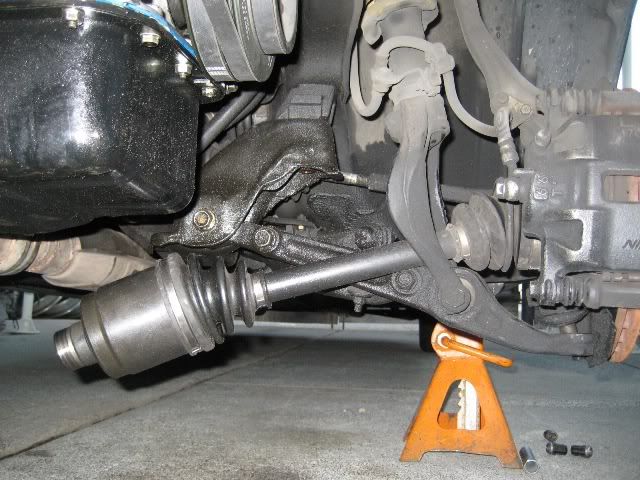
Figure 9. Axle should now be free from both ends.
Step 6 – Install new axle
Follow these steps to set up the new axle:
- Insert new axle into the transmission (push hard enough that it goes all the way in).
- Use 17mm socket and wrench to put strut bolt back in.
- Put the axle shaft back in the hub (through brake assembly).
- Put control arm bolt back into place.
- Use 17mm socket to tighten castle nut back in.
- Replace cotter pin.
- Use torque wrench to tighten axle nut to 134 ft/lbs.
- Use the 1/4" punch to "notch" the bolt.
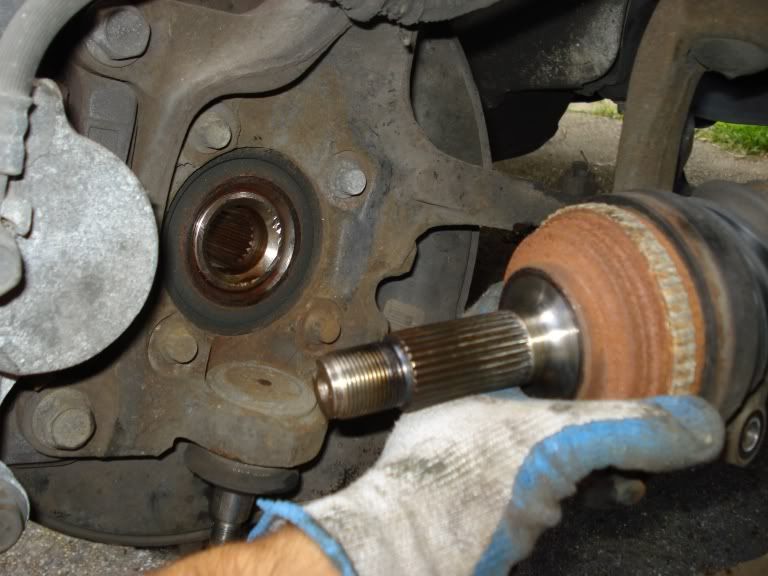
Figure 10. Insert new axle into transmission. 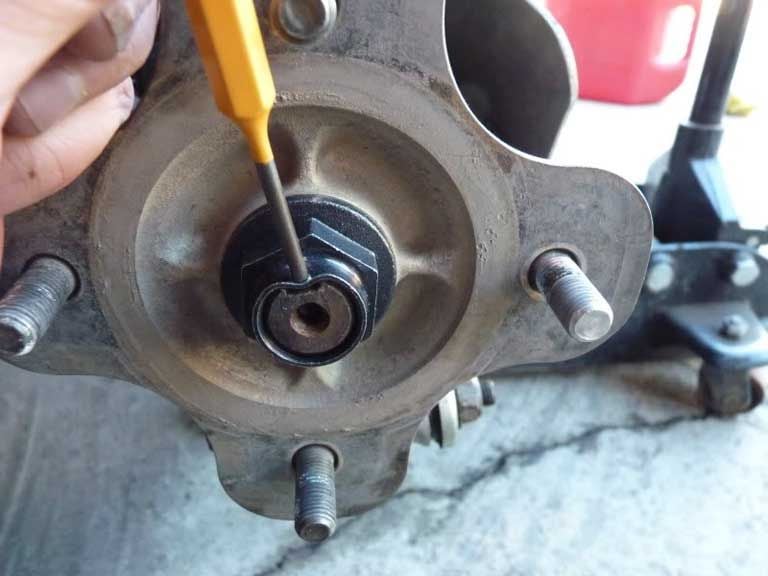
Figure 11. Punch or notch the axle nut for safety.
Step 7 – Lower the car
- Mount wheels back on.
- Tighten lug nuts by hand.
- Remove jack stands.
- Lower the car.
- Finish tightening lug nuts.
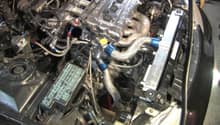
Step 8 – Flush fluid
- Open transmission fluid fill bolt.
- Let transmission fluid out.
- Replace fluid fill bolt.
- Refill with new transmission fluid.
- Start the car and test.
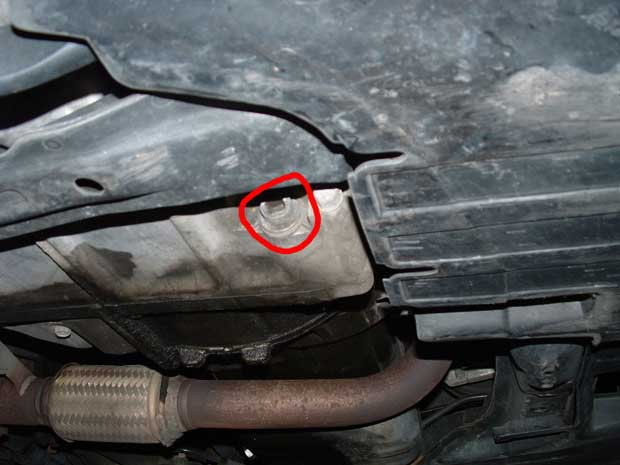
Figure 12. Transmission fluid bolt. 
Figure 13. Yellow dipstick also doubles as refill point.
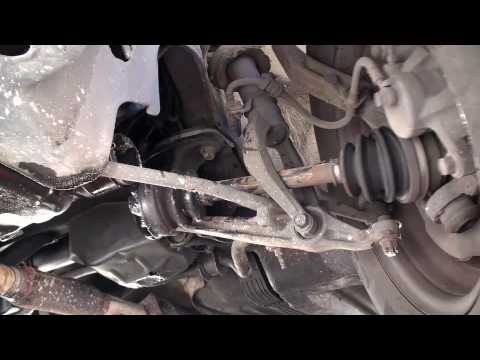
Featured Video: '97 Honda Civic Axle Replacement
Related Discussion
- Axle Replacement Tutorial - Honda-Tech.com