Honda Civic: Why Are My Axle Seals Leaking?
Leaking oil from the passenger's or driver's side of the car indicates a problem. It could be a leaking axle seal. Most axle seals leak because they were not properly seated during installation. Fortunately, the repair is relatively simple.
This article applies to the Honda Civic (1990-2000).
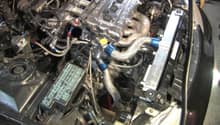
You will want to replace a leaking axle seal because you want the seal to continue doing its job—protecting the transmission housing from direct contact with the axle. The seal also helps prevent debris from entering the transmission, which can damage it and/or reduce its efficiency. First, you will need to remove or loosen some components to get to the area you need to work in.

Materials Needed
- Impact wrench or tire iron
- Seal puller (or crow bar)
- Seal installer (or large socket and extension)
- Jack and jack stands
- Torque wrench (capable of 150+ ft./lb.)
- Impact sockets
- Pliers
- Rubber mallet
Step 1 – Prep the car
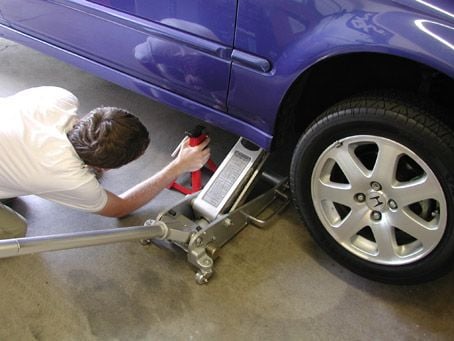
Before beginning, you will need to jack up the car to remove the tire and wheel. Elevate the side of the car you're working on with a hydraulic or hand jack. Place the jack stands underneath the car at the appropriate places, so the vehicle is secure. To remove the tire and wheel, first remove the lug nuts with an impact wrench or tire iron. Then you can remove the wheel and tire.
(Related Article: How to Jack Up Your Civic - Honda-Tech.com)
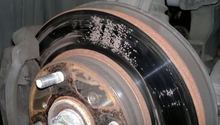
Step 2 – Remove the brakes, upper control arm, and tie rod end
The brake assembly will likely need to come off, so this includes the rotor and caliper. Break the caliper off, and pull the rotor off the hub. Disconnect the upper control arm by pulling the cotter pin with a pair of pliers, and unbolting it with your handy 17mm wrench. Unbolt the tie rod from the hub as well, and this can be accomplished by pulling the cotter pin with your pliers, then unbolting it from the hub. If the tie rod seems stuck, don't be afraid to give it a whack with a rubber mallet. The less weight that you have on the hubs, the less weight there is working against you. Also, this gives you better access to the area you need to work in.
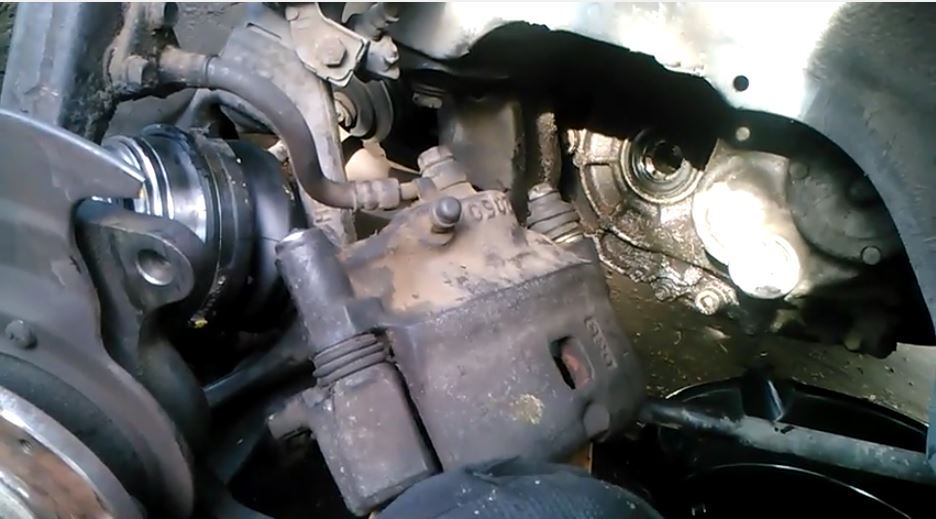
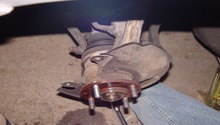
Figure 2. Axle, brakes, and suspension removed. 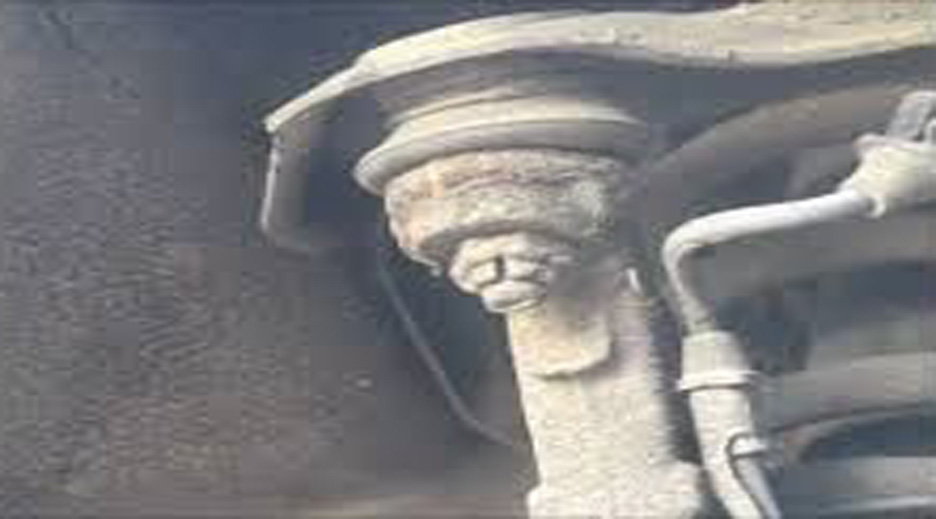
Figure 3. Disassemble the control arm. 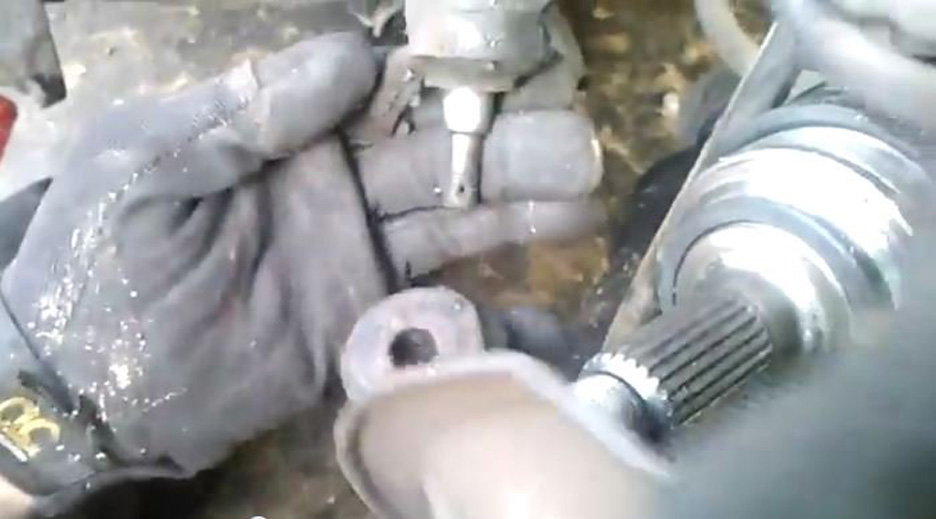
Figure 4. Tie rod end disassembled.
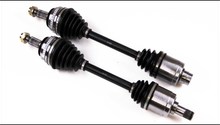
With all of the accessory hub items removed, remove the axle from the transmission. To do this, unbolt the hub from the axle by removing the cotter pin, and using an axle nut tool to remove the axle nut. This will free the axle from the hub side. From here, you have access to the inside of the axle. Use a puller to yank that sucker out of the transmission.
Pro Tip
While you're down there, inspect additional items like the brake lines. A good preventative maintenance check will save you heartache down the road.
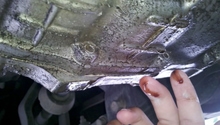
Step 3 – Remove worn seal
Pull the axle away from the transmission housing to access the worn seal. With the seal puller, gently pry the seal up and away from the transmission housing, removing it completely from the housing. Avoid scratching or gouging the transmission housing with the tool.
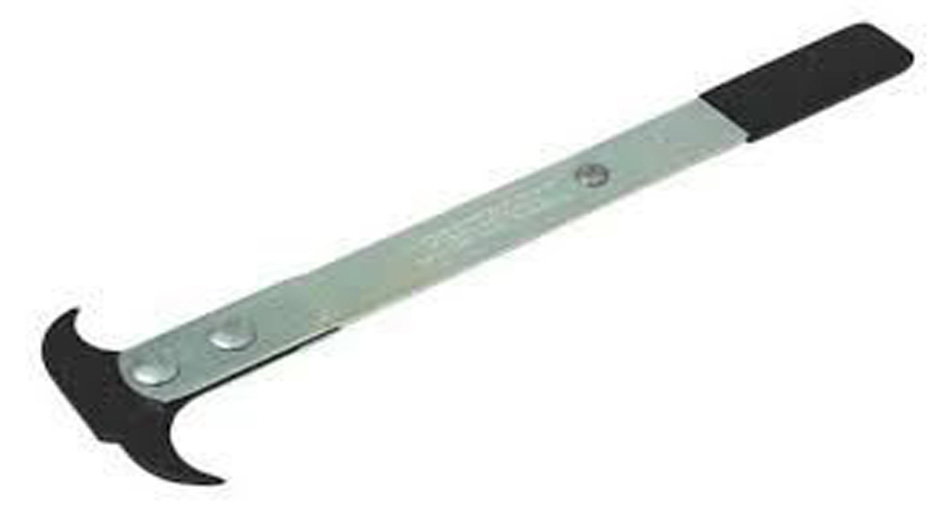
Figure 5. Seal puller. 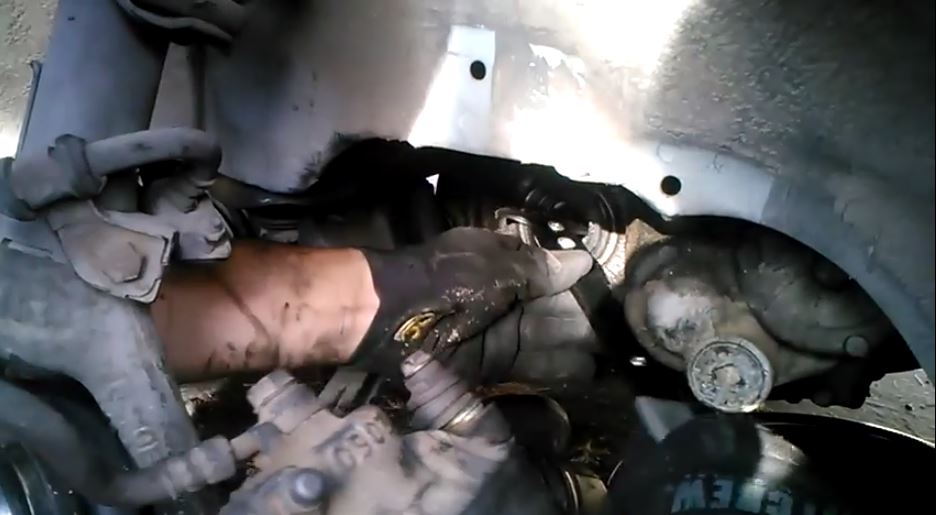
Figure 6. Using the seal puller to remove the old seal.
Pro Tip
If you don't have a seal puller you can use the un-crooked end of a crow bar to gently remove the seal.
Step 4 – Install new seal
Coat the new seal with grease. Place the seal into the transmission housing by gently pressing the seal into the housing with the seal installer. The seal will be seated properly when the seal is flush with the transmission housing.
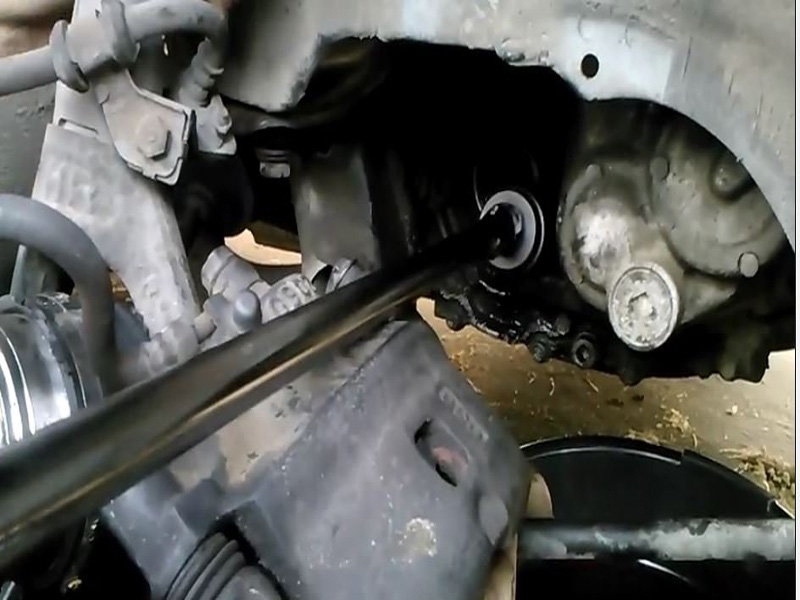
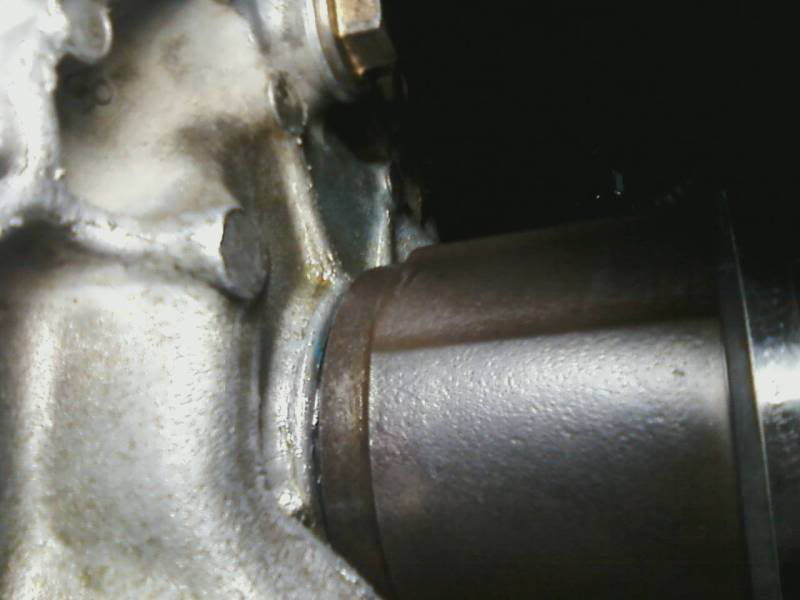
Figure 7. Using the large socket in place of the seal installer to press in seal. 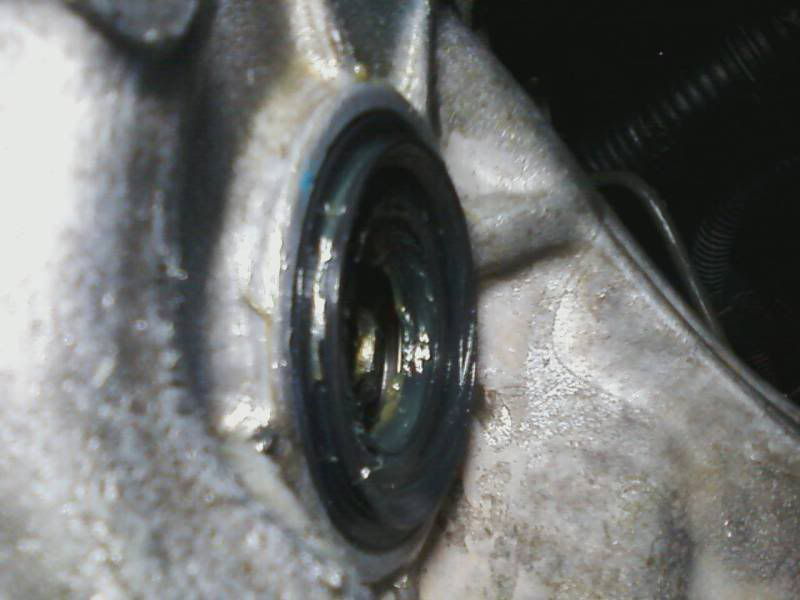
Figure 8. Seal seated properly. 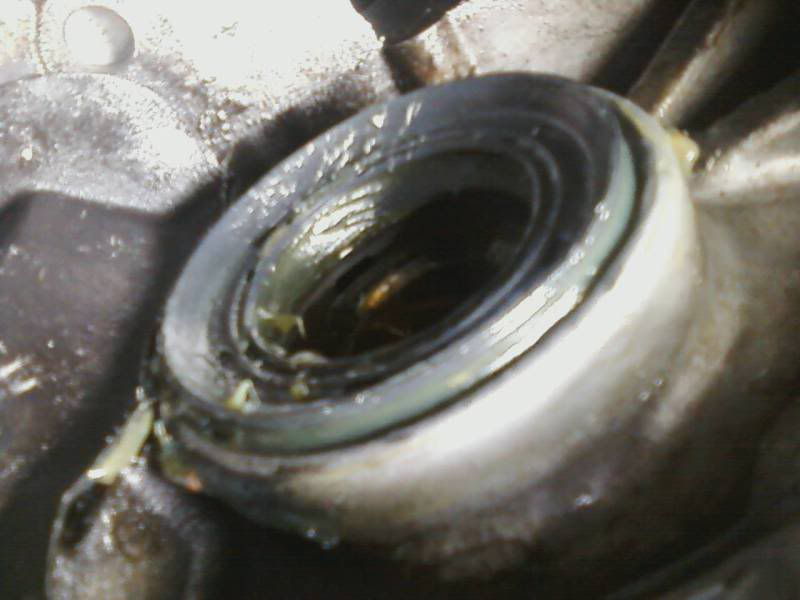
Figure 9. Another view of the seal seated properly.
Pro Tip
If you don't have a seal installer, you can use a large socket with an extension to push the seal gently into the housing.
Step 5 – Re-install axle
Carefully re-install the axle back into the transmission housing. Make sure the seal is not crimped. Also, make sure there is no gap between the housing and the seal.
Step 6 – Re-install the remaining parts and check for leaks
Re-install the upper control arm, the tie rod end, the brake, and the wheel. The installation is the reverse of the removal process. With the axle back in the transmission, press the axle back into the hub. Re-install the axle nut (torque spec is usually in excess of 120 ft/lb.) and cotter pin. Re-install the outer tie rod into the hub; this will help the hub be oriented in the correct direction to re-install the upper control arm. From there, do a once over on all of the big bolts, and make sure everything is fastened securely. Then, refit the wheel back onto the car.
After you are done, check under the car for leaks. Monitor the seal for any leaks over the next couple of weeks.
Featured Video: Why are my Axle Seals Leaking?
Related Discussions
- Leaking Axle Seals - Honda-Tech.com
- How to Replace Axles/CV Joints - Honda-Tech.com
- Axle Replacement Tutorial - Honda-Tech.com