Honda Civic: How to Remove Climate Control without Removing Dash
This guide will help you through the process of removing the climate control panel without the need to remove the dash. Continue reading to learn how to do just that on your Honda Civic.
This article applies to the Honda Civic/Del Sol (1992-2000).
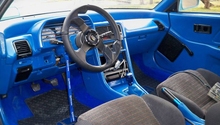
Your climate control panel helps you dial in the right temperature on a cold or warm day, but as time goes by it may need to be replaced. It normally involves removing the dash, but here is a step-by-step guide that will save you the time of removing the dash. There are a few body panels and wiring that will need to be removed, so if you don't feel up to the job, then it would be best to take it to a professional.

Materials Needed
- Phillips screwdriver
- 10mm socket and ratchet
Step 1 – Disconnect battery and remove radio
Before you begin any work, disconnect the battery. Begin with the negative (black) terminal first, followed by the positive (red) terminal. Use your 10mm socket to remove the terminals.
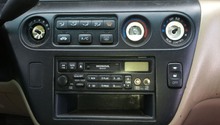
Position yourself on the passenger's or driver's seat. Proceed to slide out the radio head unit, and then slide out the metal cage—in which the radio slides into—by bending out the metal tabs.
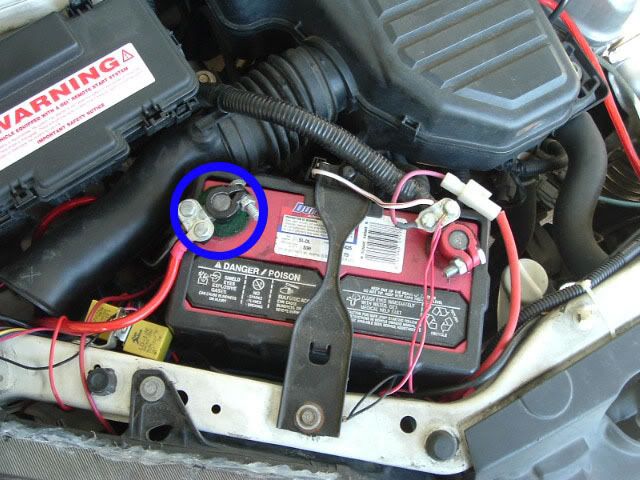
Figure 1. Disconnect the battery. 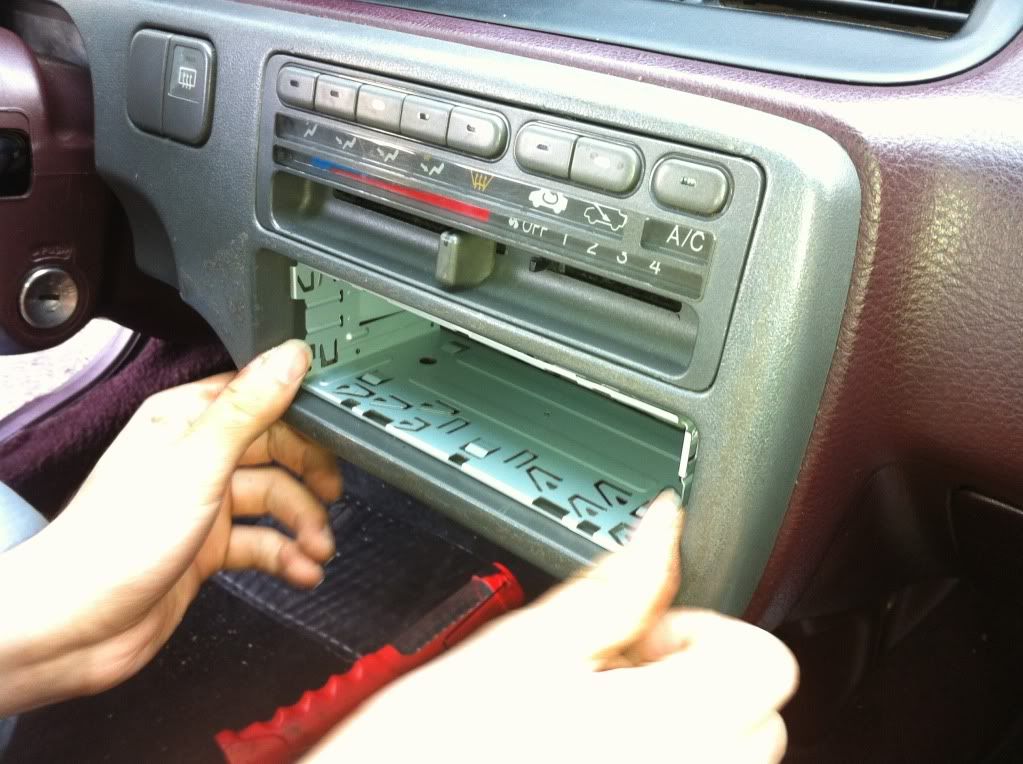
Figure 2. Remove radio and bend the tabs out. 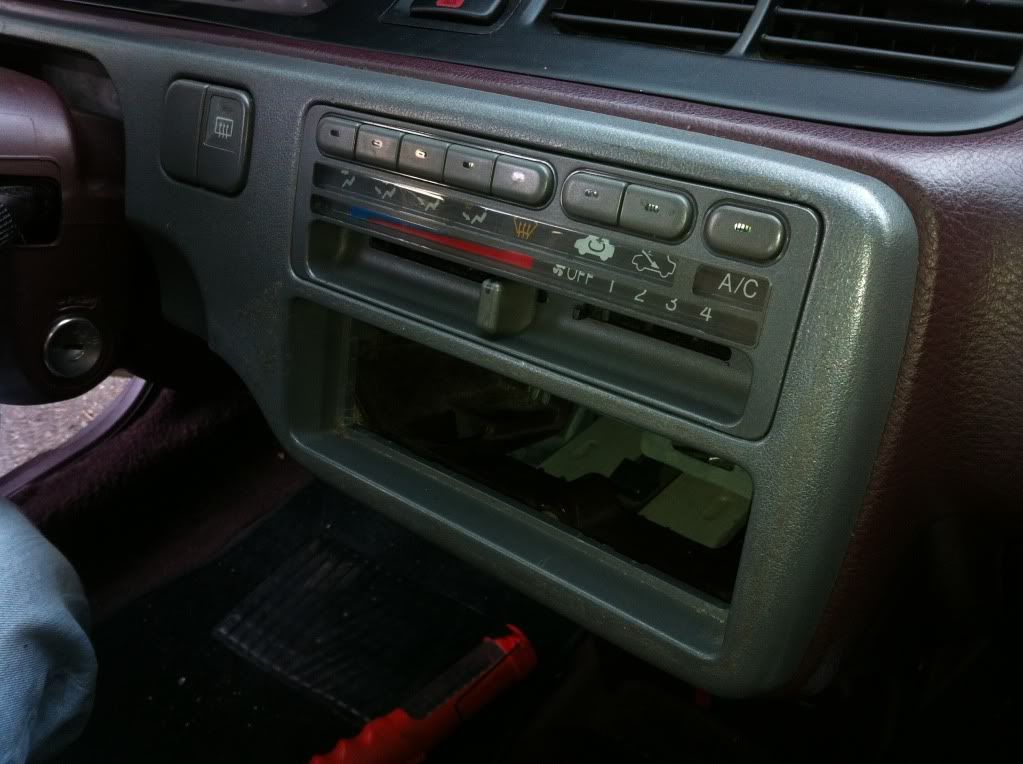
Figure 3. Radio and metal cage removed.
Pro Tip
Depending on whether you have a stock or aftermarket unit, the removal process could vary.
Step 2 – Remove cluster
Because you are trying to remove the climate control panel without taking out the entire dash, you must unscrew the instrument cluster (gauges) out to gain better access to the climate control.
- Locate the screw at the top of the cluster and undo it.
- Locate the screw in the opening underneath the clock and undo it.
- Slide the cluster out.
- Then, disconnect the clock wiring harness plug.
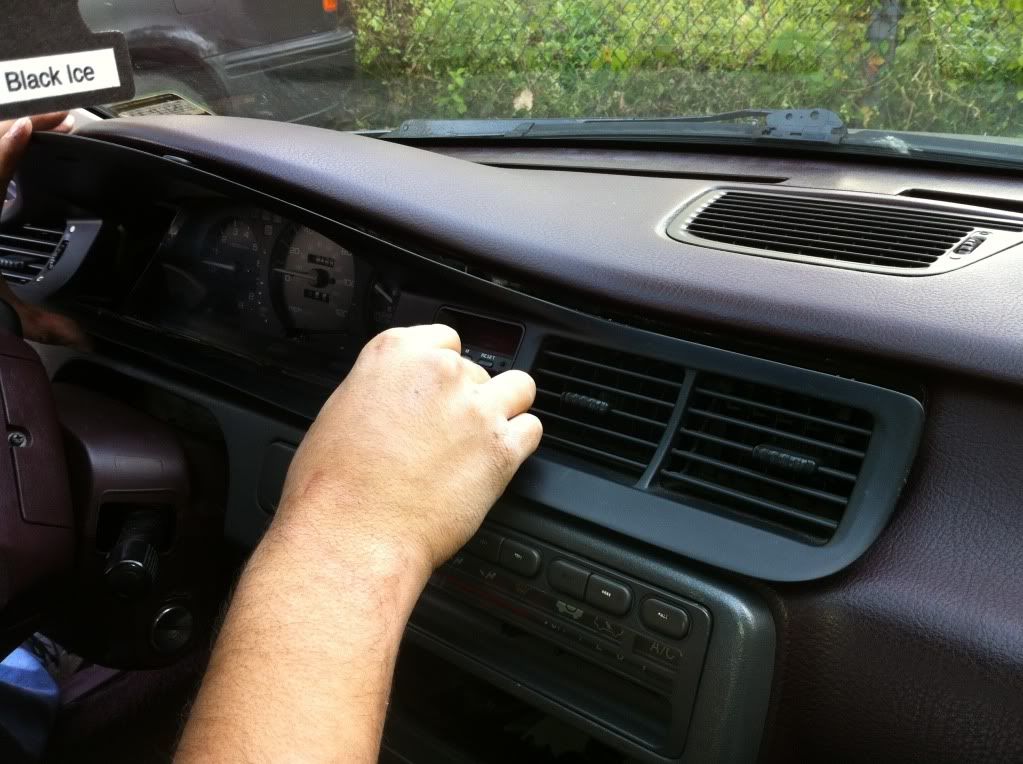
Figure 4. Remove both screws. 
Figure 5. Disconnect clock wiring plug.
(Related Article: How to Install a New Gauge Cluster - Honda-Tech.com)
Step 3 – Release adjusting cable
The way your climate control levers and dials work is via cables behind the dash. Now that the gauges are out, you can see directly on top of the climate control panel. Locate the lever that hinges to operate the cable, and unscrew it. You may also be able to undo the cable without removing the bracket. It will ultimately deliver the same result.
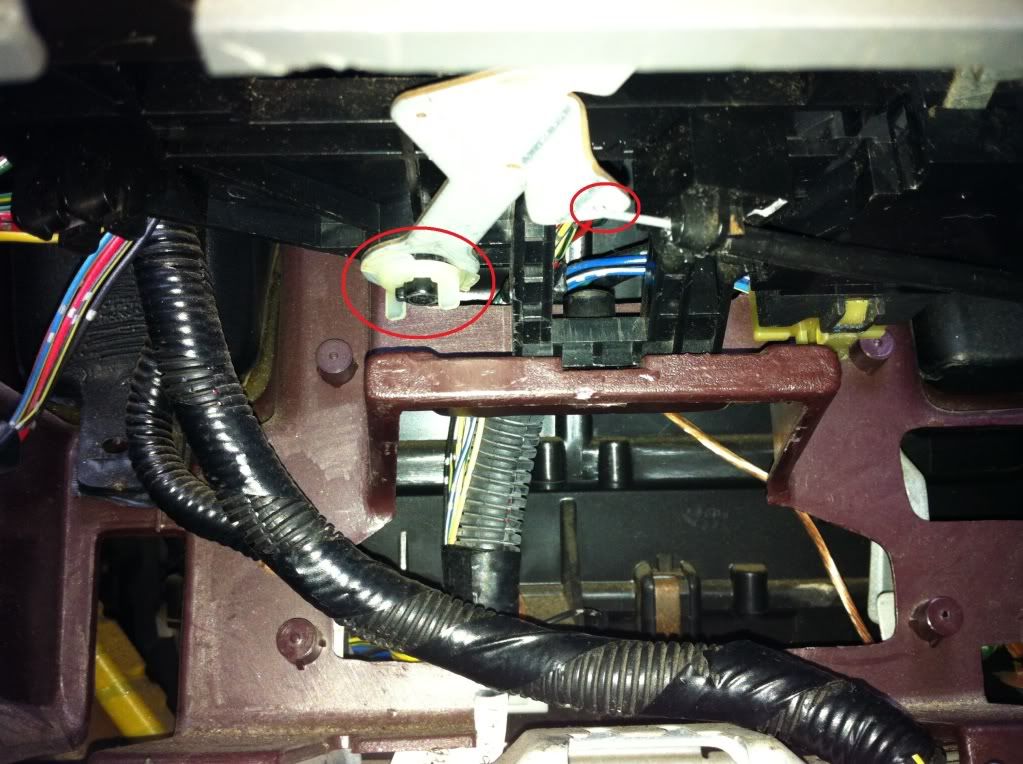
Figure 6. This is the top view of the panel, bracket, and cable. 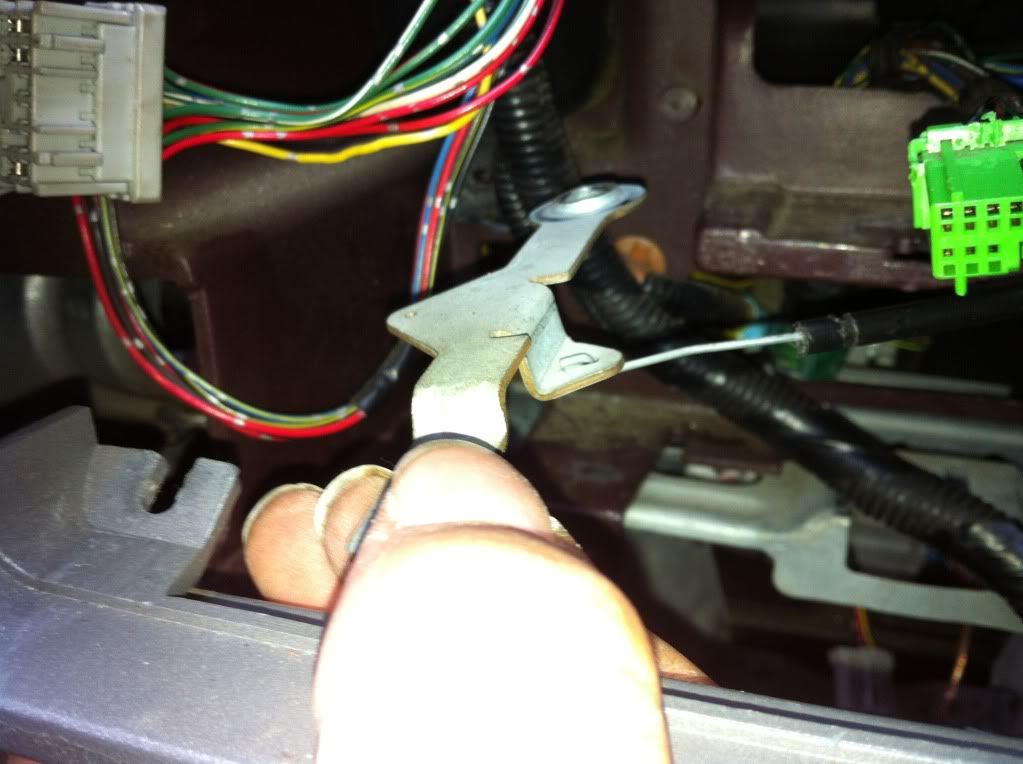
Figure 7. Removed bracket.
Step 4 – Disconnect panel
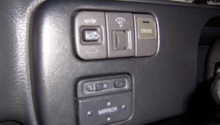
The climate control panel is held with three screws, but before you get to those, you must unplug the wiring connected to the panel. There is a yellow and a green plug. Be very careful while unplugging these.

Figure 8. Locations of the yellow and green plugs. 
Figure 9. Unplug the yellow and green plugs.
Step 5 – Remove panel
The panel is not free from any wires or cables, but it is still attached by three screws. Because of the weird angle in which two of the screws are, use the following photos as a reference. Once all three screws are removed, be very careful as you wiggle the panel out of the dash.
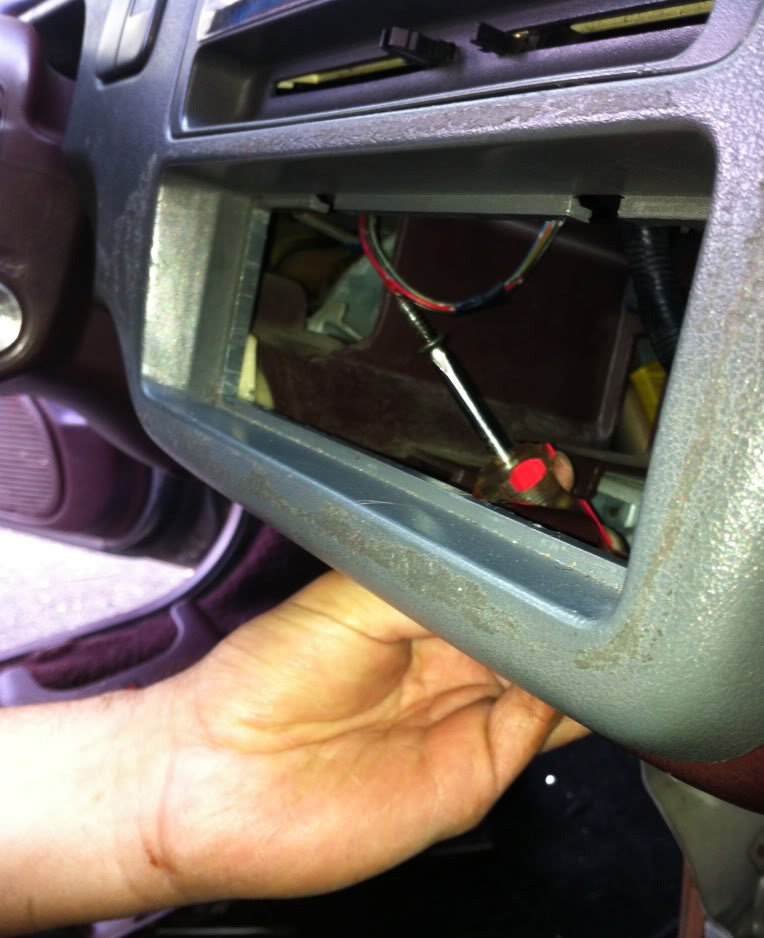
Figure 10. Locate the screws, and access them this way. 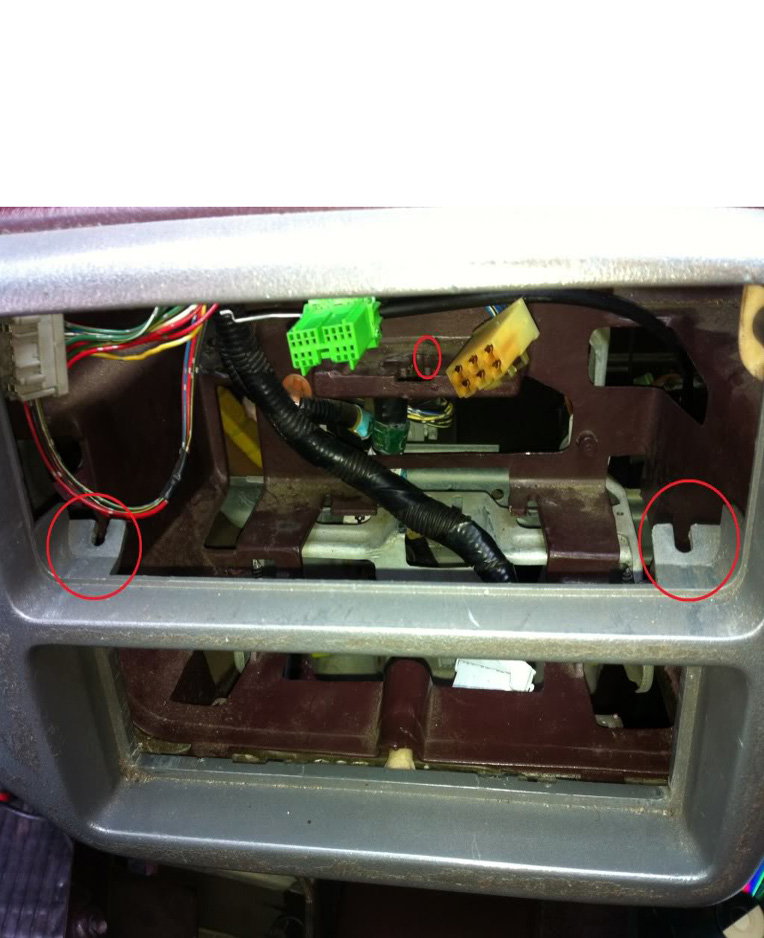
Figure 11. Undo the screws. 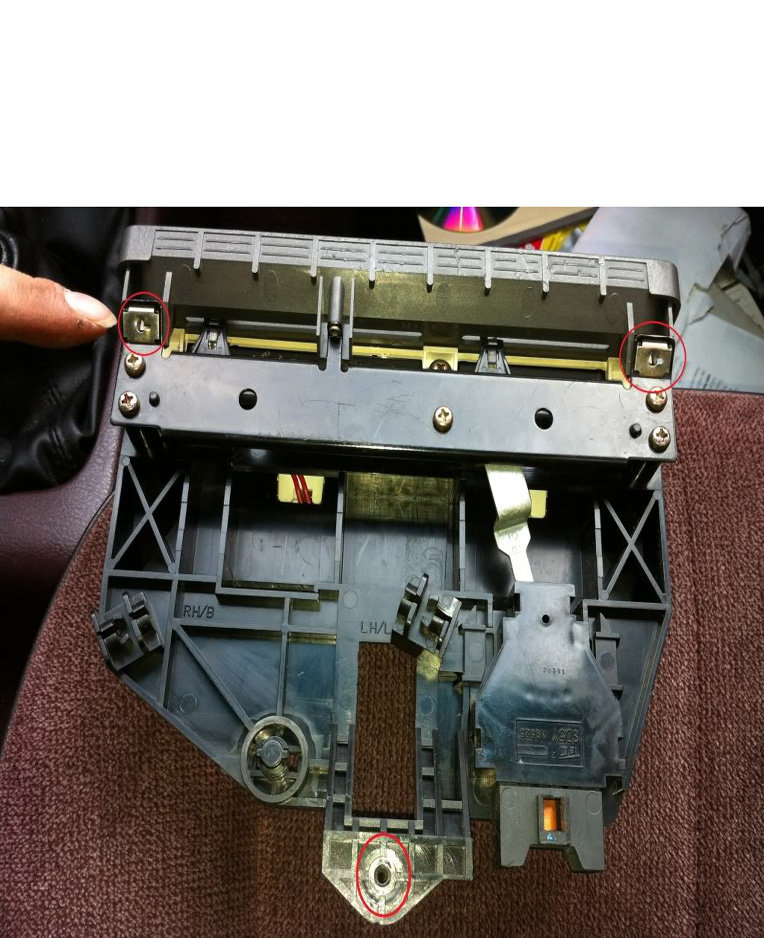
Figure 12. A removed panel.
Step 6 – Finish up
Once the climate control panel is removed, you can replace and install the new climate control panel using the above steps in reverse.
Here is a breakdown to make sure nothing is overlooked:
- Slide the panel back in the dash.
- Screw the three bolts back in.
- Plug in the yellow and green wiring connectors.
- Attach the cable and cable bracket.
- Connect the clock wiring plug back in.
- Slide the gauge cluster, and tighten both screws.
- Slide the radio cage and radio unit back in.
- Finally, reconnect the battery.
Related Discussions
- Removing Climate Panel - Honda-Tech.com
- How to Remove Dashboard - Honda-Tech.com