Honda Civic: How to Paint Interior
If you want a great looking ride, shouldn't the interior of your car match the exterior? Do something about it with this article!
This article applies to the Honda Civic (1992-2000).
Painting the interior of your Honda Civic is the easy part. However, taking the panels out to paint them requires more patience and work. If you've decided to give your cabin a makeover from that faded and beat up stock-colored look, this article provides a step-by-step guide on how to strip the parts of your interior and paint them the right way. Follow the directions below to get your Civic's interior to shine the way you want it to.

Materials Needed
- Metric socket set
- Panel popper and pick
- T30 Torx screwdriver
- Soap, water, and bucket
- Lint-free towels
- Scoth-Brite cleaning pad
- Plastic Leather Prep spray cans
- Sand Free spray cans
- Plastic spray paint cans
Step 1 – Remove the door panels
- With a flat head screwdriver, gently pry out and remove the tweeter cover.
- Located on the front of the door panel is a clip. Remove it with a panel popper.
- With a Phillips screwdriver, remove the screws located behind the door handle and inside the armrest well. Remove both parts from the door panel.
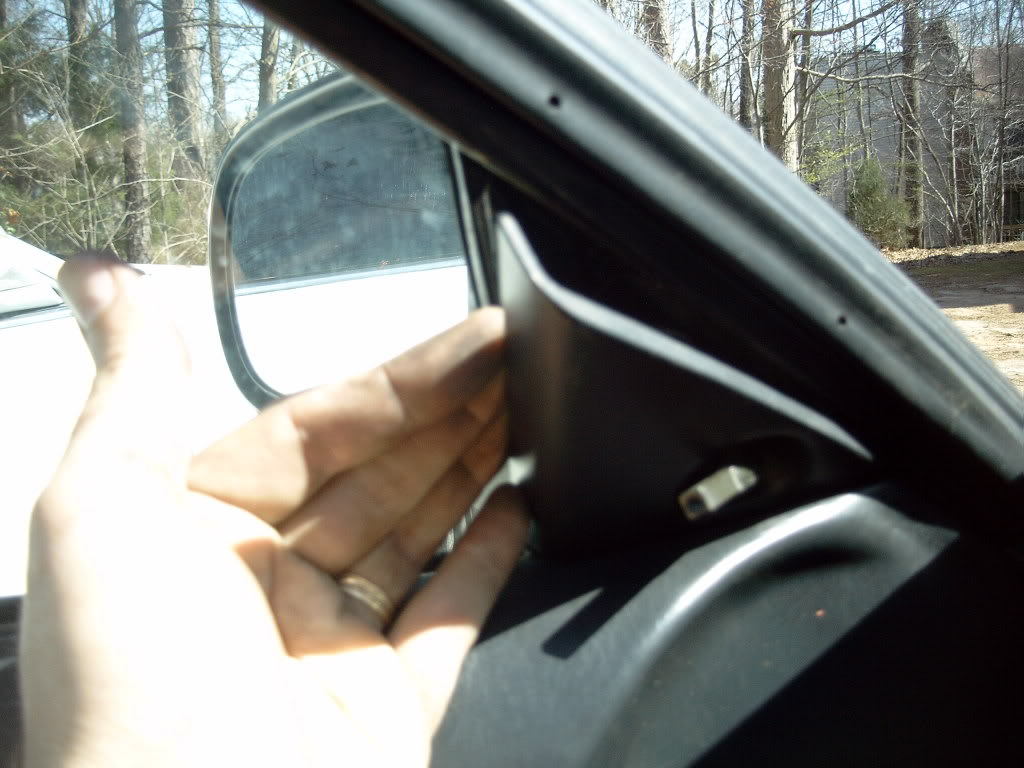
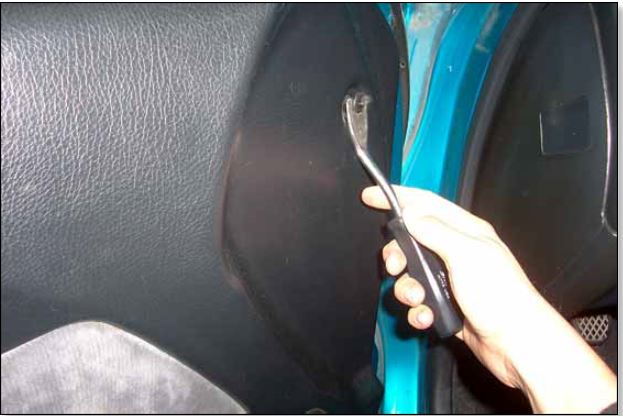
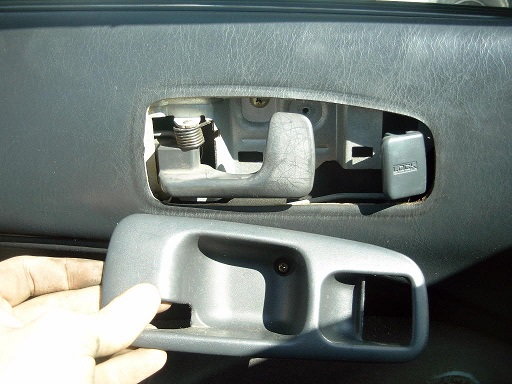
Figure 3. Door handle cover removed. 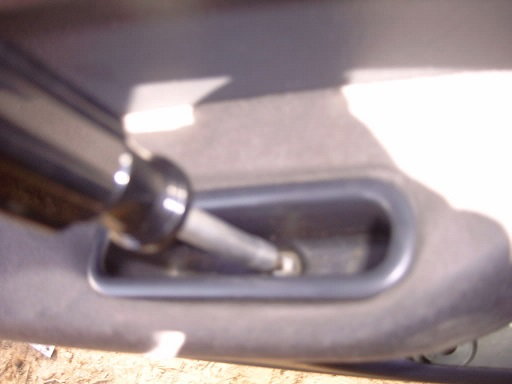
Figure 4. Remove screw in the armrest well.
- A gold clip secures the window crank to the window gear. Slide a pick behind the window crank, hook on to the clip, and pull it out.
- Pull out the speaker panel, and remove a Phillips screw just below the speaker.
- There are five clips around the inside edges of the door panel, securing it to the door. Insert your flat head screwdriver between the bottom of the door panel and frame.
- Gently pull out the door panel, starting from the bottom. The brittle plastic window trim may get damaged if you start from the top.
- Push the door panel up and out from the door frame.
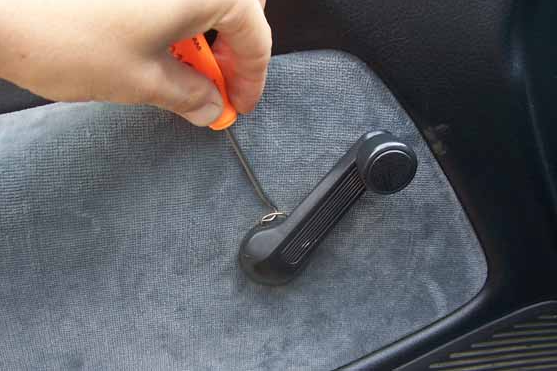
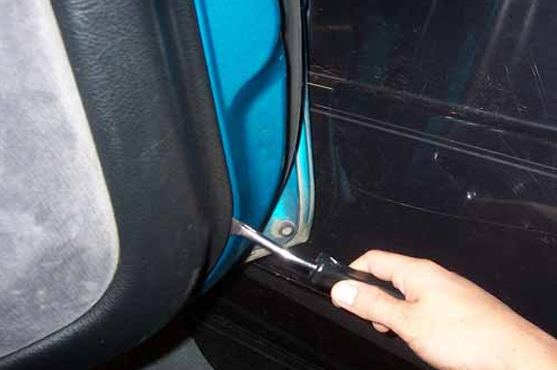
Figure 6. Pry out bottom of the door panel first. 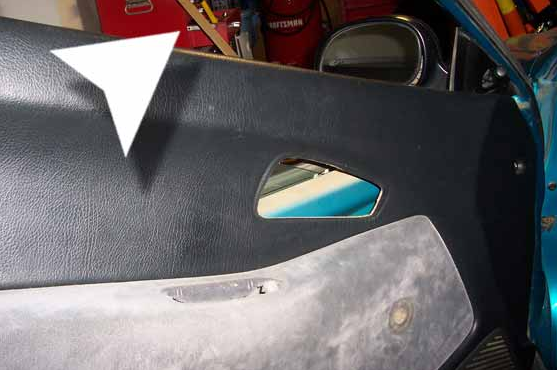
Figure 7. Push up on the door panel and remove it.
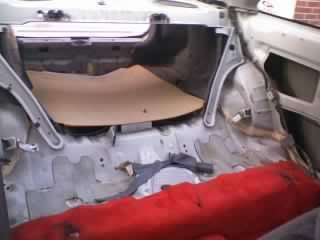
- Make your way to the rear and remove the rear passenger seats for easy access to the window panels.
- All of the rear and side panels can easily be removed from their clips and screws.
Step 2 – Remove the gauge cluster bezel and lower dash
- Remove two Phillips screws from the underneath the top of the gauge cluster bezel.
- Slide the bezel out with your hands.
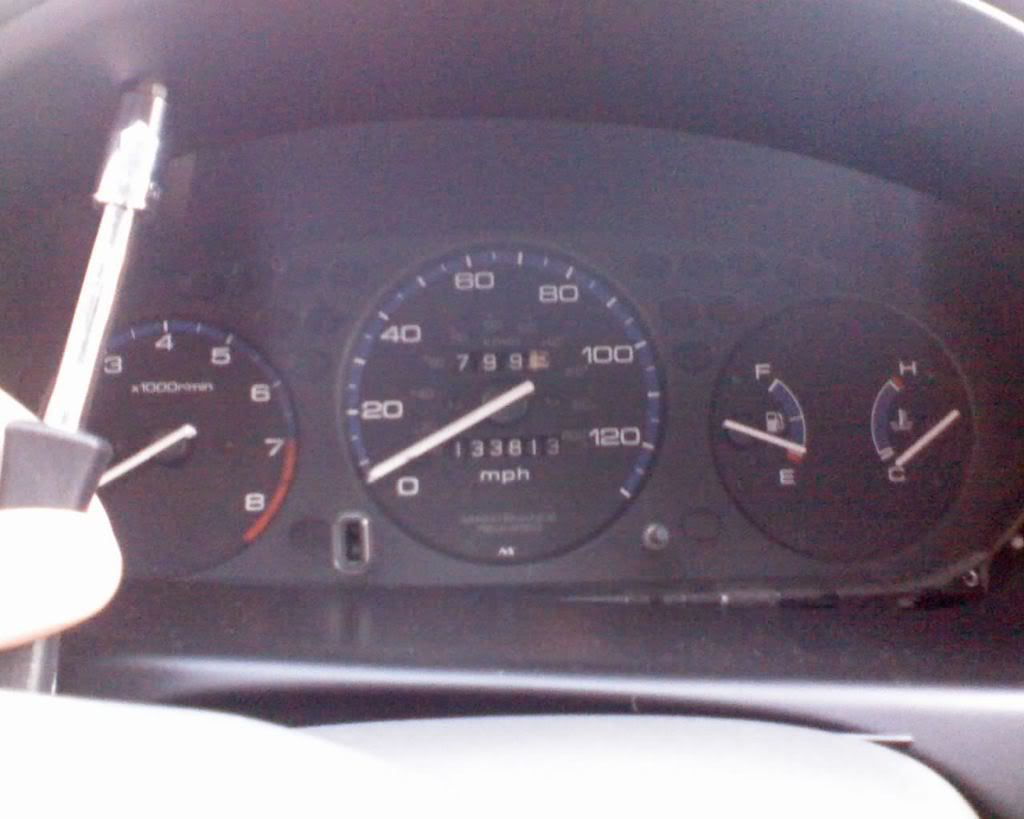
Figure 9. Remove screws from the gauge cluster bezel. 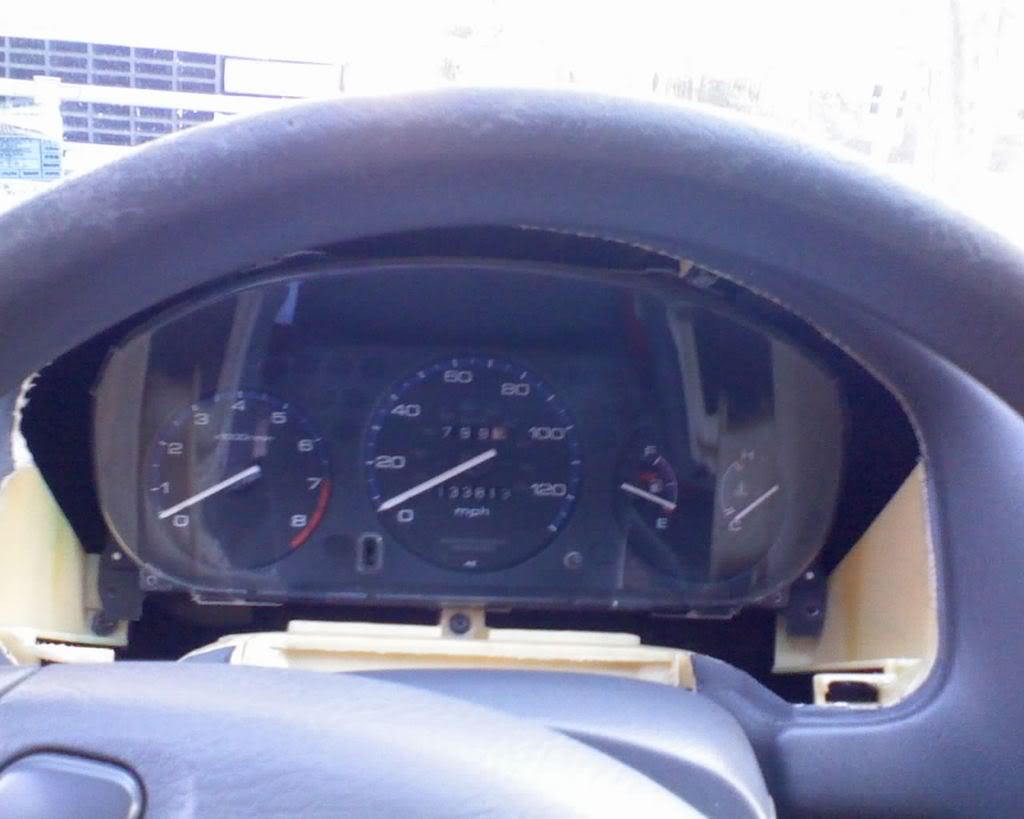
Figure 10. Gauge cluster bezel removed.
- Remove three screws of the driver side lower dash panel and pull it out.
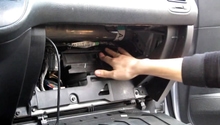
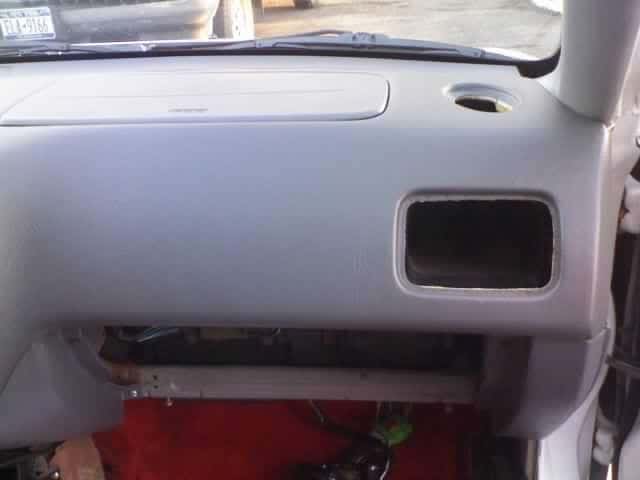
Step 3 – Remove the glove box and air vents
- With the glove box closed, use an 8 mm socket and ratchet to remove two bolts at the bottom of the door hinges.
- Pull on the latch of the glove box and remove it completely.
- Insert a flat head screwdriver in between the fogger trim and the dashboard, and pull the fogger toward you to remove it.
- Remove the air vents from the dashboard in the same way.
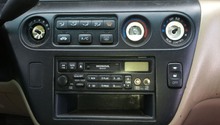
Step 4 – Remove the center console and climate control
- Disconnect the negative terminal (black) of the battery.
- There are five screws securing the center console panel to its bracket. Remove one Phillips screw located underneath the center of the panel.
- Remove the four remaining screws from each side of the panel.
- Once the panel is hanging loose, remove the power outlet from the back and remove the panel completely.
- Push the radio out from behind and underneath the center console.
- Pull radio out from the front and disconnect the plugs and cables.
- Reach behind the hazard and rear defroster switches and push them out. Then, disconnect the switch plugs.
- Remove the Phillips screws in the hazard and defroster slots.
- Underneath the climate control is an air/mix control cable. Unhook the cable from underneath and pull the climate control unit out.
- Gently pop the center console trim out from the dashboard clips and remove it.
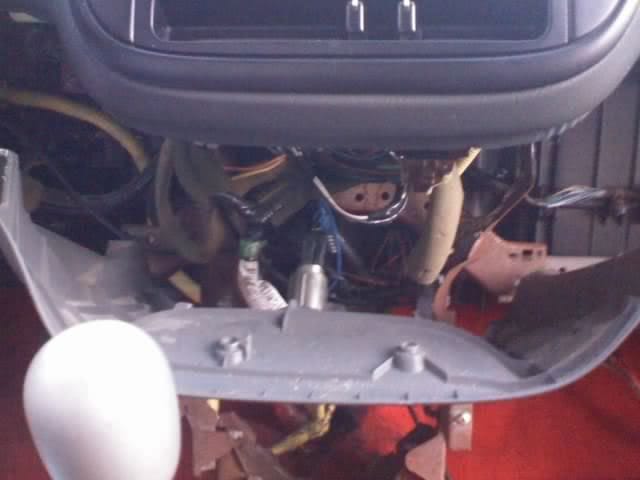
Figure 14. Unscrew five screws to remove the lower dash panel. 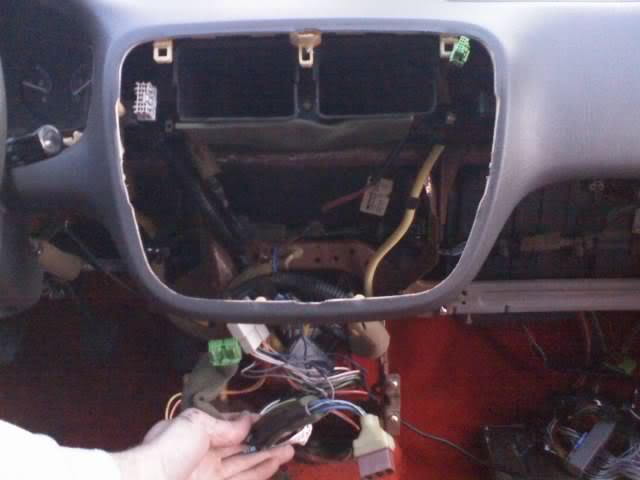
Figure 15. Center console trim removed.
Step 5 – Remove the gauge cluster and steering wheel
- Unscrew the screws holding the gauge cluster in place and pull the cluster toward you.
- Pull the cluster forward and unplug all three connections from behind it.
- To remove the steering wheel, first make sure the wheel is straight.
- Unplug the SRS plug underneath the steering column.
- Then, use a T30 Torx screwdriver to remove one screw from each side of the steering column.
- Unplug the connector from the airbag and pull it out.
- With a 19 mm socket and ratchet, remove the center bolt from the steering wheel.
- Pull the steering wheel straight out.
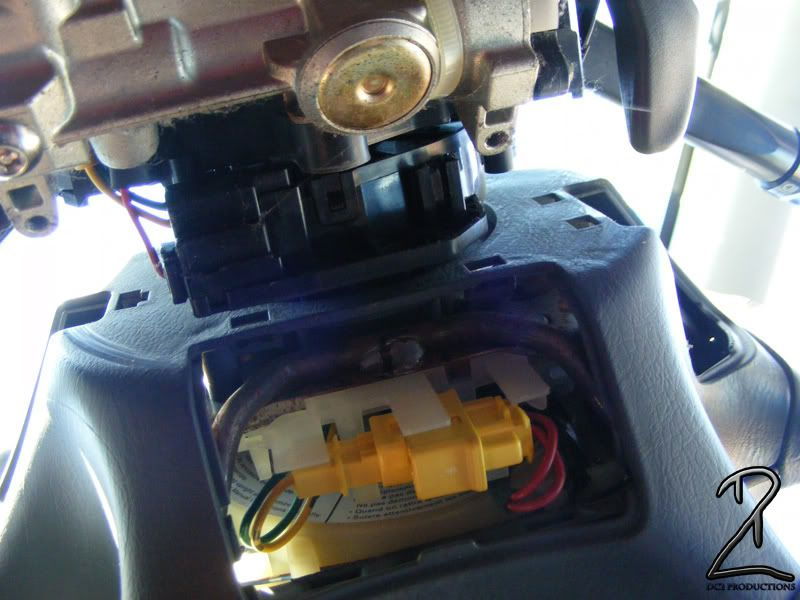
Figure 16. Unplug the SRS conenctor. 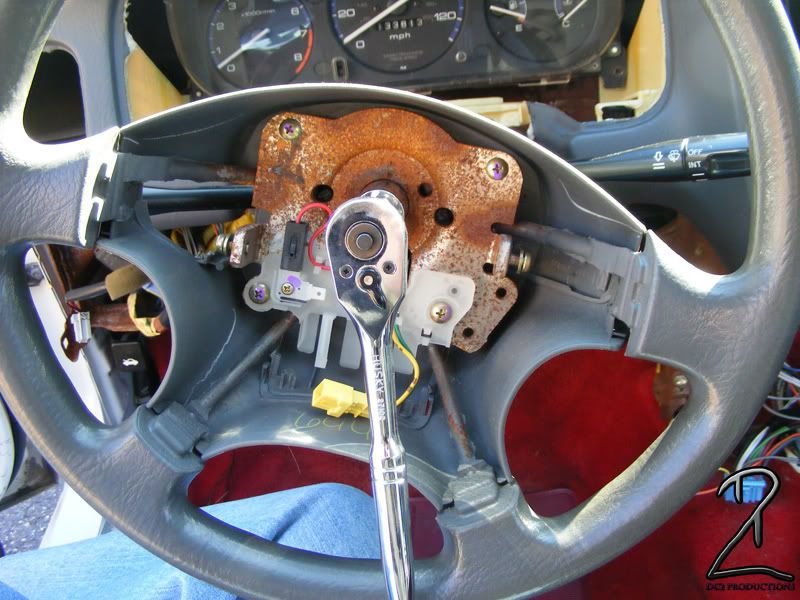
Figure 17. Remove the center bolt on the steering wheel.
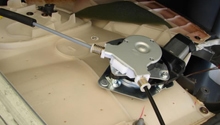
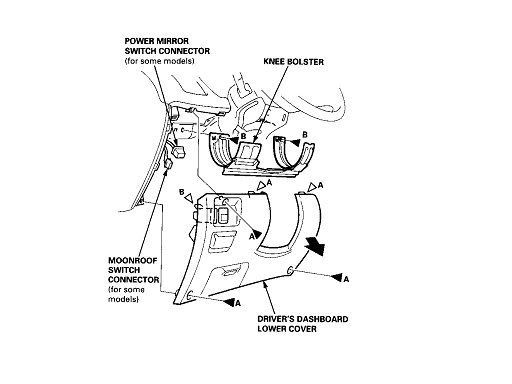
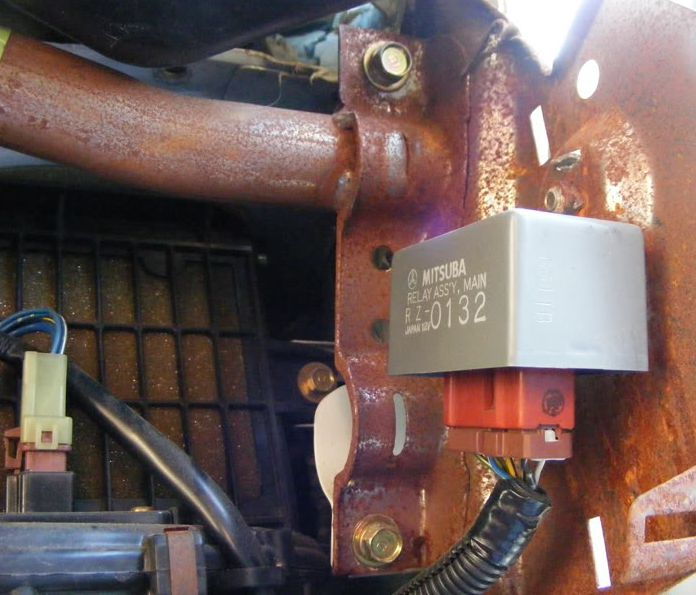
Step 6 – Remove the main relay and dashboard
- Remove all major plugs connected to the main relay box, which is located above the kick panel of the driver side foot well.
- Remove the two 10 mm bolts holding the main relay in place.
- Then, tilt the main relay down and disconnect the its plug from the dashboard framing.
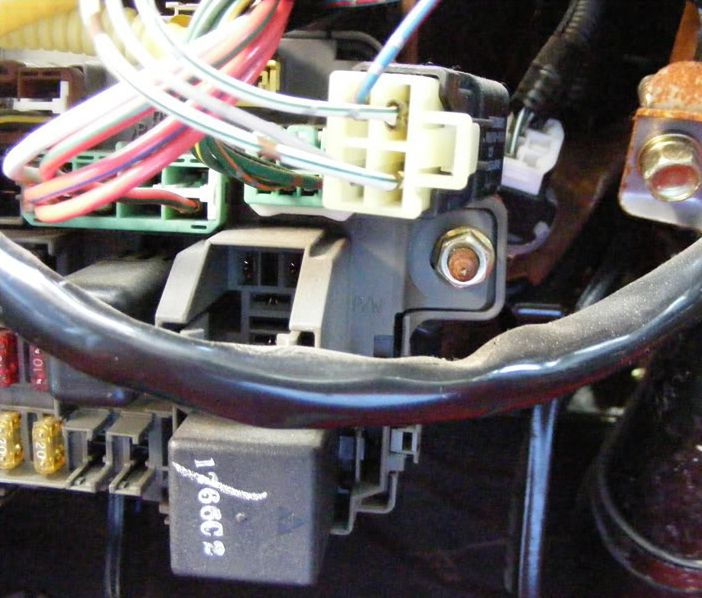
Figure 18. Remove bolts from the main relay box. 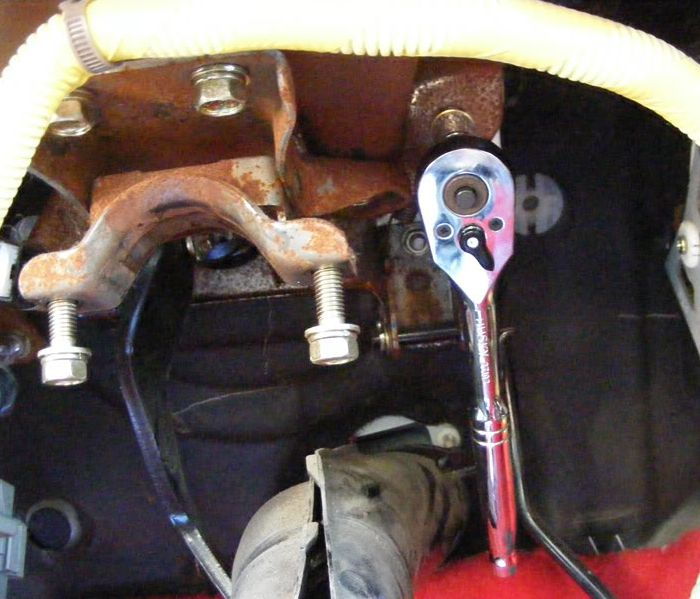
Figure 19. Remove four bolts from base of the steering column. - To take out the dashboard, remove two 12 mm bolts from behind the main relay's location.
- Remove one 10 mm bolt on the outside frame near the driver side foot well.
- Then, remove another 10 mm bolt on the right side of the foot well.
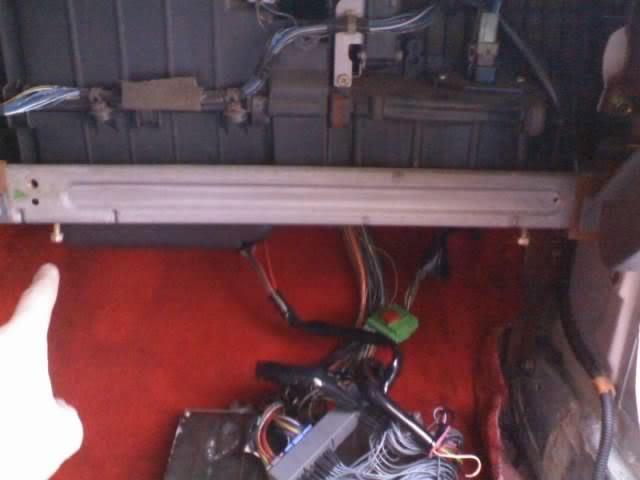
- Lower the steering columns and remove four 12 mm bolts under the dashboard.
- Use a 10 mm socket, extension and ratchet to remove three bolts on the dashboard at the base of the windshield.
- Behind the passenger side dash, remove two 10 mm bolts and unplug the relay.
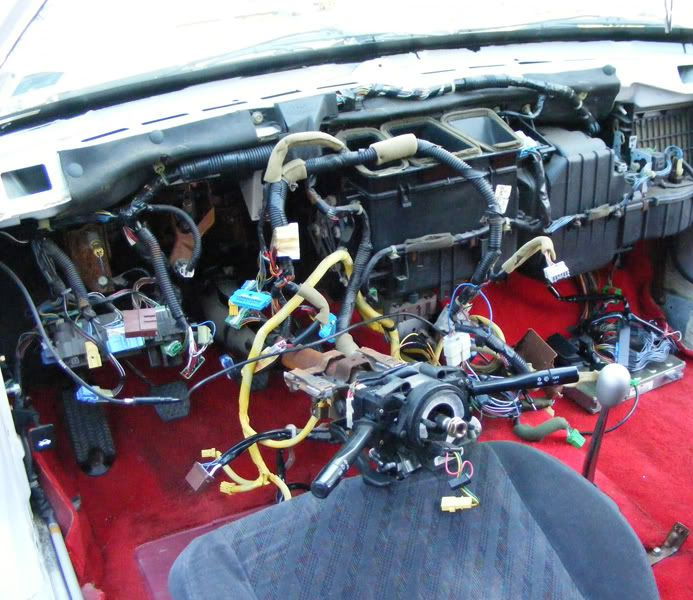
- Wiggle the dashboard to pull it free from the frame.

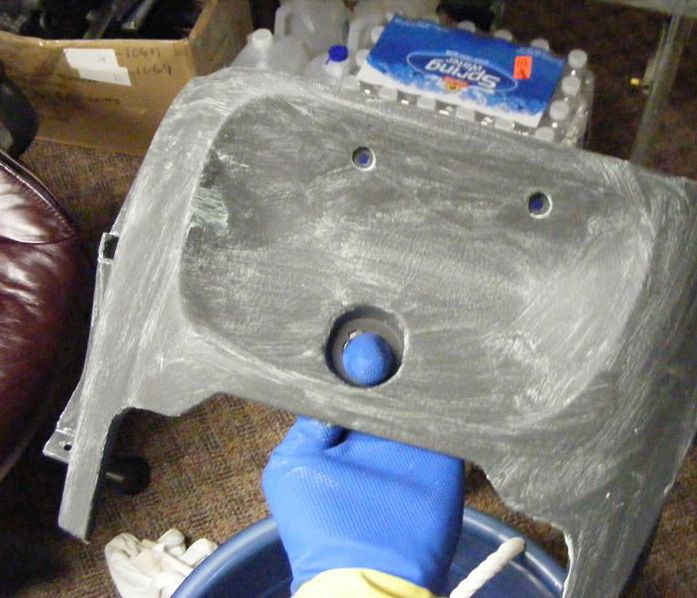
Step 7 – Clean the panels
- Wash all of the removed plastic panels with warm, soapy water and a Scotch-Brite cleaning pad. Be sure to clean the crevices as well.
- Spray the panels with Plastic Leather Prep to remove all dirt, fingerprints, etc.
- Wipe the panels with a low-lint cloth and in one direction only. Avoid leaving any lint on the panels.
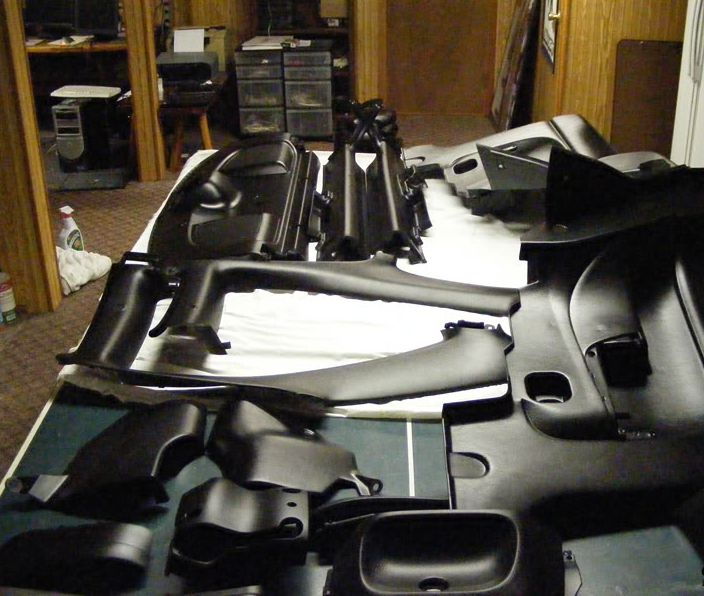
Step 8 – Paint the panels
- With a can of Sand Free, spray a light coat onto the panels.
- While the panels are still wet, spray your first light coat of pain.
- Spray another three coats of paint, allowing 10 to 15 minutes in between each coat to dry.
- Let the paint cure for 24 hours before re-installing the panels.
Related Discussions and Site
- Honda Civic: DIY Custom Interior Project - Honda-tech.com
- How to Remove Honda Civic Panels - Honda-tech.com
- Honda Civic: DIY Painting Interior - CivicForumz.com