Honda Accord: How to Replace Your Power Window Regulator
A failed window regulator can cause many problems during your daily driving routine. Fortunately, its replacement is relatively simple to do. This article covers how to safely replace your Honda Accord's window regulator, and save you money in the process.
This article applies to the Honda Accord (1990-2002).
Unfortunately, a damaged window regulator is a fairly common problem in the Honda Accord, which causes a slue of convenience issues. Owners tend to deter from a regulator replacement due to the outrageous prices that repair shops can charge, reaching upwards to hundreds of dollars just to replace one. However, for the motivated enthusiast, the replacement procedure is fairly simple to complete.

Materials Needed
- Flat head and Phillips screwdriver
- Door clip removal tool
- 10 mm socket and ratchet
- Painter's tape
Step 1 – Remove the door panel
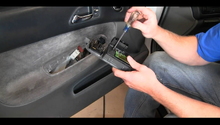
First, remove the two Phillips head screws that secure the console buttons and handle to the door panel. Then, unhinge the door handle from the door lock actuator rod, and pull off the power window switch console. Take the clip tool, and pry along the side of the door panel. Once all the clips are off, remove the door panel.

Figure 1. Remove the screw in the door panel cup. 
Figure 2. Remove the screws in the cover and door handle. 
Figure 3. Remove the door switch console. 
Figure 4. Use the door clip removal tool.
Step 2 – Remove the water protection layer
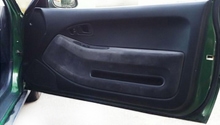
The water protection layer is a thin plastic film that covers the inside of the door panel. Loosen and remove the clips as well as the screws that mount through the layer. Then, carefully peel the water protection layer off of the door.

Figure 5. Remove the water shield clips. 
Figure 6. Remove the water shield.
Pro Tip
Water shields may be missing or torn in older Accords. In those cases, replacement is recommended as they help keep the electrical wiring dry.
Step 3 – Lower the window to its access ports
There are two sets of regulator access ports located under the window. If the actuator still works enough to lower the glass, bring the window down to those access ports. If the regulator is completely jammed, it can be manually pulled into place. The top two access ports are used as a last resort if the window fails to move from its position.
Step 4 – Remove the regulator
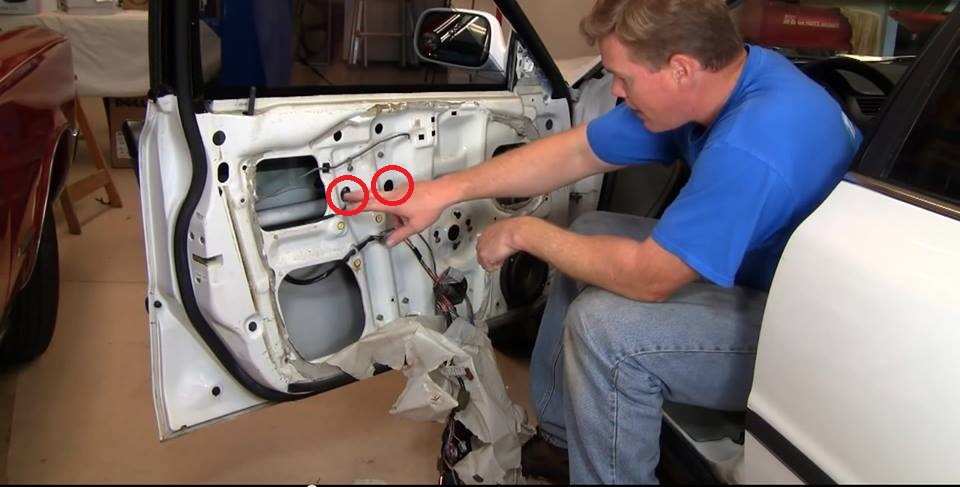
Place a few strands of painter's tape over the door, and tightly press them onto both sides of the glass to hold it in place. Loosen the two window mounting bolts (top two) and the other five bolts (middle three and bottom two) that secure the window regulator.
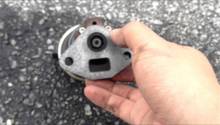
Disconnect the wiring for the window motor, and remove the regulator assembly from the door.

Figure 8. Loosen the regulator mounting bolts indicated in red. 
Figure 9. Remove the regulator from the door.
Pro Tip
Do not remove the regulator bolts. If you look closely, you will notice a gap where the bolt can actually slide out of of the door. Keep the bolts on, and remove nuts from the studs.
Step 5 – Install the new window regulator
Slide the new window regulator into the door with the studs and nuts facing outwards, so that they line up with the slots on the door. Then, snake the regulator wire harness out of the door and into the appropriate clip. Tighten the regulator mounting bolts.

Figure 10. Install the new regulator. 
Figure 11. Mount the new regulator. 
Figure 12. Reconnect the window motor to the wire harness. 
Figure 13. Tighten the regulator mounting bolts.
Step 6 – Adjust window and re-install
Once the regulator is properly installed, the window needs to be properly mounted onto the rail. Remove the painter's tape from the glass, and gently slide it down the door rail. Thread the bolts into the access ports by hand, and then use the socket to tighten them further.
You will need to re-install the water shield and door panel. Use the existing putty to stick the water shield back on. Once it is attached, tighten the additional hardware onto the water shield. Clip the door panel on, connect the door actuator rod to the interior handle, and tighten the panel in place with the handle as well as the window switch console screws.

Figure 14. Position the glass onto the regulator rail. 
Figure 15. Line up this port to the rail. 
Figure 16. Tighten the window mounting bolts. 
Figure 17. Re-install the door panel.
Pro Tip
Keep a close eye as to how the glass slides into the regulator railing, and make sure it correctly lines up with the door. Many people make the mistake of installing the glass carefree.
Featured Video: How to Install Window Motor Regulator
Related Discussions
- Honda Accord EX Power Window Won't Come Back Up - Honda-Tech.com
- Power Window Troubles - Honda-Tech.com