Honda Civic: How to Install Power Windows
Nowadays, most cars come with power windows, so why should yours be the exception? Find out how to upgrade to a new power window.
This article applies to the Honda Civic/Del Sol (1992-2000).
Power windows have become a standard feature on most cars, but what if yours wasn't equipped with them? Thankfully, there are aftermarket power window conversion kits that can change that. This installation is lengthy, and several components must be removed. So if tedious mechanical skill is not your forte, then it might be best to have the shop take care of it.

Materials Needed
- Universal power window conversion kit
- Phillips screwdriver
- Drill with drill bits
- Ratchet with 8mm socket
- Needled nose pliers
- Zip ties
- Electrical tape
- Marker
- Cutter
- Actuator rubber plug
Step 1 – Disconnect the battery and remove door panel
- Start by disconnecting the negative (black), and then the positive (red) terminal of the battery.
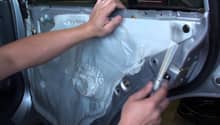
- To remove the door panel, roll up the window to avoid cracking or damaging it in the later steps. Drilling and bolting the door frame will be required.
- Remove the 8mm retaining bolt located on the top corner of the panel (by the side mirror).
- Push on the door panel (by the manual window crank) to expose a clip, and pull it off with needle nose pliers.
- Then, pull off the window crank to expose the crank shaft.
- Grab the panel from each end to wiggle it out in an upwards motion.
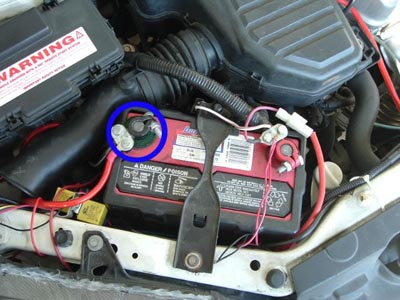
Figure 1. Disconnect the negative (circled in blue) battery terminal first. 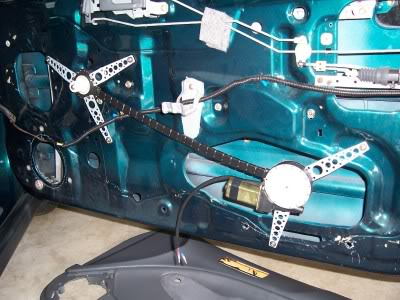
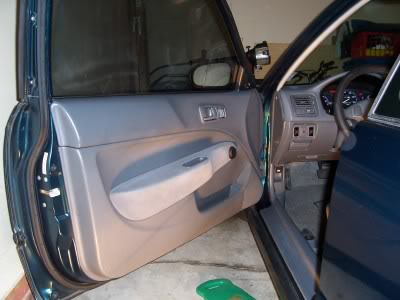
Figure 2. Remove the door panel.
Step 2 – Install the crank shaft gear
- The power window conversion kit should come with a variety of gears.
- Insert the white gear (Figure 4) that fits appropriately onto the crank shaft of the door frame.

Figure 3. Crank shaft with manual door crank removed. 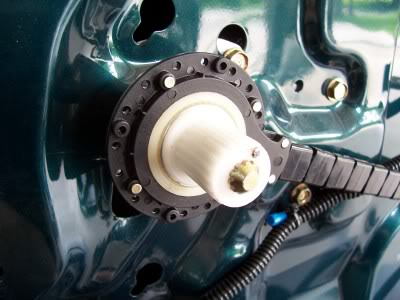
Figure 4. Appropriate gear for crank shaft.
Step 3 – Mount the power window actuator
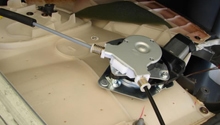
- Locate the brackets, and install them to both motors of the power window actuator.
- Use a marker to outline the holes where the brackets will be bolted on.
- Drill holes on the door frame where you marked the bracket mounting points.
- With a Phillips screwdriver, secure the brackets attached to the motors onto the door frame.
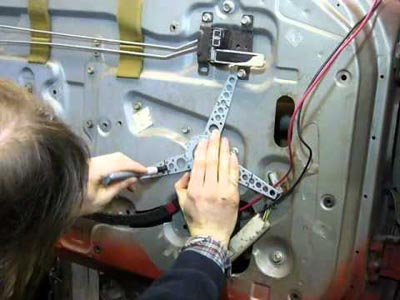
Figure 5. Determine the place to mount the actuator brackets. 
Figure 6. Secured power window actuator.
Step 4 – Power the actuator
- Connect the black wire originating from the actuator onto a bolt on the bracket to serve as the ground wire.
- Run the actuator wiring harness inside the door frame and out the rubber boot that connects to the main cabin.
- Connect the wiring harness plug into the corresponding slot on the fuse box.

Figure 7. Attach ground wire to the bracket. 
Figure 8. Run wiring harness through the boot and into the cabin. 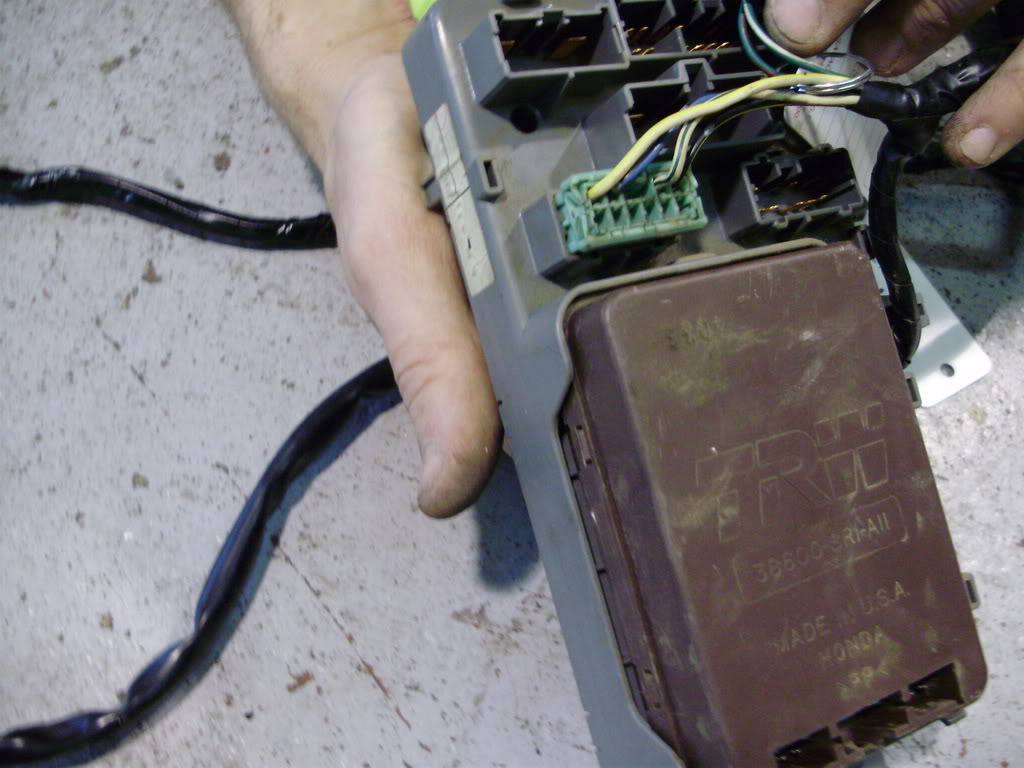
Figure 9. Connect wiring harness plug to the appropriate location on the fuse box.
(Related Article: Fuse Box Diagrams - Honda-Tech.com)
Step 5 – Install the switches
- A template should be provided with the kit. Use the marker to outline the switch location on any panel.
- Use the cutter to create the slot for your power window switches.
- Connect the wiring from the switch to the wiring harnesses of the actuator.
- Reconnect the negative (black) and positive (red) battery terminals, and confirm that the window switches work.
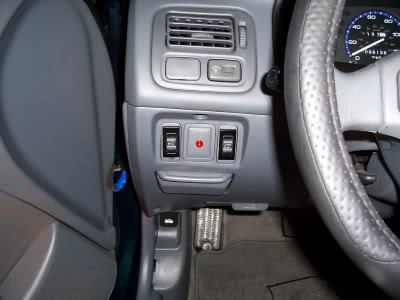
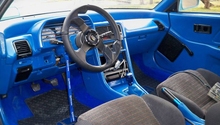
Figure 10. Install the switches. 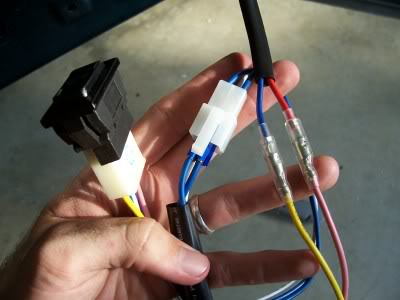
Figure 11. Connect wiring for the power window switches.
Step 6 – Reassemble the door panel
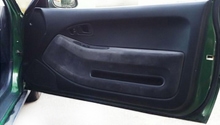
- Snap the door panel back onto the door frame.
- Plug in an actuator rubber plug to conceal the hole in the door panel.
- Finally, fasten the retaining bolt.
Related Discussions and Site
- Civic Install Power Windows - Honda-Tech.com
- Civic Power Door Conversion - Honda-Tech.com
- Power Window, Lock, and Mirror Steps - Repo.JackMoves.com