Honda Accord: How to Clean EGR Port
Over time, the EGR ports on an intake manifold will become clogged with carbon deposits. The ports will need to be cleaned in order for the car to run correctly. Learn how to properly clean clogged EGR ports on a Honda Accord.
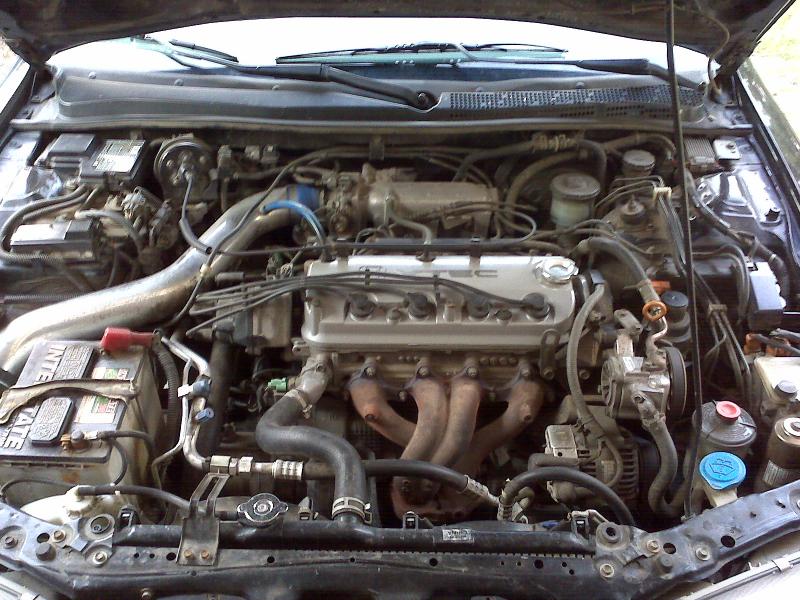
This article applies to the Honda Accord (1990-2002).
The EGR ports on an engine exist to release exhaust fumes into the intake manifold. When the ports become clogged, the engine can experience several different problems including stalling, bogging, poor fuel economy and hesitant acceleration. To fix the problem, the carbon deposits have to be removed from the manifold. This article explains how to safely remove carbon deposits from a Honda Accord.

Materials Needed
- Slide hammer
- Screws
- Assorted drill bits
- Metric socket set
- 3/8" ratchet
- Assorted screws
- Carb cleaner
- Vacuum cleaner
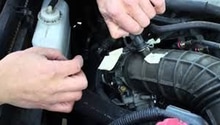
Step 1 – Remove the fuel rail
It's best to wait overnight to allow the pressure in the fuel rail to settle.
- Open the gas tank to relieve any excess fuel pressure.
- Disconnect the vacuum and fuel line attached to the regulator at the end of the rail.
- Loosen the bolts on the FITV (fast idle thermal valve).
- Remove the PCV (positive crankcase ventilation) hose from the engine's valve cover.
- Loosen and remove the two 10mm bolts that hold the plastic wire harness cover for the fuel injectors.
- Loosen and remove the three nuts that attach the rail to the intake.
- Carefully remove the fuel rail.

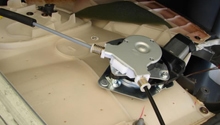
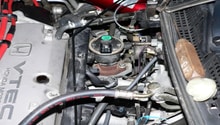
Step 2 – Remove the FITV and IACV
- Finish loosening the bolts on the FITV and remove the unit.
- Loosen the IACV (idle air control valve) bolts from the manifold and remove it.
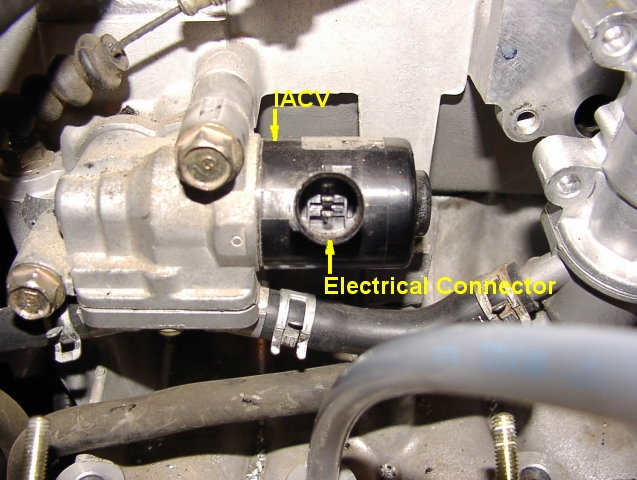
Figure 2. Location of IACV. 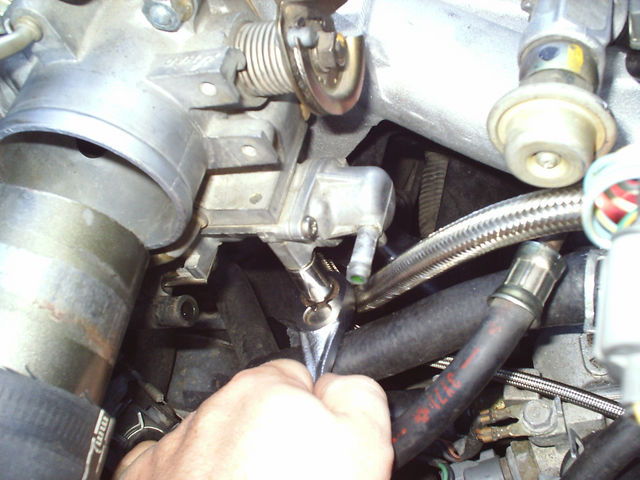
Figure 3. Removing FITV.
Step 3 – Clean the EGR ports
Once all the components are removed, you can focus on cleaning. Each port should be filled with what looks like a black gunk, also known as carbon buildup. The first thing to do is to remove the old EGR port plugs.
- Drill into the plugs.
- Thread them using a 10-24 tap.
- Use the slide hammer to break lose the plugs on the intake manifold.
- Remove each plug.

Figure 4. Clogged ports. 
Figure 5. Old plugs removed.
Once each plug is removed, you can use several tools to help get off any carbon buildup.
- Wires are excellent to use as they can be bent through two ports at the same time. Slide hammers with the correctly sized screw also work well. If all else fails, use a drill bit and turn it by hand inside the port.
- While cleaning each port, connect a vacuum cleaner to a cleaned port so it can suck up any loose particles and keep it from getting into the cylinders.

Figure 6. Use a wire to clean out the ports. 
Figure 7. Vacuum cleaner attached to the EGR port.
Step 4 – Install the new plugs
- Check and make sure the ports are fully cleaned.
- When they are clean, carefully use a sledge hammer with a small rod to hold them steady and knock in the new plugs.
- The plugs should sit flush on the intake.

Figure 8. Cleaned EGR port. 
Figure 9. EGR port plugs installed.
Step 5 – Clean the EGR valve
Cleaning the EGR valve is optional; however, it is best to clean out all the carbon deposits found on the manifold to avoid any future issues.
- Remove the two mounting nuts for the EGR.
- Flip the unit over and attach it to a vacuum pump.
- While its valve is open, spray some carb cleaner inside.

Step 6 – Re-install the removed components
- Install the gasket for the EGR valve and tighten the nuts.
- Clean off the fuel injector ends and re-install the rail onto the manifold.
- Mount the FITV and IACV.
- Tighten down all of the components.
- Reconnect the IACV and FITV sensors.
- Connect the PCV valve.
- Reconnect the vacuum line to the fuel pressure regulator.
- Start the car and take it out for a spin!
Related Discussion and Site
- EGR Port Cleaning Without Using Carb Cleaner - Honda-Tech.com
- DIY Slide Hammer for EGR Port Cleaning w/ Pics - Preludepower.com