Honda Civic: How to Install/Replace Cabin Air Filter
Cabin air filters clean the air that circulates inside your car. Installing them is very simple, if your car doesn't already have one installed.
This article applies to the Honda Civic (1992-2000).
A cabin air filter helps filter and clean the air coming into your car by preventing leaves, dirt, and other debris from entering and circulating throughout your cabin. Some later Civic model years already have a cabin air filter installed, and you access it behind the glove box. Earlier models do not have an installed cabin air filter, but they do have a slot into which a cabin air filter can be inserted. While later models use two cabin air filters, earlier models only have space for one cabin air filter. Installing and/or replacing your cabin air filter(s) is simple, even for a novice DIY'er, and you likely already have the necessary tools. But, be sure to buy a filter or filters that fit your Honda Civic. This information is likely in your owner's manual, but if not, your local auto parts store can steer you in the right direction.

Materials Needed
- One or two replacement cabin air filters
- Phillips screwdriver
- 8 and 10 mm socket and ratchet
- Needle-nose pliers
- Bottle brush (optional)
- Handheld vacuum (optional)
If your Honda Civic does not have cabin air filters installed or they need replacing, follow the steps below.
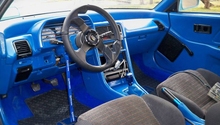
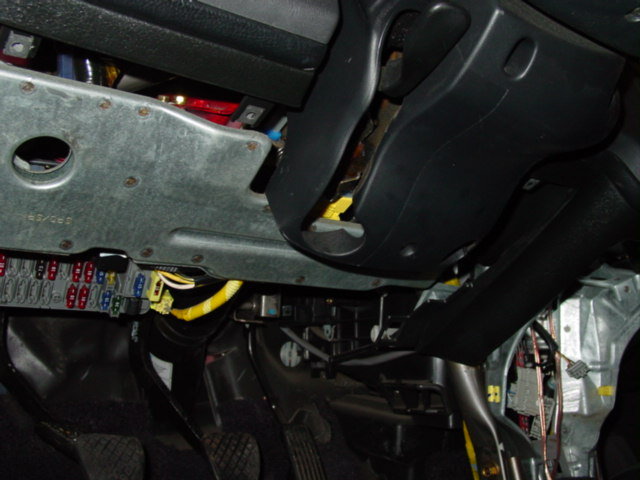
Step 1 – Remove driver side knee bolster panel
- With a Phillips screwdriver, remove the screw of the knee bolster panel located above the coin pocket, toward the door.
- Remove the screws on each bottom corner of the panel.
- Then, remove the screw in the top corner near the dashboard.
- Loosen the metal clips holding panel in place and remove it.
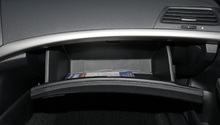
Step 2 – Access the evaporator
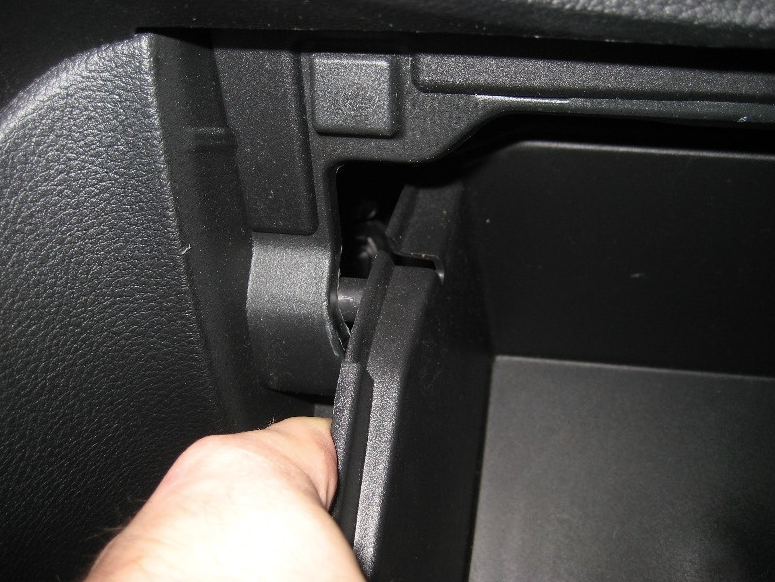
- Open the glove box and remove everything inside of it.
- Press the tabs on both sides of the glove box and pull them inward.
- Leave glove box hanging open.
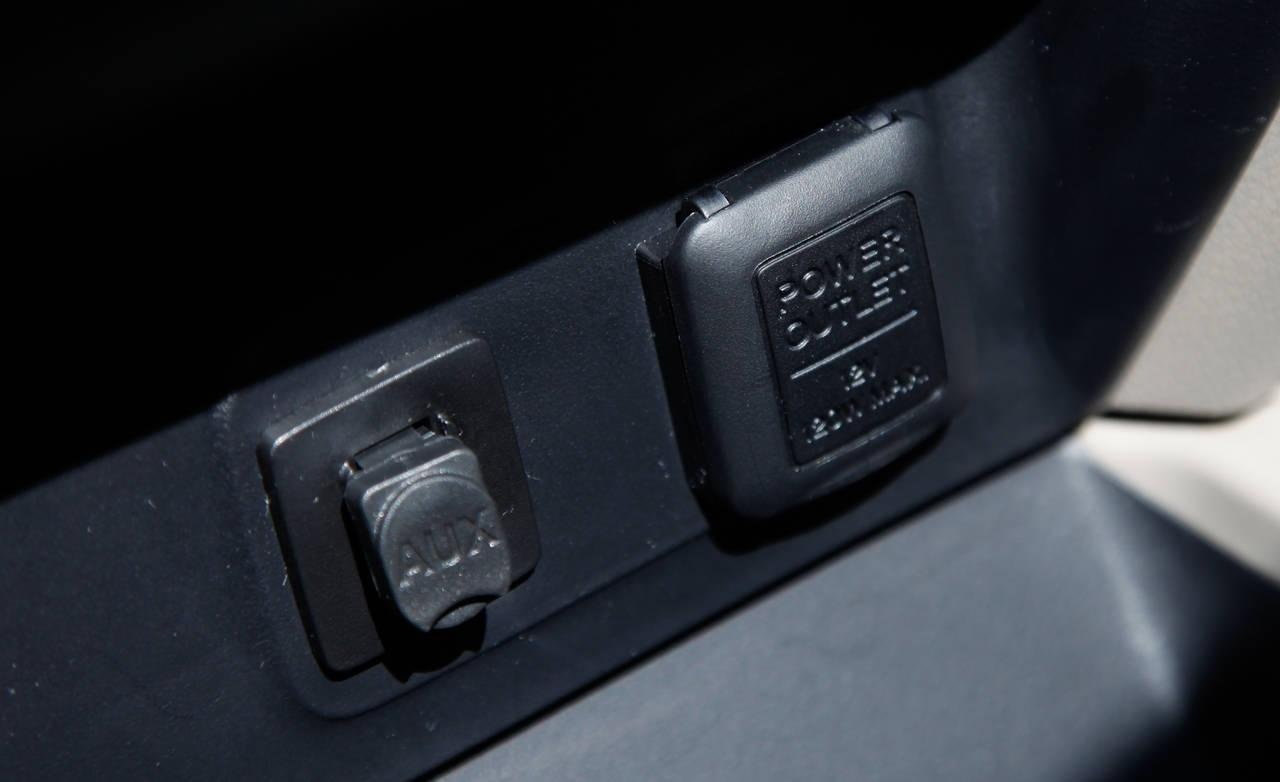
Step 3 – Remove the 12-volt panel
- Depending on your Civic model year, either screws or bolts have been used to secure the 12-volt panel.
- Use a 10 mm socket and ratchet if your Civic has bolts.
- Use a Phillips screwdriver if your Civic has screws securing the 12-volt panel.
- After the panel is removed, use an 8 mm socket and ratchet to remove the bolt behind the panel.
Step 4 – Remove the glove box trim piece
- With the Phillips screwdriver, remove the screw located on the right side trim piece of the glove box.
- Loosen three metal clips holding the trim piece to the right of the glove box.
- Then, completely remove the trim piece.
Step 5 – Remove the glove box frame
- Remove the two 8 mm bolts and one 10 mm bolts from the glove box frame.
- Hold onto the frame as you remove the last bolt or it will fall and might get damaged.
- Once you have removed the last bolt, remove the frame.
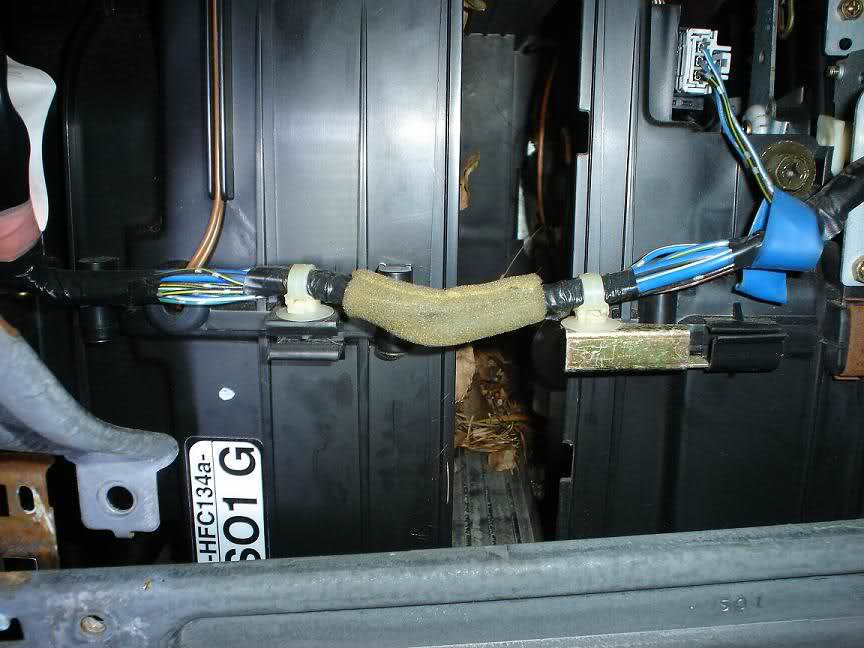
Step 6 – Open the evaporator lid
- Located behind the glove box is the evaporator, which looks like a black plastic box.
- Use needle-nose pliers to pinch and undo the white clip attaching the wire harness to evaporator lid.
- With your Phillips screwdriver, remove the screw securing the metal bracket to the evaporator lid.
- Lastly, lift the lid up.
Step 7 – Insert the new filter
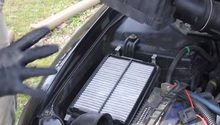
- If necessary, use a bottle brush or handheld vacuum to remove any dirt and debris from the cabin air filter opening.
- Then, insert and push the cabin air filter into the evaporator slot.
- Make sure that the "air flow" arrows of the filter and the filter housing are pointing in the same direction.
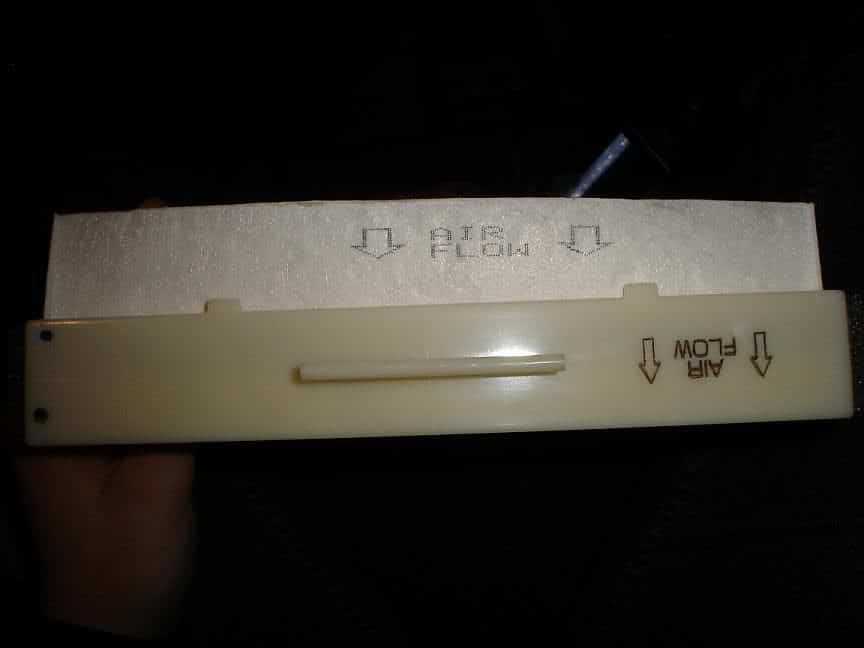
Figure 5. Air flow directional arrows should point in the same direction. 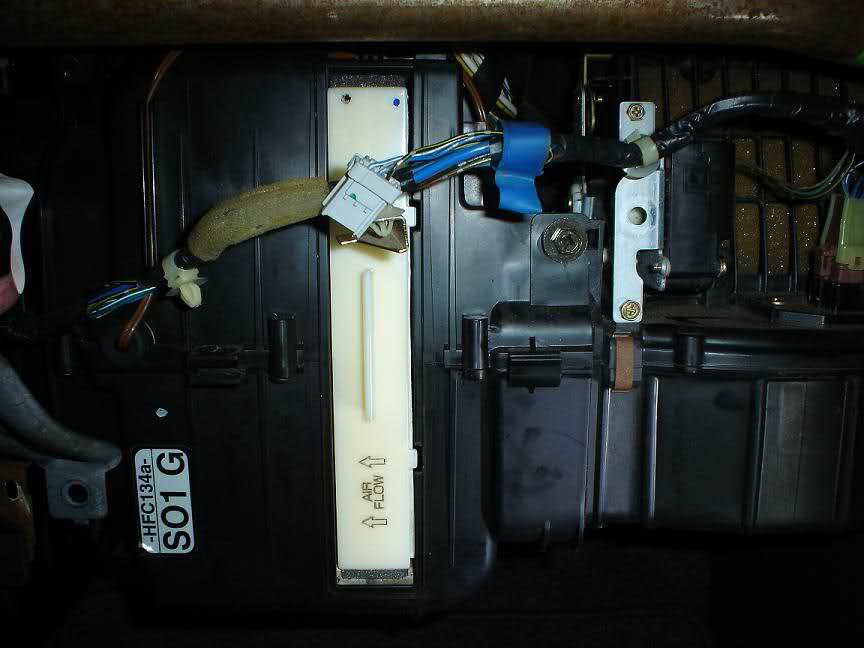
Figure 6. Push cabin filter completely into the slot.
Step 8 – Re-assemble the air filter unit
- Close the evaporator lid, screw it together, and re-attach the wire harness.
- Bolt in the glove box frame.
- Clip and screw in the trim piece on the right side of glove box.
- Re-install 12-volt panel.
- Securely reattach the glove box.
- Screw in the knee bolster panel.
Featured Video: How to Replace Cabin Filter in Honda Civic
Related Discussions
- Discussion: Cabin Air Filter - Honda-Tech.com
- How to Install Cabin Air Filter in a 1998-2000 Honda Civic - Honda-Tech.com
- DIY: Factory Cabin Air Filters for 1996-2000 Honda Civics - Honda-Tech.com
- DIY: Interior Cabin Air Filter Retrofit - Honda-Tech.com