Honda: How to Black Out Your Headlights
Blacking out the headlight housings might seem risky at first, but it won't be if you follow these easy steps.
This article applies to the Honda Civic and Accord (1990-2000).
In terms of aesthetics, there are a plethora of styling modifications one can do to emphasize a certain look. A very popular modification is blacking out the headlight lenses. This gives the front of the car a "stealth" look. There are a couple of inexpensive options when it comes to "tinting" your headlight lenses.

Materials Needed
- Screwdriver
- Razor
- Simple Green
- Automotive Goop (epoxy sealer)
- Access to an oven
- Painter's tape or masking tape
- 800 grit sandpaper
- VHT "Night Shades Lens Cover Tint" paint
- Hair dryer or heat gun
- Torx bits
Step 1 – Remove headlights
Disconnect electrical connectors from the headlights by unplugging them. To remove the headlight assemblies, you will need to remove the front bumper first.
Featured Video: How to Remove Bumper and Headlight
Step 2 – Separate lenses
To black out the headlight lenses, they will need to be separated from their housings. To do this, you'll need to literally bake the headlights in the oven.
Set oven to 250 degrees. Carefully place headlights in the oven for 10 minutes. Remove the headlight carefully and use a screwdriver to pry the corners of the lenses. If the silicone begins cooling before the lenses are totally separated, use a hair dryer or heat gun on high to warm it up again.

Figure 1. Headlight lenses separated. 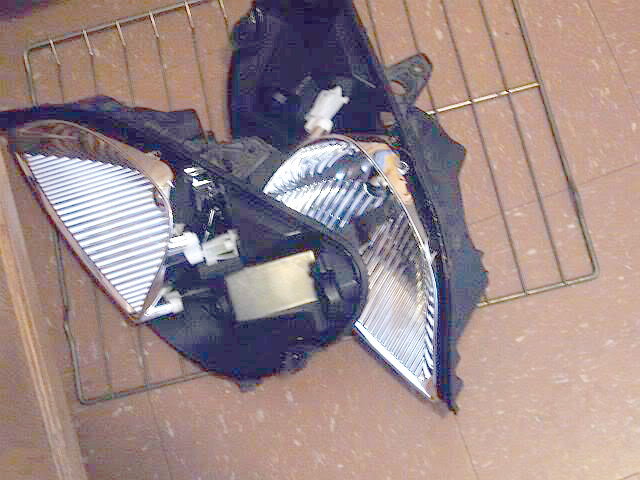
Figure 2. Headlights without lenses or bezel.
Pro Tip
It may be necessary to remove the reflector with Torx bits.
Step 3 – Prep the reflectors
The bezels are what gets painted, not the actual reflector. Mask off reflective portions using painter's tape or masking tape. To ensure the paint adheres well, wet sand the bezel with a high-grit (800 or so) sandpaper.
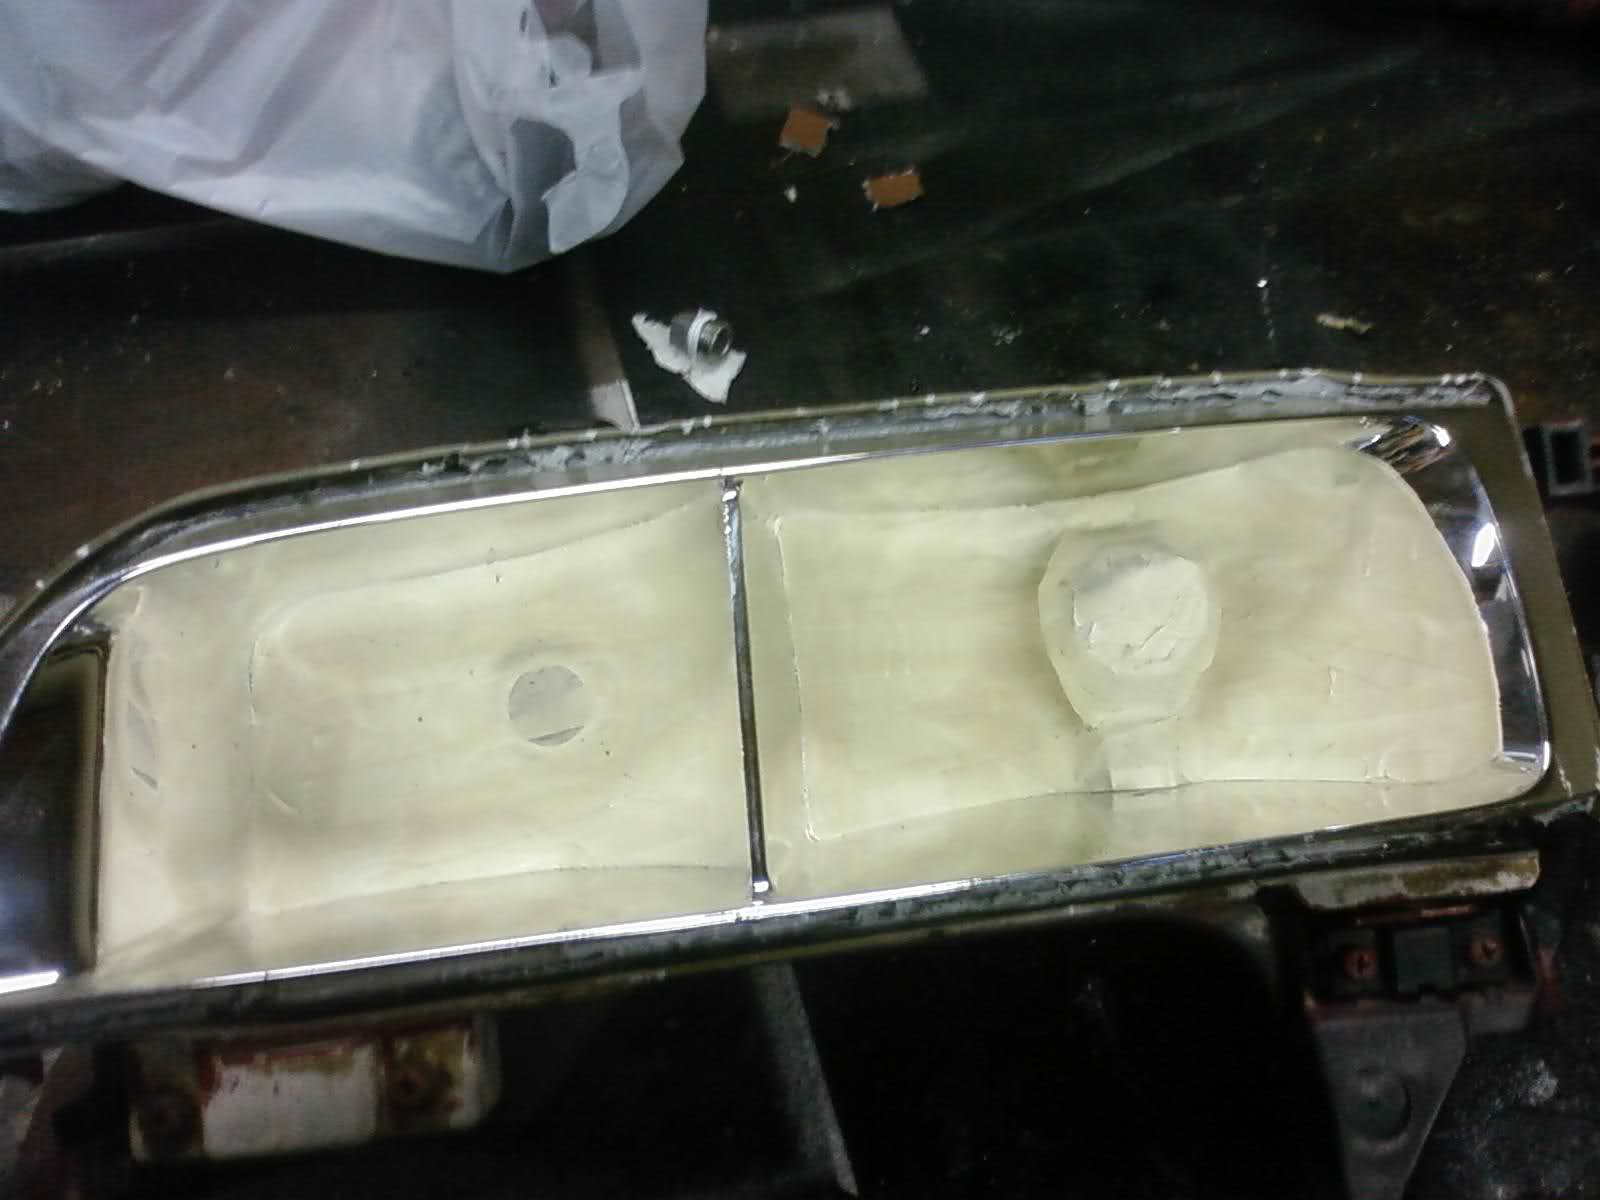
Figure 3. Accord masked reflector. 
Figure 4. Cvic headlight masked reflector.
Pro Tip
The areas outside of the reflective portion of the headlight lens can be sanded to allow the paint to adhere better.
Step 4 – Paint headlight housings
Now that the housings are prepped, they can be painted. Spray paint over the housings in a sweeping motion keeping 8-10" distance. Allow it to dry for a few minutes in between coats. Three coats should be enough to lay down a reasonable amount of paint.

Step 5 – Remove masking tape
Once the paint has dried, remove the tape. Start at the corners and gently peel up the tape to remove.

Pro Tip
Go slow. If you remove the tape too quickly, it will lift off paint in surrounding edges.
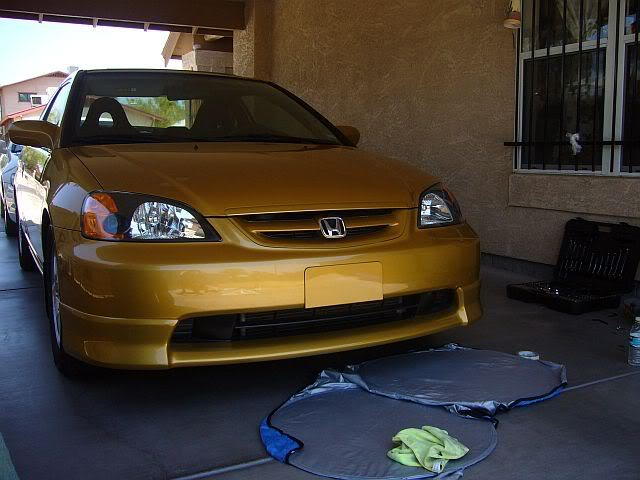
Step 6 – Reassemble headlights
Once the masking tape has been removed and paint is fully dried, the assemblies need to be put back together.
- Affix lenses to housing.
- Set oven to 250 degrees.
- Place assemblies in oven for 10 minutes.
- Remove and let cool.
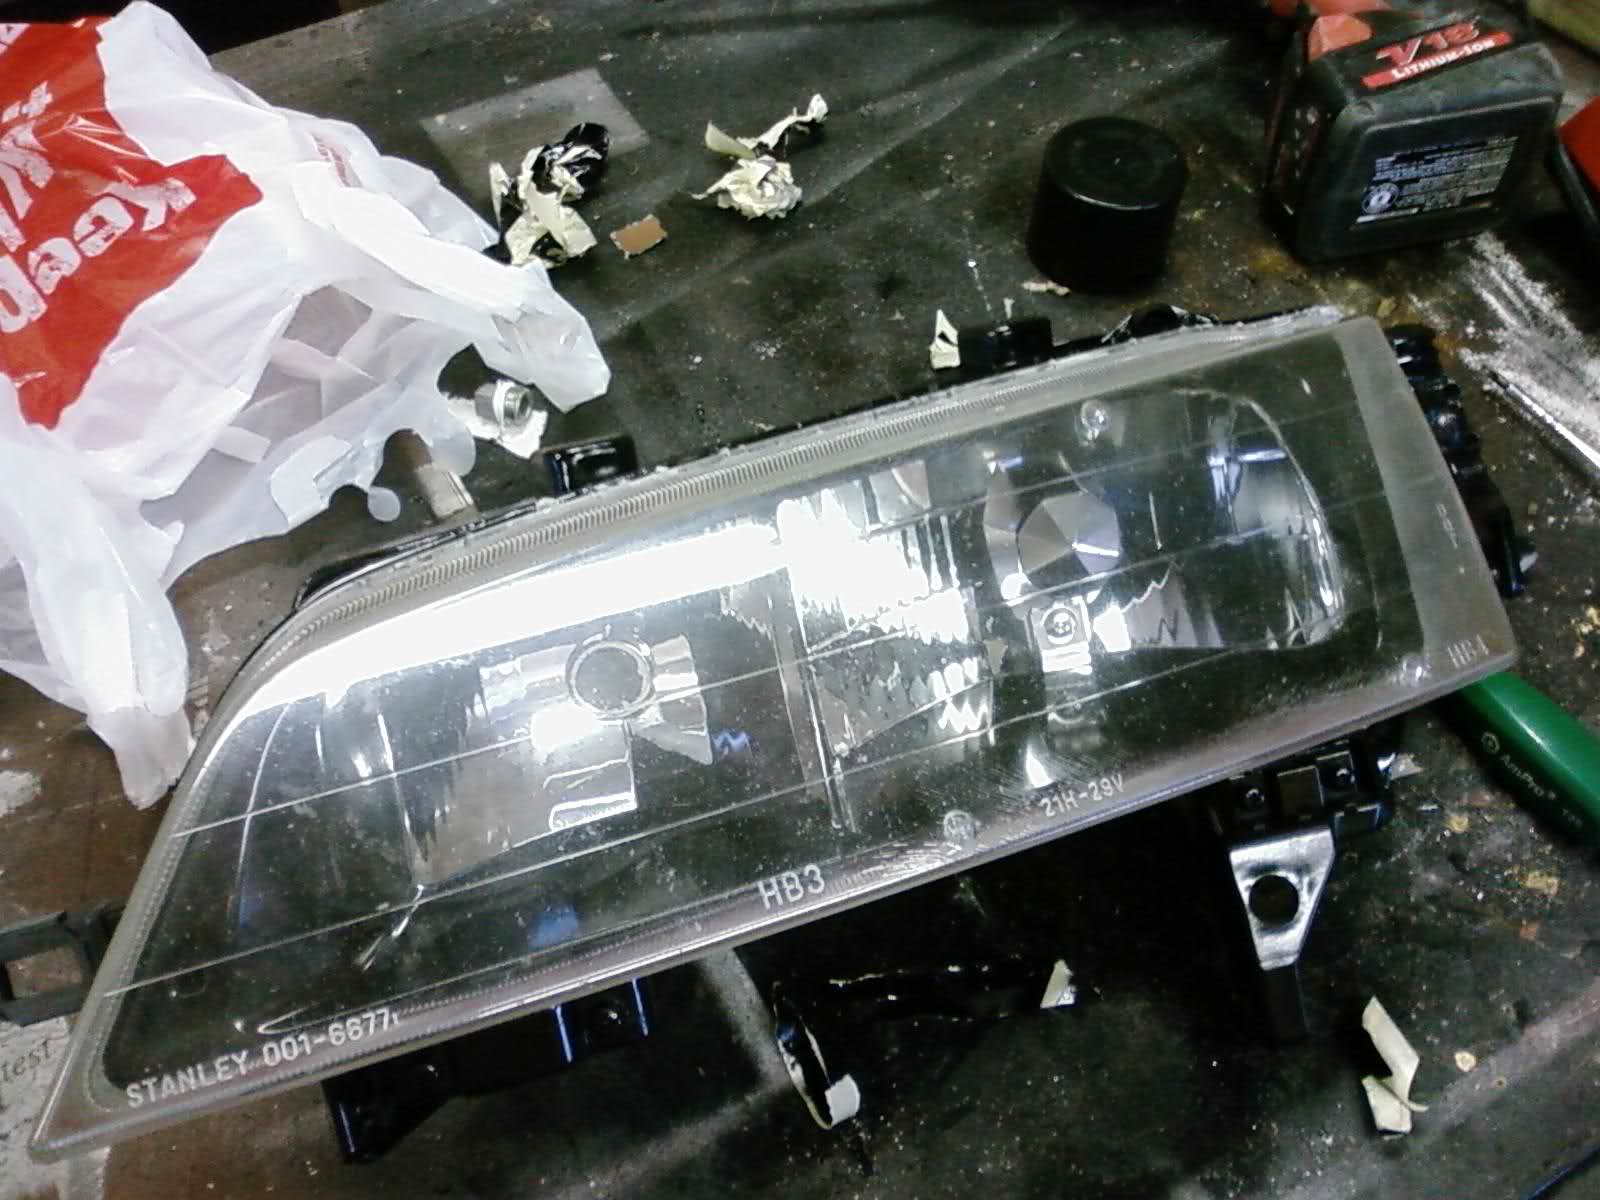
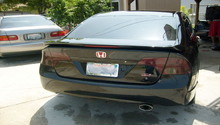
Figure 7. Blacked out Accord headlight assembly. 
Figure 8. Blacked out Civic headlight assembly.
Pro Tip
The heat will get the glue pliable again to secure the lenses to the housing. You can add additional epoxy as well.
Step 7 – Re-install headlight assemblies
Now that you have a finished product, it's time to re-install the headlights. The re-installation is reverse of removal.
Related Discussions
- How to Black Out Headlights - Honda-Tech.com
- Another How to Black Out Headlights - Honda-Tech.com