Honda: How to Paint Your Engine Cover
With the many color options to choose from, you can make your car stand out from the rest. Learn how to paint your engine's cover here, and attract some jealous stares.
This article applies to the Honda Accord (1990-2002), Civic, and Civic Del Sol (1992-2000).
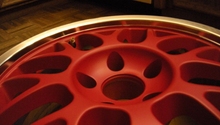
Painting your engine cover is an easy way to modify and personalize your ride. Be sure to do it on a sunny day, since you don't want to paint in an enclosed area like a garage. Painting in overcast, rainy, or cold weather can affect the finished look and the drying time. Consider starting early in the day. The earlier you start, the more daylight you have in which to dry your engine cover. If you're interested in helping your engine cover further stand out, consider painting or touching up any raised lettering.

Materials Needed
- High-temperature spray paint and primer (such as Dupli-Color Engine Enamel or VHT)
- Paint remover
- Windex
- Flat head screwdriver (optional)
- 10 mm socket
- Sandpaper or wire brush
- Paper and cloth towels
- Gloves (optional)
- Masking tape
- Dish washing liquid (optional)
- Sponge (optional)
- Non-rubber gasket (optional)
- Hair dryer (optional)
Pro Tip
Pick a primer color that is lighter than the color you're painting your engine cover. Gray is easily the best choice.
Step 1 – Remove and wash valve cover
Use a 10 mm socket wrench to loosen, and then remove the five nuts on the valve cover. Set the nuts aside because you will use them to reattach the valve cover when the paint dries. You may need to use a flat head screwdriver to pry the valve cover off. To remove the valve cover, you must break its gasket seal. If you have a rubber gasket, then you can re-use it. If you have a non-rubber gasket, then you should have one handy because you won't be able to reuse it once it is broken.
To wash the valve cover, apply spray cleaner or dish washing liquid. Clean with paper towels, cloth towels, or a sponge. You don’t have to wash the inside of the valve cover, but if you see oil buildup, then consider cleaning it at this time. If your valve cover was previously painted, use paint remover to remove old paint. Work on a flat, clean surface. Consider working on towels as well. This will help prevent you from accidentally getting paint on your work space.
Step 2 – Scuff valve cover and mask off parts
Use sandpaper or wire brush to scuff the exterior of the valve cover. Wipe in circular motions, and make sure you scuff the entire surface area. This will help the paint bond more easily with the valve cover.
Then, use masking tape to mask off raised lettering, so you don't paint over them. Also, mask off your engine cover’s bolt holes, screw holes, and the oil cap hole.
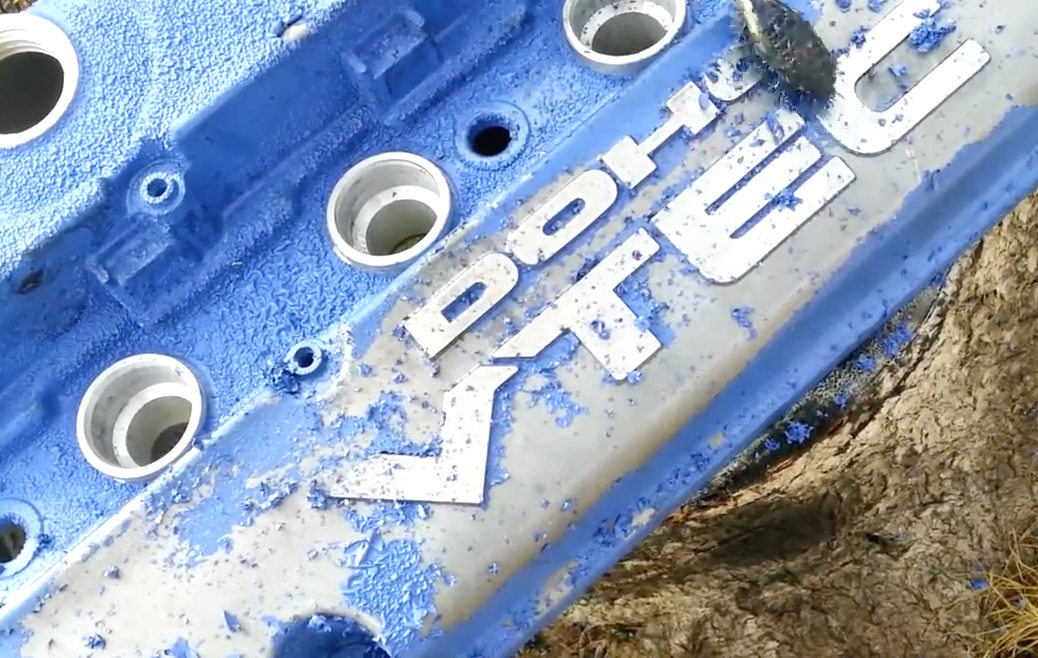
Figure 1. Use wire brush or sandpaper to scuff engine cover. 
Figure 2. Use masking tape to cover and protect raised lettering,or other parts of engine cover you don't want to paint.
Step 3 – Apply primer
Paint engine cover with several coats of primer. Wait between five and ten minutes after applying the first coat of primer to apply a second coat. Expect to apply between three and five coats of primer.

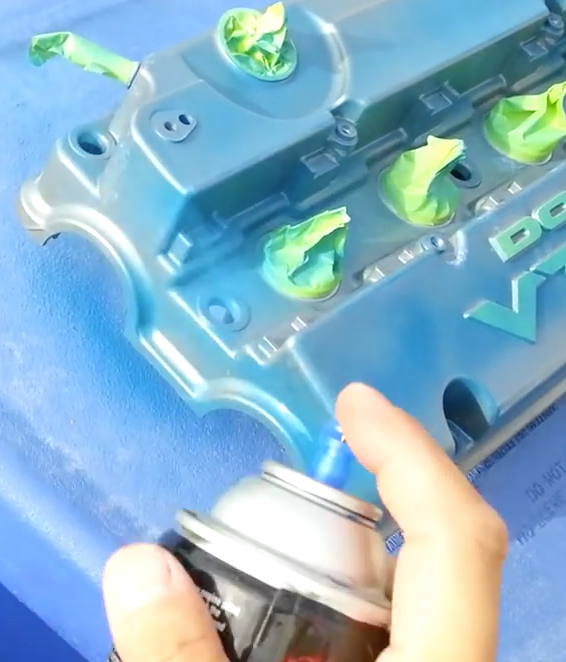
Step 4 – Paint engine cover
Spray paint evenly and lightly on entire surface of engine cover. Wait between 10 and 15 minutes after applying the first coat of paint to apply a second coat. Expect to apply between three and five coats of paint. You may have to change the positioning of the spray can to get all of the contours of the valve cover. Do not spray too close to the valve cover, as it may cause runs in the paint.
Step 5 – Let engine cover dry and reassemble
Use a hair dryer to dry the engine cover, or let your engine cover air dry for a few hours. You can remove the tape from the masked off areas after letting it dry for a few hours, or after drying with a hair dryer. Air drying might allow you to touch it without ruining the paint, but it still won't be dry enough to drive.
To reassemble, you will need to clean and oil the rubber gasket. Then, set it in place. Put valve cover in place, and use the 10 mm socket wrench to attach valve cover with nuts. Reattach alternator and battery cables if you detached them before you started. If air drying, let stand for 48 hours. If you used a hairdryer, you can drive your car now.

Featured Video: How to Paint Your Engine Valve Cover
Related Discussion
- Easy DIY: Painted Valve Cover - Honda-Tech.com