Honda Civic: Why is My Speedometer Not Working?
Avoid speeding tickets by always knowing your correct speed. If the speedometer of your Honda Civic is not working, then follow this guide to diagnose and repair the problem.
This article applies to the Honda Civic (1992-2000).
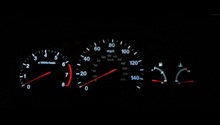
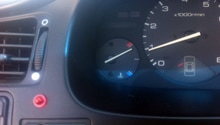
Driving without a properly functioning speedometer is a speeding ticket waiting to happen, so it's important to fix it as soon as possible. There are a few different key elements that go into how the speedometer in your Honda Civic works. Here's a general idea of how it works. The vehicle speed sensor (VSS) gear is located on the transmission, and it sends an RPM signal to the engine control unit (ECU). The ECU then translates this signal into MPH, and relays that information to the speedometer in your car's instrument panel. If the speedometer in your Civic has stopped working or is delivering completely inaccurate readings, continue reading to properly diagnose and repair the problem.

Materials Needed
- Ratchet, extension, and metric socket set
- Soldering kit
- OBD scan tool
- Multimeter
This article is broken down into two main "speedometer reading output" sections. One for constant inaccurate speedometer readings, and the other for intermittent readings or a complete failure. Although your issue may fall under one of these sections, it is recommended diagnosing all the possible reasons provided in this article.
If Your Speedometer is Off By a Constant Amount
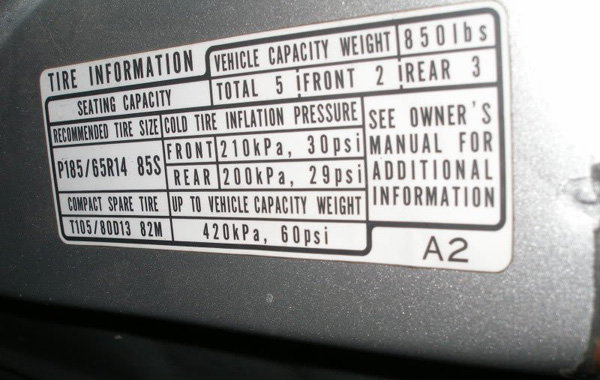
Step 1 – Check the tire information on the door jamb
The tires may not be the correct size.
A change in tire size may cause the speedometer to give off a constant inaccurate reading. The speed reading is based on fixed tire sizes, which are preset into the ECU straight out from the factory. Changing the wheels to a larger diameter will cause the speedometer to read slower than your car's actual speed, and a decrease in diameter will cause it to read faster.
You can compare your tire size by looking at the factory tire size listed on the driver's side door jamb sticker, and comparing that to the sidewall of your currently installed tires. If the rim sizes have also been changed, you can use an online tire/rim calculator to compare the stock tire sizes with the replacement tires on your Civic.
If you don't wish to swap back to factory size tires, there are a couple solutions:
- Re-calibrate the speedometer by removing and resetting the gauge cluster needle.
- Swap out the VSS gear to one with a different tooth count.
(Related Article: Tire Modifications and Size Calculator - Honda-Tech.com)
Move on to the following step if your speedometer is still not working properly.
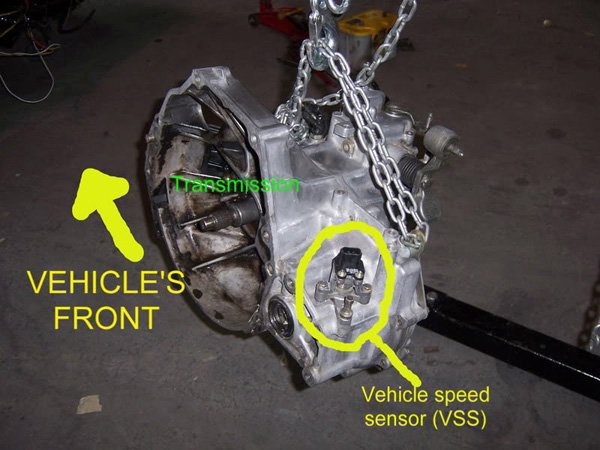
Step 2 – Check the DTC codes
The VSS may be malfunctioning.
Purchase an OBD (On-Board Diagnostics) scan tool to check for any DTCs (Diagnostic Trouble Codes). Many local auto parts stores will also scan your ECU, and provide you with DTCs for free. OBD scan tools cost as little as $15.
Once you have the trouble codes in hand, look for codes with the number 4 or 17. Both these numbers relate to the VSS gear. If you have either code, it needs to be replaced. A new VSS runs for about $40.
If the VSS has been replaced and your speedometer is still not working properly, move on to the following step.
If Your Speedometer Gives Off Intermittent Readings or Has Completely Failed
Step 3 – Check the wiring
A wire may have shorted or broke.
Before replacing any major speedometer-related parts, retrace the wiring from the VSS to the ECU and the gauge cluster. First do a visual inspection for any loose or broken wires, and then replace or solder them as needed.
If you see no breaks or loose connections, use a multimeter to check for proper electrical current in the wires. This will help you to locate any shorts or internal brakes that are not visible. The cost of a multimeter starts at $10.
Move on to the next step if there are no shorted or loose connections in the wiring.
Step 4 – Re-solder joints on the gauge cluster
Over time, connections in the gauge cluster circuit board are prone to cracking and corrosion. Temperature changes can also lead to cold connections.
This step is a bit more difficult, and if you've never soldered before, it is recommended having this step done by a trained professional. You'll need to remove the gauge cluster from the car to reveal the back side of the gauge cluster. Cover each solder joint. Apply a new layer of solder while taking care not to run onto the other leads of the circuit board. Basic soldering kits run for as little as $15.
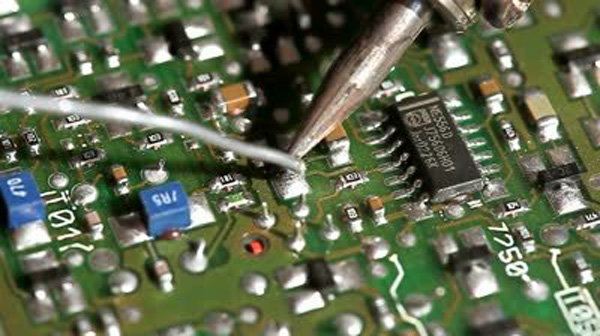
Figure 3. Re-soldering circuit board connections.
Move on to the following step if the circuit board is intact or has been soldered, and the gauge cluster is still not functioning properly.
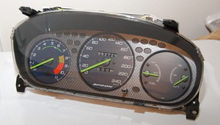
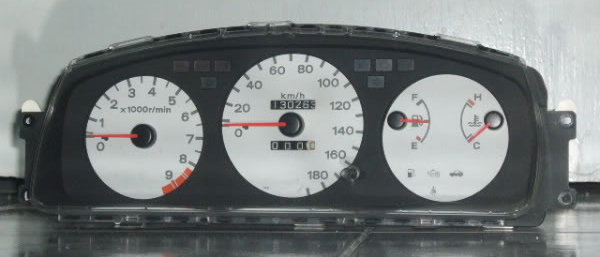
Step 5 – Replace the gauge cluster
There may be a crack or unknown break in the gauge cluster assembly.
If all else fails, a last resort is to swap the gauge cluster with a new one. If the board is cracked or fried, no amount of soldering is going to get it working correctly. Unfortunately, an OEM gauge cluster is getting more difficult to find, so an aftermarket gauge cluster might be your best option. The alternative, but more indirect method to replacing the gauge cluster, is to purchase a GPS as it can give you a reading of your car's speed. In lieu of a speedometer, a GPS may be just as accurate and it's easy to use. Replacement gauge clusters can run anywhere from $75 to $300.
(Related Article: How to Install a New Gauge Cluster - Honda-Tech.com)
Related Discussions
- Honda Civic Speedometer Fix - Honda-Tech.com
- EG Civic Speedo Not Working - Honda-Tech.com
- 1993 Civic Speedometer Problems - Honda-Tech.com
- 1993 Civic Speedometer Not Working - Honda-Tech.com