Honda Civic: How to Re-Calibrate Speedometer
Find out the alternative ways to re-calibrate the speedometer on your Honda Civic with this helpful guide. Both ways are easy, and ensure your speedometer stays accurate.
This article applies to the Honda Civic (1992-2000).
A speedometer error is the number one reason for speeding tickets. While the police officer who pulled you over may not accept an inaccurate speedometer as a valid (or legal) reason for avoiding that speeding ticket, you can reduce your chances of receiving future speeding tickets by re-calibrating the speedometer in your Honda Civic. This guide will show you several methods to ensure you get this simple DIY project done fast with the tools or resources you have available.

Materials Needed
- Owner's manual
- Phillips screwdriver
- Hydraulic jack with jack stands
- Wheel chocks (optional)
- Speedometer scanner
- GPS device (optional)
- Separate vehicle (optional)
Step 1 – Jack up the car
Park your car on a leveled work space. Lift the front of your car with a hydraulic jack, and support it with jack stands. Ensure that your car is stable, so it won't rock back and forth. You will need to get the tires spinning to calibrate your speedometer correctly.
Pro Tips
- Consult your owner's manual if you do not know the weight of your vehicle.
- Wheel chocks come in a variety of sizes, which should be placed between the ground and the wheel.
(Related Article: How to Jack Up Your Civic - Honda-Tech.com)
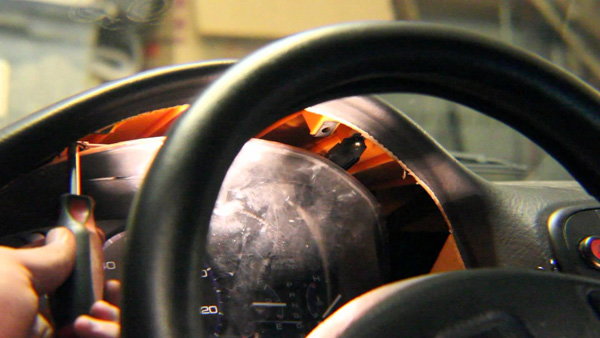
Step 2 – Remove the gauge cluster window on the dash
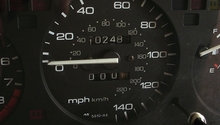
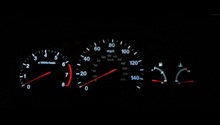
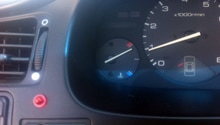
Your car's gauge cluster consists of the fuel gauge, tachometer, odometer, speedometer, and various indicator lights.
- With a Phillips screwdriver, remove the gauge cluster from the dashboard and pull it out.
- Snap off the gauge cluster window.
(Related Article: How to Install a New Gauge Cluster - Honda-Tech.com)
Step 3 – Calibrate with the speedometer scan tool
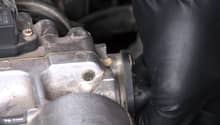
- The On-Board Diagnostics (OBD) port is located under the driver's side dash near the hood latch.
- Hook up the speedometer scan tool to the OBD port, and turn it on.
- Follow the manufacturer's procedures to begin the calibration procedure.
- Ensure the scanner is picking up your acceleration by revving the car a few times.
- Remove the speedometer needle from the gauge cluster.
- Accelerate and hold your car at a steady speed of 20 mpg.
- While holding your speed, wait about 10 seconds and reattach the speedometer needle.
- Lift your foot off the pedal, and let the car idle.
- Lastly, confirm that the speedometer is calibrated by revving the car and getting an accurate reading from the speedometer.
- Rev the engine several times to complete the synchronization process, and ensure that your vehicle is yielding at the same speed as the sensor.
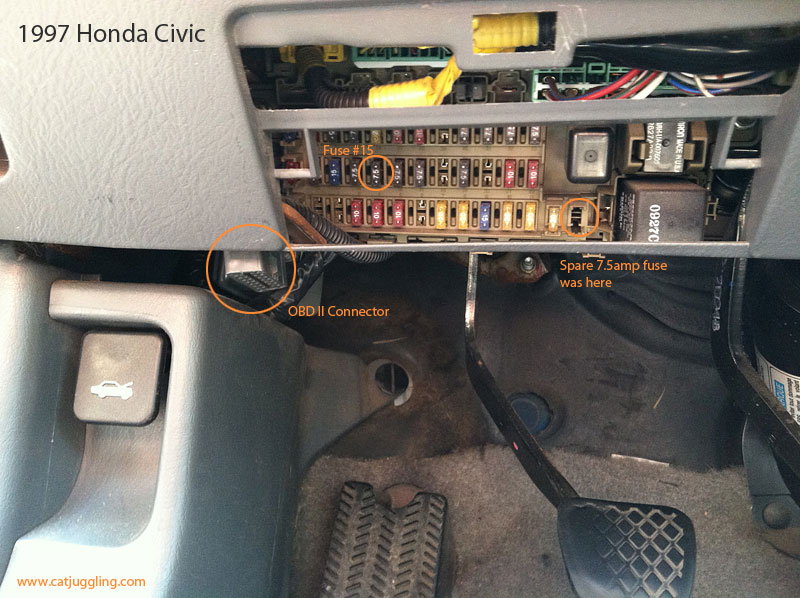
Figure 2. Connect the scan tool to the OBD port. 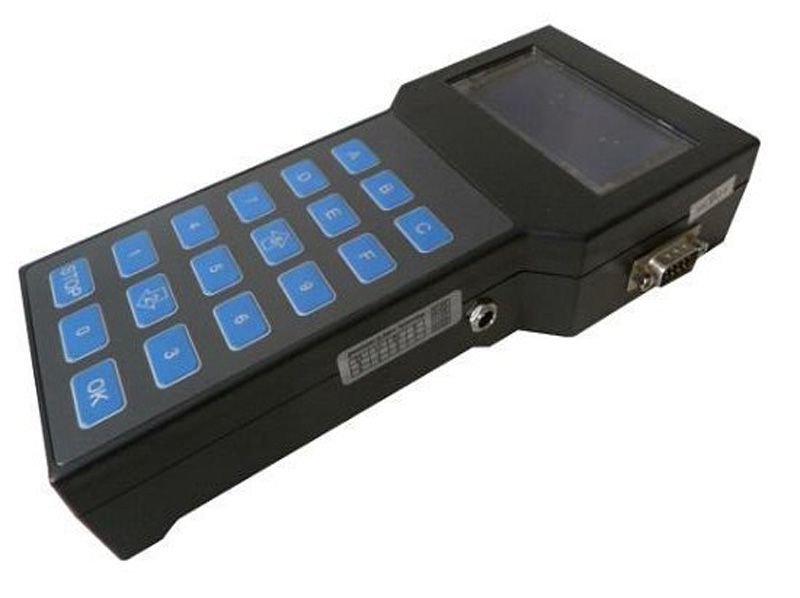
Figure 3. Re-calibrate using a speedometer scanner.
If you do not wan't to purchase a speedometer scanner, you can use the following alternate method in Step 4.
Step 4 – Calibrate with a separate car
- Gain assistance from a friend to calibrate with a separate vehicle.
- Drive your cars to an even stretch of open road, and park your cars side by side.
- Remove the needle from the gauge cluster.
- Accelerate both your vehicles, and have the other vehicle drive steady at 20 mph.
- Synchronize your car to the same speed as the other vehicle.
- Press the needle onto the 20 mph mark of your speedometer.
- Confirm that the gauge cluster is re-calibrated by driving side by side, and ensuring both speedometer readings are the same.
Pro Tips
- You can also do this method using a GPS device or phone that can monitor a vehicle's speed.
- When using the GPS method, remove the speedometer needle and hold your vehicle to a steady speed of 20 mph in a straight line. Press the needle into place on the gauge cluster, and check that the speedometer is correctly calibrated.
Related Discussions
- How to Re-calibrate Speedometer - Honda-Tech.com
- Gauge Cluster Calibration Instructions - Honda-Tech.com