Honda Civic: How to Install a New A/C Compressor
When an A/C compressor dies, the refrigerant is no longer cycled through the system. This article demonstrates how to properly replace the A/C compressor in your Honda Civic.
This article applies to the Honda Civic (1992-2000).
No one likes jumping into a hot car and trying to blast the A/C only to get a mouthful of hotter air. The compressor is essentially the heart of an air conditioning system. It works by pressurizing the refrigerant inside the system. For example, when the refrigerant cycles through the lines, it first heats up, but when the refrigerant expands, the temperatures lower dramatically. When A/C compressor units fail, the refrigerant is no longer able to stay pressurized and can no longer produce cold air. A/C repair costs are usually in the thousand dollar range, because in most cases, the job is labor intensive. However, Honda Civic owners have it easy when it comes to replacing the A/C compressors themselves. Read on to learn how.

Materials Needed
- Hydraulic jack and jack stands
- 10, 12, and 14 mm socket and ratchet
- A/C recovery machine
- Torque wrench
Step 1 – Evacuate the refrigerant
The refrigerant contains toxic chemicals that are harmful to people and the environment. If you do not have a proper A/C recovery machine at your disposal, take your vehicle to a certified shop and have it done there.
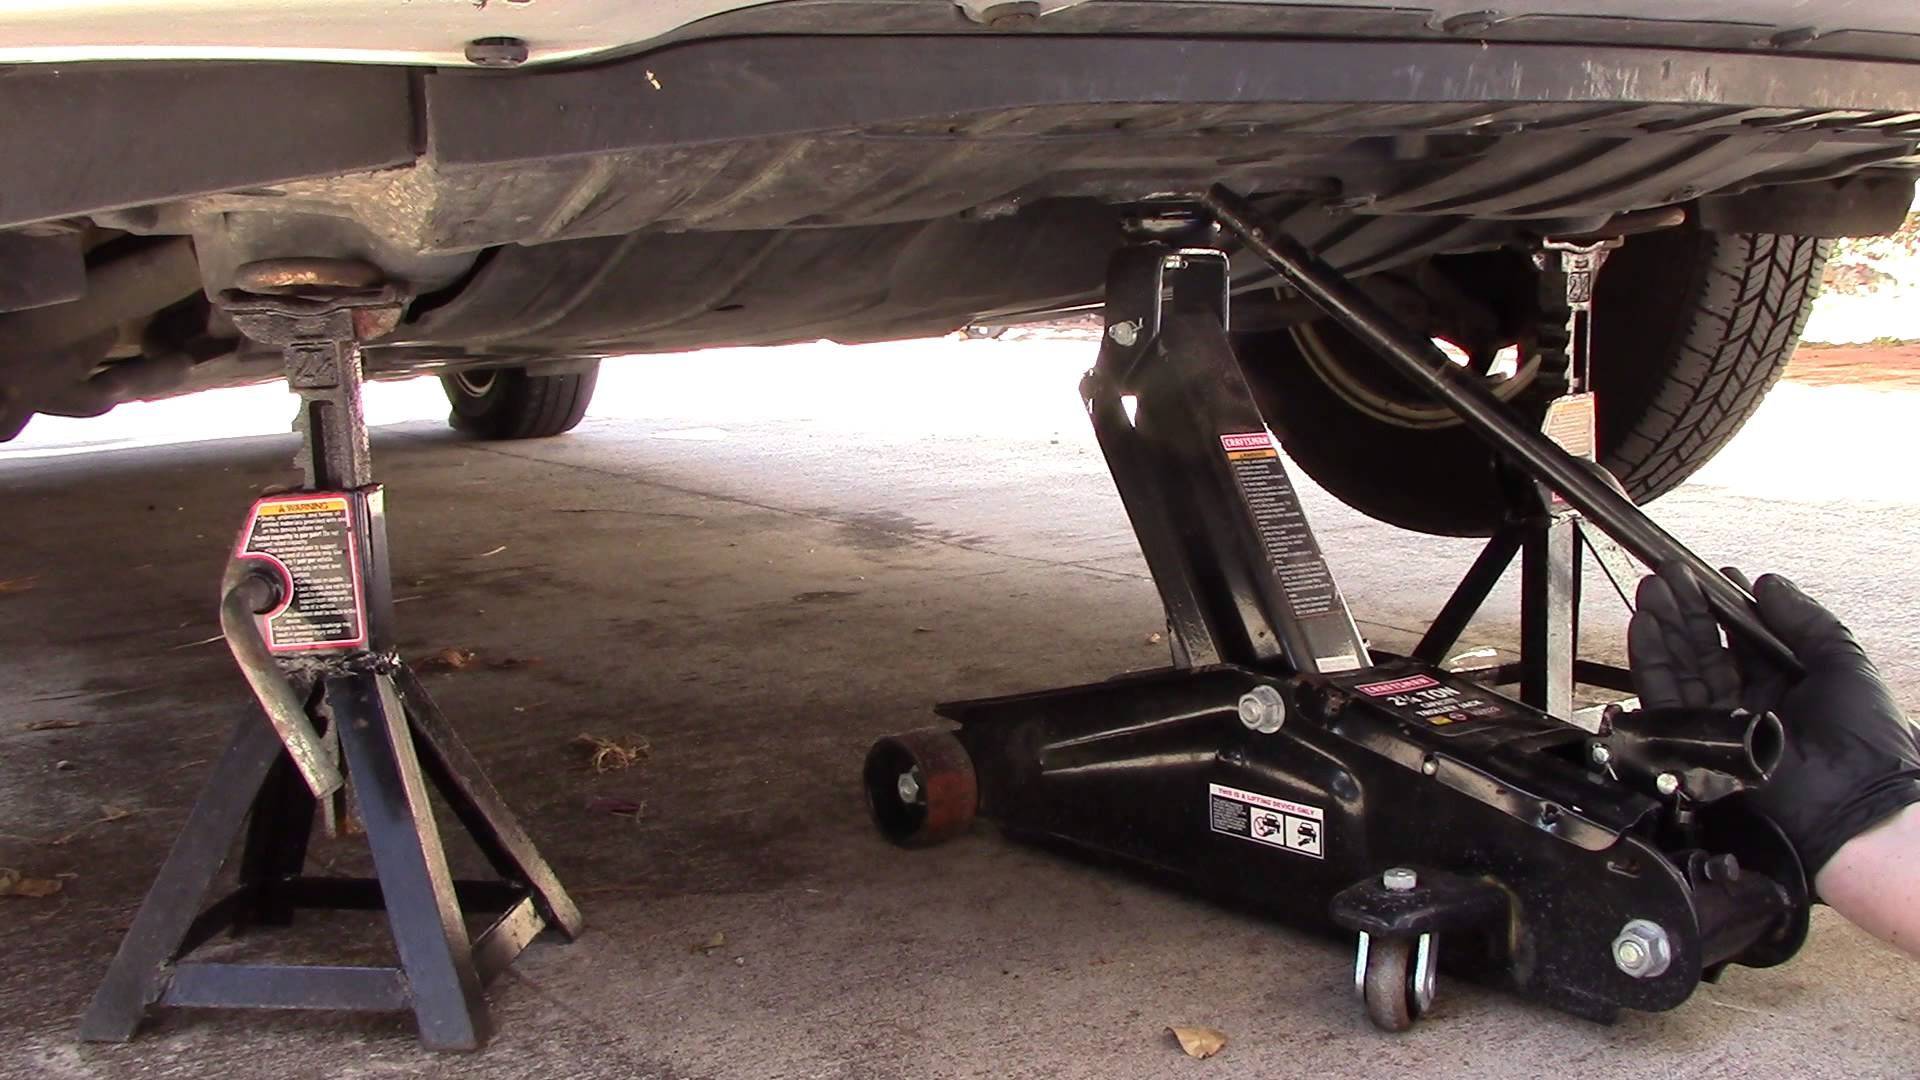
Step 2 – Lift the car
The A/C compressor is accessible from underneath the right-front-end of the car.
- Place hydraulic jacks under the front pinch welds of your Honda Civic.
- Slowly lift the front end and set it down on jack stands.
(Related Article: Honda Civic: How to Jack Up Your Civic - Honda-Tech.com)
Step 3 – Remove the compressor
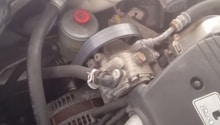
- From inside the engine bay, locate the pressurized charge line and condenser hoses connected to the top of the compressor.
- With a 10mm socket and ratchet, remove the hose connectors along with the hoses.
- Disconnect the electrical connector on top of the compressor.
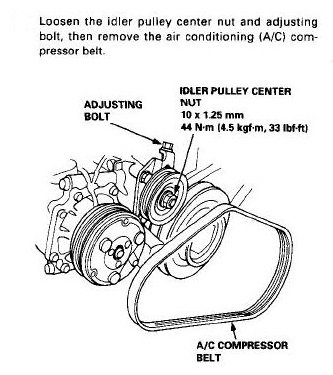
- From underneath the engine, loosen the 14mm belt adjusting bolt and remove the compressor belt.
- Remove the four 12mm bolts on the side of the compressor that secure it to the engine.
- Remove the A/C compressor.

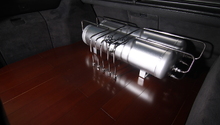
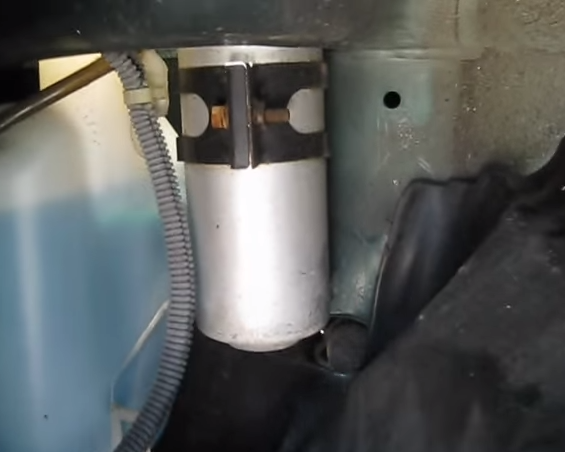
Step 4 – Remove the drier
The A/C drier keeps moisture from building up inside the system. When the compressor is disconnected, air manages to escape, and moisture can make its way into the system.
- The drier is located right below the windshield washer reservoir.
- With your 10mm socket and ratchet, remove the two bolts on top of the drier.
- Pull out the suction line connected to the drier.
- From underneath the front end of the car, remove the bracket holding the drier in place.
- Remove the old drier.
- Install a new drier in reverse order to the removal process.
Step 5 – Install the new compressor
- With the four 12mm bolts, secure the new compressor to the mounting bracket.
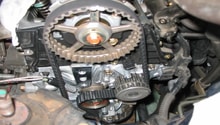
- Re-install the compressor belt and tighten the 14mm adjusting bolt to a snug fit.
- With a torque wrench, tighten the idler pulley center nut to 33 ft lbs (refer to Figure 2).
- Replace the O-rings of the pressurized charge line and condenser hose connectors.
- Reconnect the hoses to the compressor and secure them with the two 10mm bolts.
- Take the car back to an auto shop and have them properly refill the refrigerant.

Figure 5. Replace O-rings of the pressurized hoses. 
Figure 6. Install the new compressor and pressurized hoses.
Featured Video: A/C Compressor and Drier Replace in '99 Honda Civic
Related Discussions
- How Much PAG Oil in New Compressor? - Honda-Tech.com
- Advice About Replacing A/C Compressor - Honda-Tech.com