Honda Accord: How to Replace Serpentine Belt
Replacing a worn serpentine belt is as critical as keeping the proper level of oil in your engine. Do it yourself with this guide.
This article applies to the Honda Accord (1990-2002).
The drive belt on your Accord is also known as the serpentine belt (or the accessory belt), and should be changed every 105,000 miles. It is not uncommon to hear squealing from the belt sooner than the interval, which will need a change before 105,000 miles. As this belt drives the A/C compressor, alternator, power steering pump, and water pump, it is not something to take lightly. If you hear it squealing, see it deteriorating, or having issues with it, get it changed as soon as possible. If it breaks, the water pump stops and the engine will quickly overheat, leaving you stranded on the road. The good news is that the belt is relatively easy to replace. It should take a professional about 10-15 minutes to replace, but it will take the novice about twice as long—at a cheaper price—with the correct tools.

Materials Needed
- Serpentine belt pulley wrench or long handled 12 mm open ended box wrench
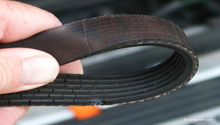
- New serpentine belt
Step 1 – Locate the tensioner pulley
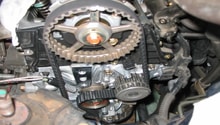
From a front-on angle, the tensioner pulley is below and to the left of the top most large pulley. You will see a nut in the middle of it. That is the nut you will crank to relieve the tension on the belt.
Step 2 – Loosen the belt
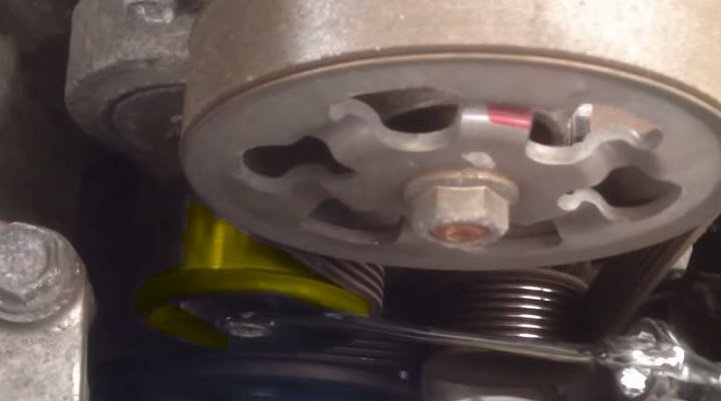
A serpentine belt wrench is definitely optimal here, but a very long handled 12 mm open ended box wrench will work as well. You may need a second person for this part of the job. Put the wrench on the nut in the center of the pulley, and crank back on it clockwise with a significant amount of force. This will loosen the belt for removal.
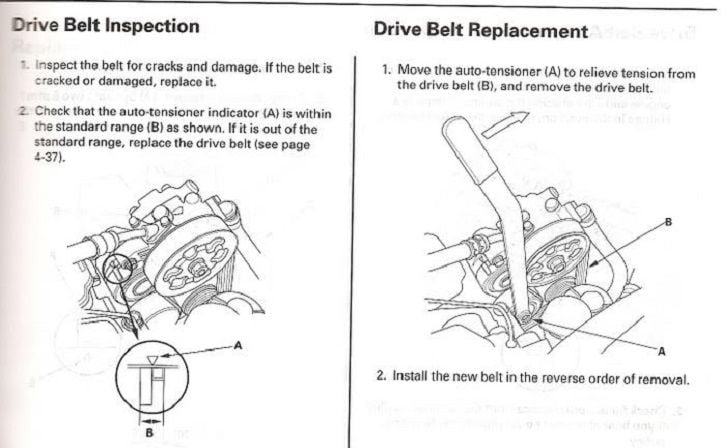
Step 3 – Remove and replace the belt while the tension is off
While maintaining clockwise pressure on the pulley wrench, slide the worn belt off the pulleys. Be sure that when replacing the old belt with a new one, you follow the same pulley sequence, which should be shown on a sticker under the hood or in your maintenance manual. If you purchased an OEM replacement belt or any other belt for that matter, the reverse side of the package may also have the diagram. You must make sure that you replace the belt in the proper position.

Warning
Be sure that your fingers and your helper's fingers are completely clear of the belt when the tensioner is released back to normal. The belt is very tight, which will cause a serious injury if your fingers get caught between the belt and pulley.
Step 4 – Start the engine and inspect the belt
Start the engine and stand clear of the belt. Visually inspect from the side to make sure the belt looks good on the pulleys, and you no longer hear any slippage. If everything is satisfactory, drop the hood and you are done.

Featured Video: Honda Accord Serpentine Belt Change
Related Discussion
- Drive Belt Replacement How to - Honda-Tech.com