Honda: Why are Weird Metal Scraping Sounds Coming from Wheel Area?
No one likes hearing the sound of metal on metal, especially when pressing the brakes. Most of the time, that noise is simply the sound of your brake dust shield rubbing against the rotor. Occasionally, worn brake pads can cause your car to make the noise when you brake. Both problems are simple to fix, and here's how to do it.
This article applies to the Honda Civic/Del Sol (1992-2000) and Accord (1990-2002).
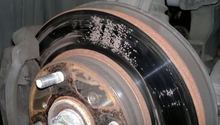
A brake dust shield rubbing against the rotor is the likely culprit when you hear a loud screeching noise from the wheel area. The dust shield can bend for any number of reasons, from something as simple as running over a curb to getting into a minor accident. When this is the problem, repairing it is simple. Worn brake pads can also cause a screeching noise from the wheel area, usually when you brake. If this is when you most often hear the noise, then consider checking your brake pads before inspecting the brake dust shield(s).

Materials Needed (some optional)
- Jack
- Cement blocks or wheel chocks
- 12mm socket and ratchet
- 17mm socket and ratchet
- Electric drill
- Phillips screwdriver
- C-clamp
- New brake pads
- Tire wrench
- Brake parts cleaner
- Towels
- Torque wrench
Step 1 – Inspect and fix brake dust shield
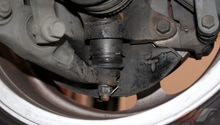
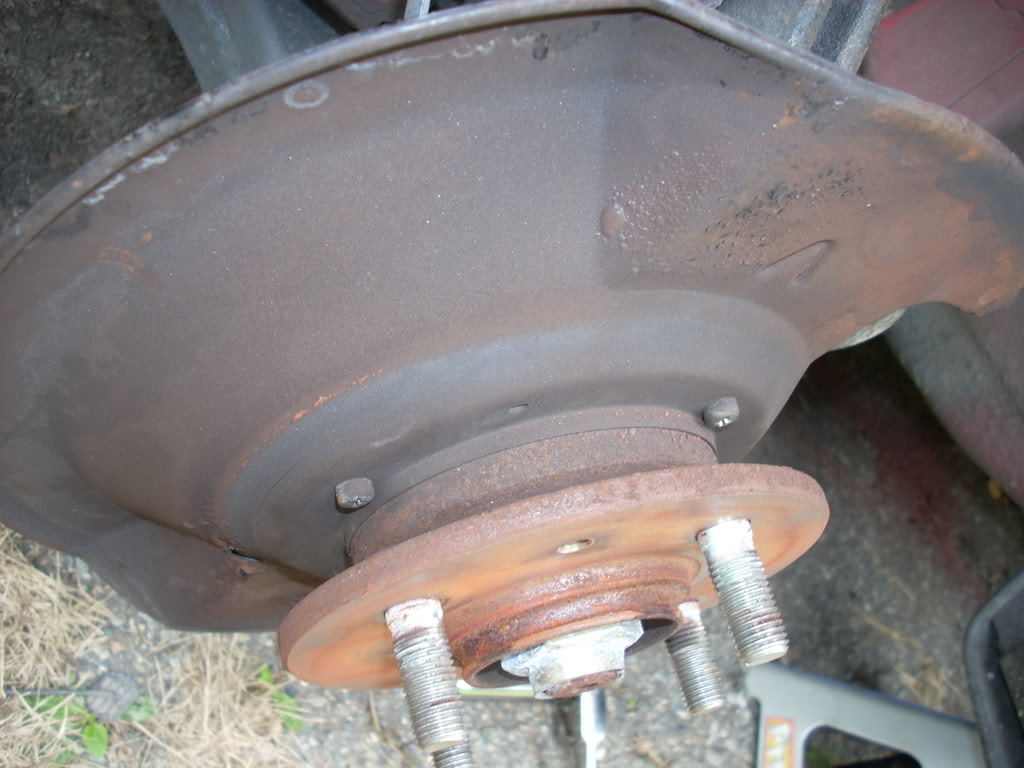
Brake dust shields (sometimes called splash guards, splash shields, dust shields, and backing plates) sit between the brakes and the wheels. A bent dust shield may rub against the rotor and cause a screeching sound. Civic owners report that fixing the problem is as easy as pushing the brake dust shield back with a long screwdriver. The real work in this solution is accessing the brake dust shield. Inspecting and fixing the brake dust shield yourself costs nothing, unless you need to buy an impact screwdriver. Your mechanic will likely charge you for labor and suggest replacing the brake dust shield, even if you don't need to. This is definitely a project that even a novice car owner can do.
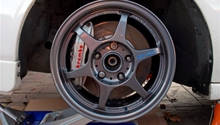
- Jack up the front of your car. Chock the rear wheels to keep the car from moving backward. Remove the front wheels.
- Use 12mm socket and ratchet to disconnect the brake line bracket.
- Use 17mm socket and ratchet to remove the two bolts holding the brake caliper in place. Secure the brake caliper, and do not let it hand by the brake line! Be sure not to apply pressure to or twist the caliper.
- Remove the two screws holding the brake disk in place. Using a regular Philips-head screwdriver could strip the screws, so consider using an electric drill with a Phillips-head bit adapter. If you don’t have one in your toolbox, you can find one at most auto parts stores for between $12 and $20. Use the drill to loosen the screws, and then use a Philips-head to remove the screws. You now can pull off the brake disk and access the brake dust shield.
- Use screwdriver – or even hands – to bend dust shield into place.
- Replace and attach brake disk with two screws.
- Use 17mm socket and ratchet to tighten bolts holding the brake caliper in place.
- Use 12mm socket and ratchet to connect the brake line bracket.
- Repeat Steps 2-8 for other wheel.
- Lower your car and go for a drive. If one or both brake dust shield(s) was responsible for the noise, you shouldn’t hear it now.
Related Articles:
- How to Jack Up Your Accord - Honda-Tech.com
- How to Jack Up Your Civic - Honda-Tech.com
Step 2 – Inspect and replace brake pads
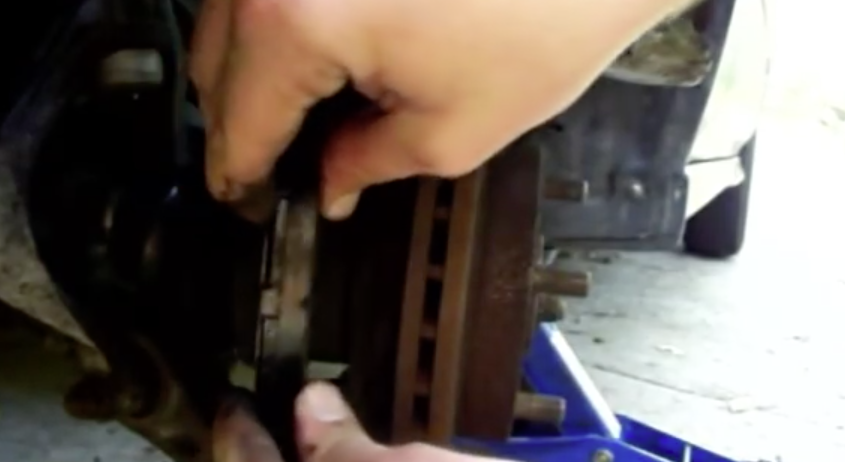
Worn brake pads could cause your brakes to make a screeching noise. If you hear the noise only when you brake, then replacing the brake pads may resolve the issue. On most vehicles, all you need to do is remove the wheel to visually inspect the brake pads. If there is less than 4mm of pad material remaining, consider replacing the brake pads.
- Jack up the front of your car. Chock both rear wheels to keep the car from moving backward. Remove the front wheels.
- Use 12mm socket and ratchet to disconnect the brake line bracket.
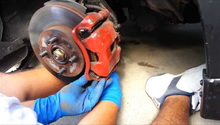
- Use 17mm socket and ratchet to remove the two bolts holding the brake caliper in place. Secure the brake caliper, and do not let it hang by the brake line! Be sure not to apply pressure to or twist the caliper.
- Remove the two screws holding the brake disk in place. Using a regular Philips-head screwdriver could strip the screws, so consider using an electric drill with a Phillips-head bit adapter. If you don’t have one in your toolbox, you can find one at most auto parts stores for between $12 and $20. Use the drill to loosen the screws, and then use a Philips-head to remove the screws.
- Remove brake pads.
- Press the caliper piston into the caliper assembly. Position the face of one brake pad over the piston. Use C-clamp to press brake pad against the piston.
- Insert new brake pads into caliper assembly.
- Replace and attach brake disk with two screws.
- Use 17mm socket and ratchet to tighten bolts holding the brake caliper in place.
- Use 12mm socket and ratchet to connect the brake line bracket.
- Remove brake dust by spraying rotors, pads, and calipers with cleaner.
- Replace wheel and tighten lug nuts.
- Repeat Steps 2-12 for other wheel.
- Lower car and torque lug nuts on both wheels to 90 foot-pounds. Drive your car. If one or both brake pads were responsible for the noise, you shouldn’t hear it now.
Featured Video: How to Change Brake Pads on a '96-'00 Honda Civic
Related Discussions
- Weird Metal Scraping Noise From Wheel Area - Honda-Tech.com
- Weird Metal Scraping Sound Coming From Front Right Wheel - Honda-Tech.com
- Scraping Noise - Honda-Tech.com
- Metal Scraping Noise During Right Turns - Honda-Tech.com