Honda Civic: How to Replace Calipers, Pads, and Rotors
Once pads are completely worn, the rotors and calipers will go metal-on-metal, which leads to destroyed calipers and an accident. This article explains how to safely replace your Honda Civic brake rotors, pads, and calipers.
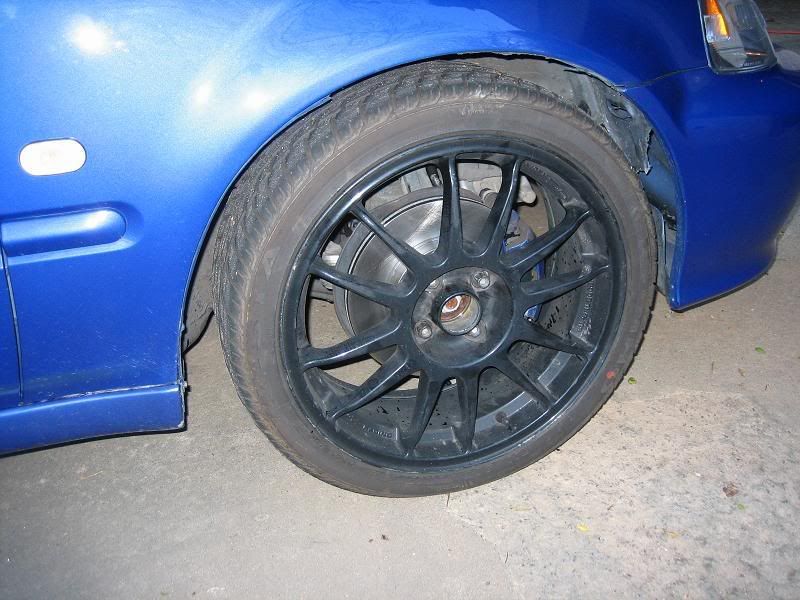
This article applies to the Honda Civic/Del Sol (1992-2000).
A healthy brake system allows for short and smooth stopping power. When the pads are too worn, the other components such as the calipers and rotors deal with increased brake resistance. This changes the distance a driver is supposed to stop at and can cause accidents. Never ignore squeaky brakes and instead inspect them. In this article we explain how to check each component of the brake system and replace the primary components if necessary.

Materials Needed
- Complete metric socket set that runs up to at least 17mm
- Torque wrench
- Jack and jack stands
- Brake components
- Brake cleaner
- Brake fluid
- Shop towels
- Screwdriver
- C-clamp
This how-to refers to each separate wheel. To complete the replacement, this process has to be repeated for each wheel.
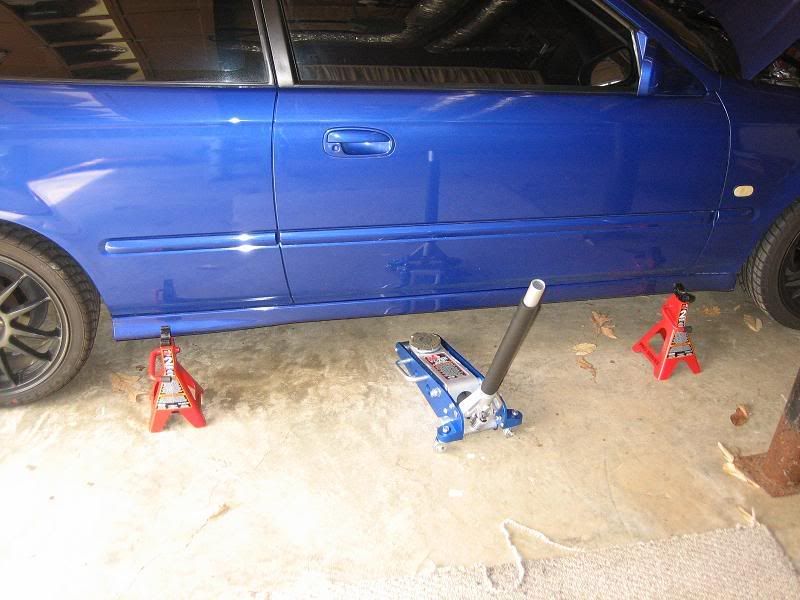
Step 1 – Raise/secure the vehicle and remove wheel
Use a jack to raise the chassis and secure it. Be sure to put each jack stand under the safe jack-points on the car. Then, remove the wheel to access the brake assembly.
Related Articles:
- How to Jack Up Your Civic - Honda-Tech.com
- How to Change a Tire - Honda-Tech.com
Pro Tip
Placing something sturdy on the other side will help support the weight of the chassis.
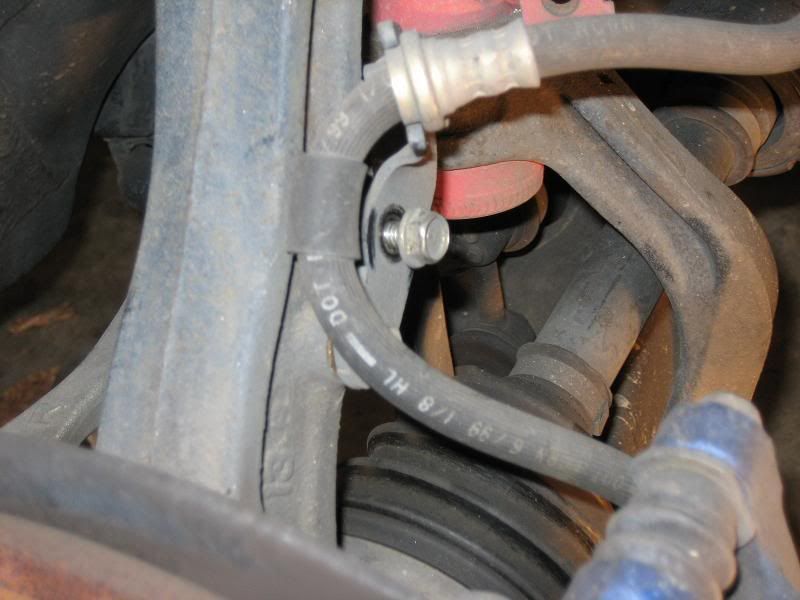
Step 2 – Loosen the brake cable bolts
There are two 10mm bolts that hold the brake cable to the wheel hub. Loosen and remove them.
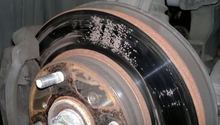
Step 3 – Inspect the caliper, brake pads and rotors
Loosen the 12mm bottom caliper bolt. Flip the caliper over and use a clamp to compress its piston. If the piston fails to move, the caliper is seized. Check the brake pads and rotor to see if they adhere to at least their respective minimum thickness. If they do not, replace them.
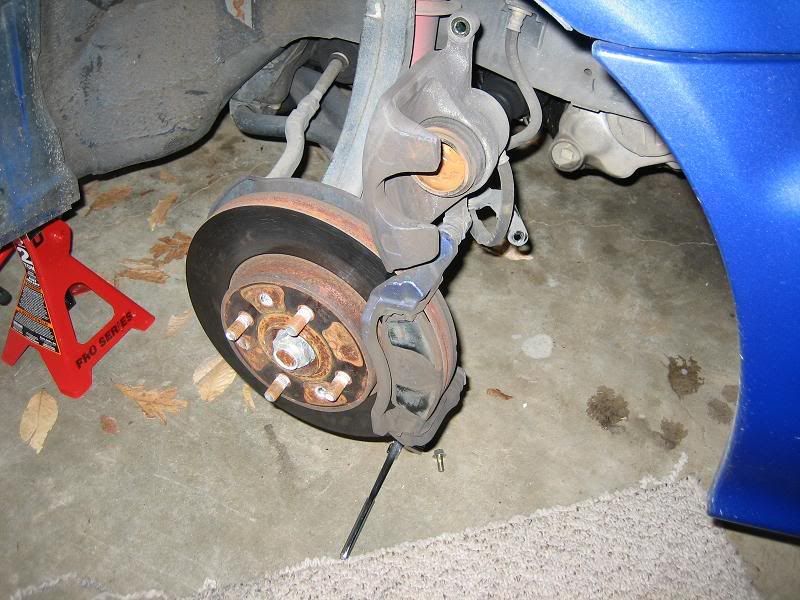
Figure 3. Remove the lower caliper bolt. 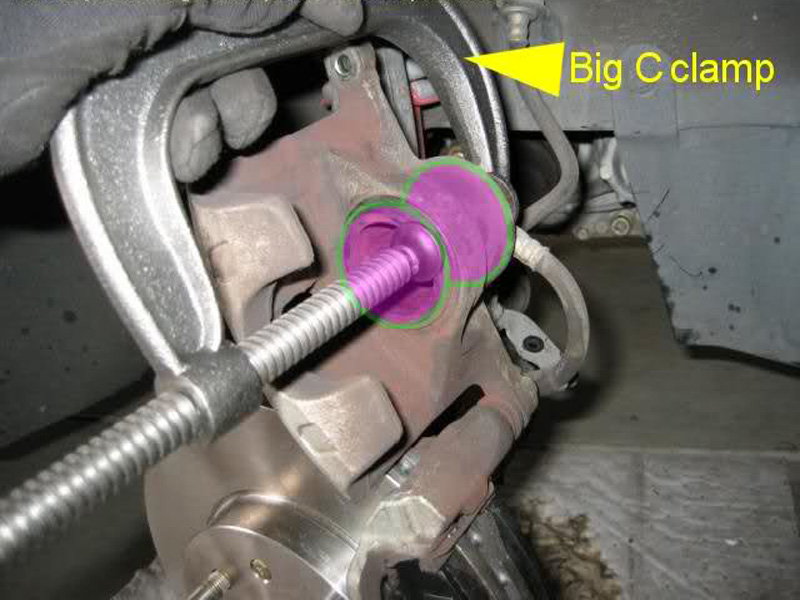
Figure 4. Compress the caliper piston. 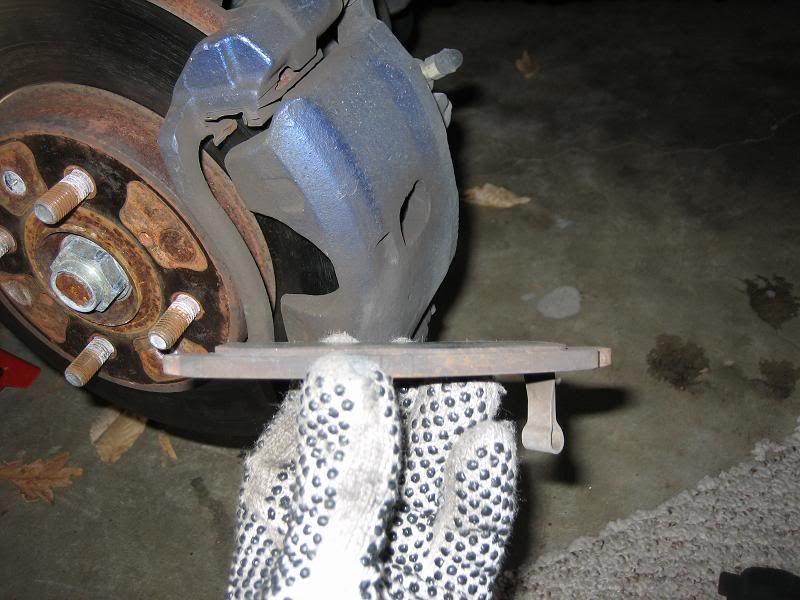
Figure 5. Check the pad thickness; this pad needs to be replaced.
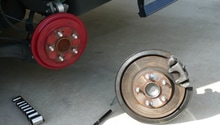
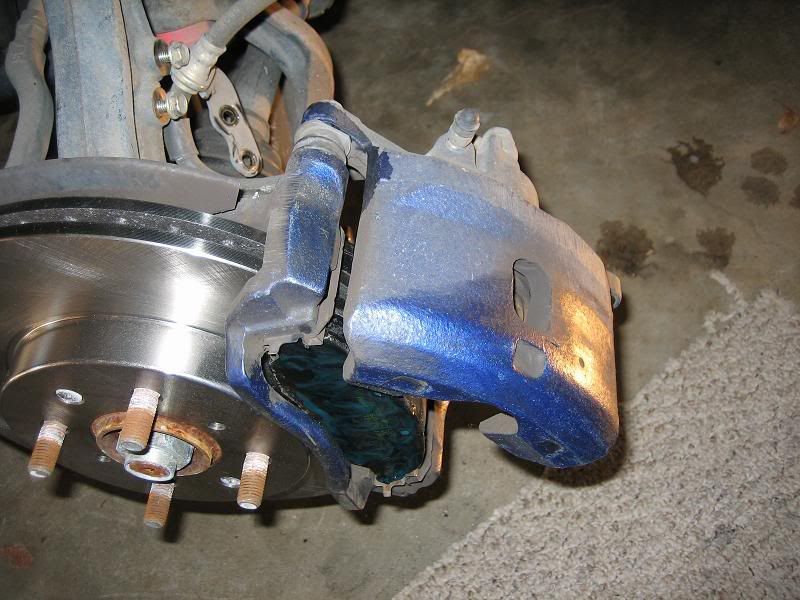
Step 4 – Remove the caliper
Loosen and remove the remaining caliper bolts. Also, remove the brake line to the caliper and allow it to drain into a pan.
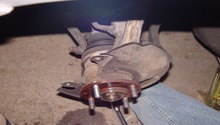
Step 5 – Remove the rotor
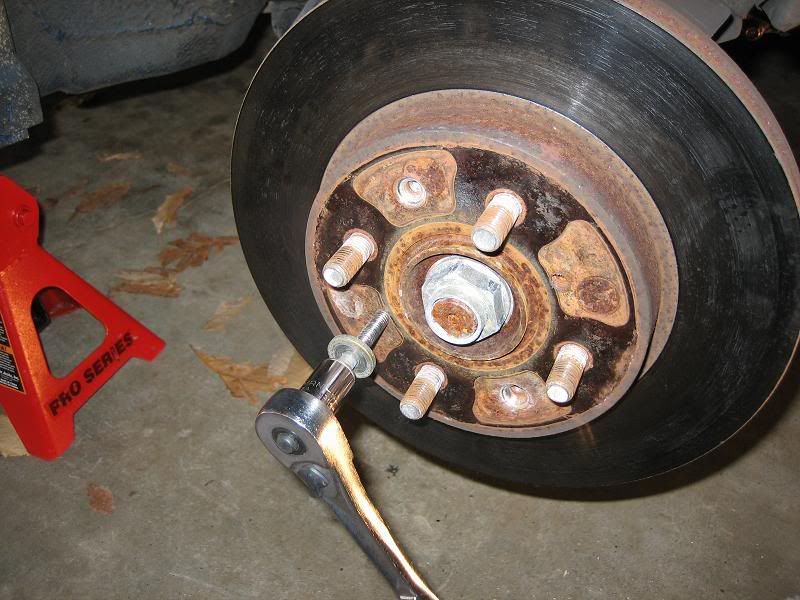
There are two screws that hold the rotor to the hub. After they are removed, use a small 10mm bolt to help push the rotor off the wheel. Thread the 10mm bolt onto one of the spare holes drilled into the rotor. The bolt will help push the rotor off the hub.
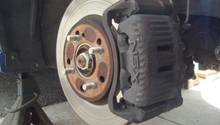
Step 6 – Install the new rotor, caliper and brake pads
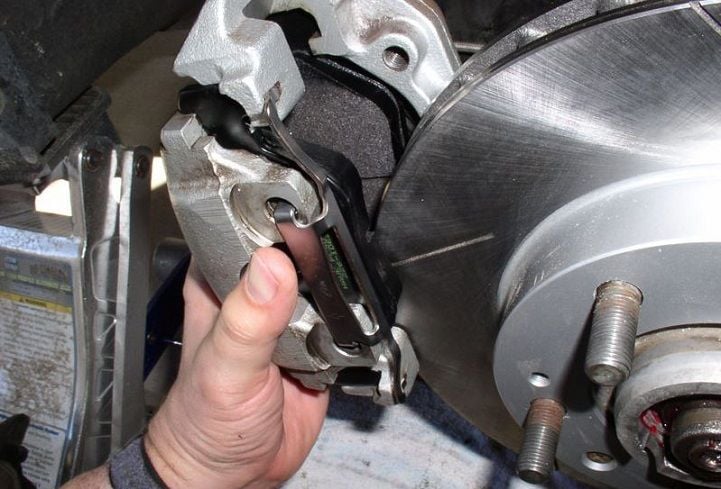
Lay the rotor on the hub and tighten the mounting screws. Place the new caliper bracket on and install the brake pads. Before installing the pads, apply brake lube on top of them.
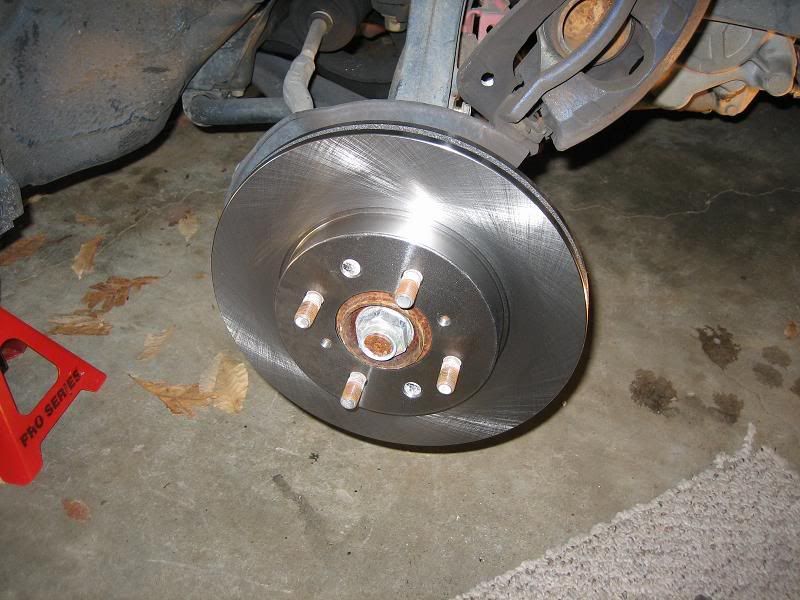
Figure 8. Install new rotor. 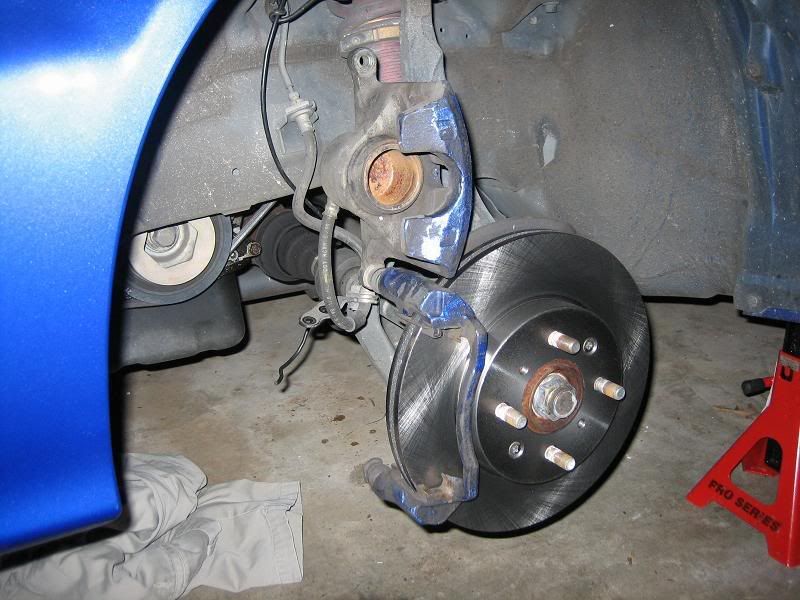
Figure 9. Install the brake caliper bracket. 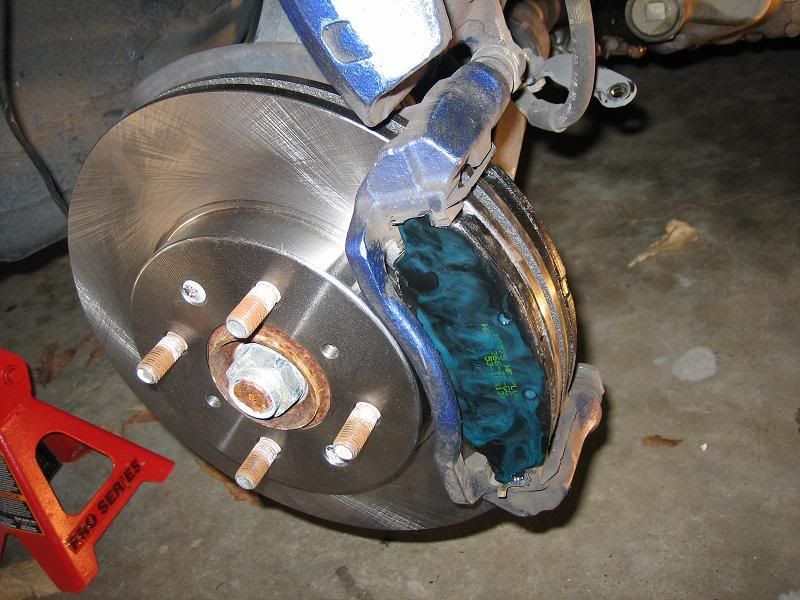
Figure 10. Install the new brake pads with lube.
Step 7 – Install the caliper
Mount the caliper onto the brake pads. Tighten the two 12mm bolts and reconnect the brake line.
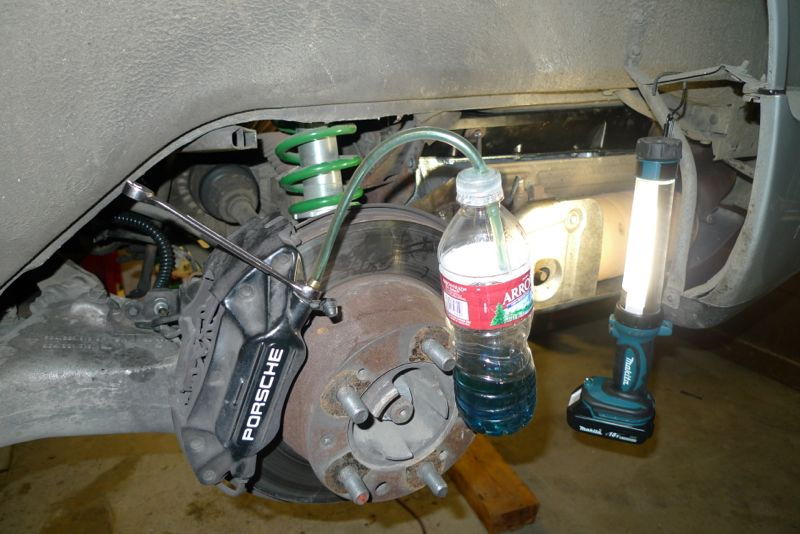
Step 8 – Bleed the brakes
Once everything is mounted, remove the air from the brake lines. With your helper sitting in the car, and you sitting next to the caliper, have your helper pump the brake pedal up and down slowly to build pressure, and then crack open the 8mm bleeder valve on the back of the caliper, releasing old brake fluid into your catch can. Close the valve and have your helper repeat the process until the brake pedal regains its firmness, and no air bubbles are seen to leave the caliper. Check the master cylinder and ensure it is always filled. Continue to do this until brake pedals regain pressure.
Step 9 – Re-install the wheels
Mount the wheels back onto the car and tighten them down to 80 ft/lbs of torque. Remove the jack stands, lower the car, and break in the new pads.
Related Discussions
- DIY Brake and Rotor Replacement - Honda-Tech.com
- How to Bleed Brakes - Honda-Tech.com