Honda: How to Repair a Leaking Tire
Sooner or later, your tire will catch a nail or screw, causing an air leak. This article will show you how to repair that leaking tire on your Honda Civic or Accord.
This article applies to the Honda Civic/Del Sol (1992-2000), and Accord (1990-2002).
Picking up a nail or screw in your tire is sometimes hard to immediately notice. Your car may pull to one side, or you realize that the tire is always low. Unless you have a faulty valve stem, chances are that you've picked up a nail. The nail, screw, or whatever sharp object that you ran over won't take long to go through the tread and belts, causing a leak.
There's a very easy and inexpensive way to fix the leak yourself. This article will show you how to do it using a plug kit.

Materials Needed
- Car jack and tire iron
- Diagonal pliers (wire cutters) and regular pliers
- Tire plug kit (Slime 2040-A is a popular brand)
- Spray bottle with a mixture of water and a little liquid dish soap
- Large sink or tub of water (optional)
- Protective glasses
Warning
It might be a good idea to wear protective glasses when doing this. If there is sufficient air pressure left in the tire, the nail or screw could shoot up as you try to remove it.
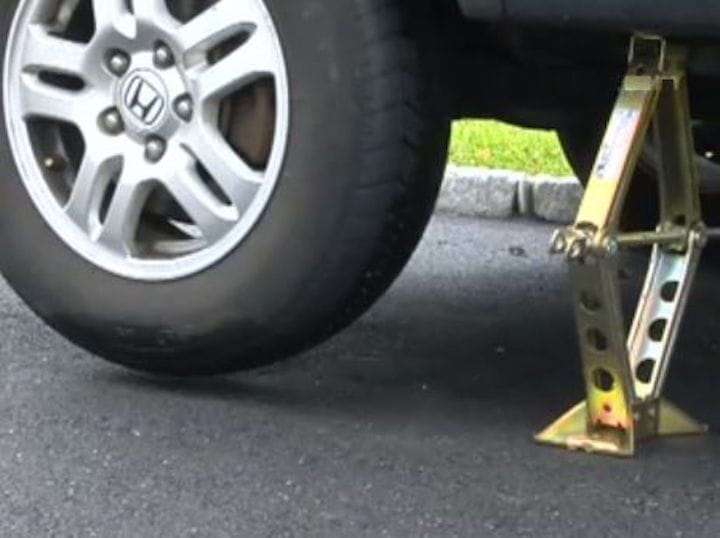
Step 1 – Remove the leaking tire
- Jack the car up just enough to remove the tire.
- Use a tire iron to remove the lug nuts.
- Then, slide the tire off.
Related Articles
- How to Jack Up Your Civic - Honda-Tech.com
- How to Jack Up Your Accord - Honda-Tech.com
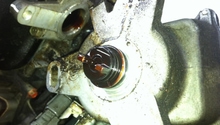
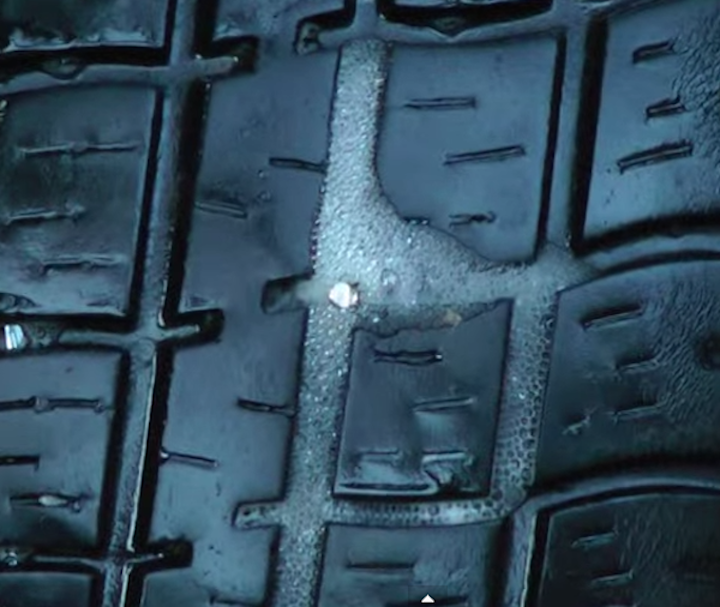
Step 2 – Find the air leak
- Once the tire is off, find the source of the leak, which should be originating from a nail or screw. Most times, it will be quite apparent.
- If you have difficulty finding it, spray the tread with the water and soap mixture. Leaking air will cause bubbles to appear.
- If this doesn't work, place the tire in a large sink or tub full of water, and look for escaping air bubbles.
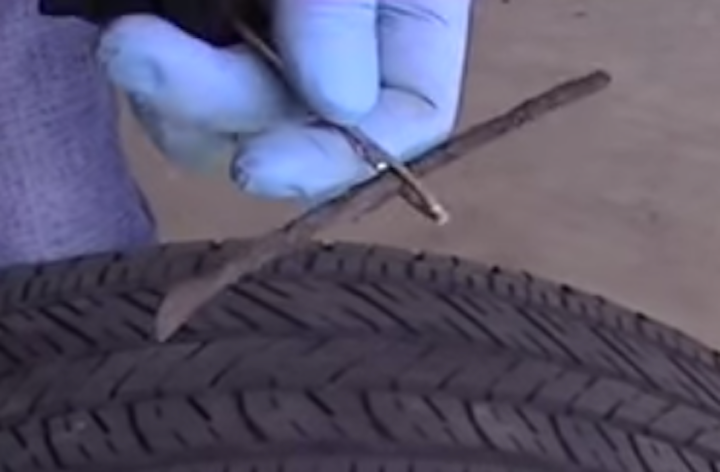
Step 3 – Remove the nail
- Slide the cutting edge of the diagonal pliers underneath the head of the nail.
- Start to pry it up and out of the tire. If you can, simply pull it out with these pliers.
- If necessary, finish removing the nail with regular pliers by pulling it straight up and out of the tire.

Pro Tip
Needle nose or other gripping pliers can be used in this step. If the nail is large, you could use the claw of a hammer to pull it.
Step 4 – Insert the auger tool
In the plug kit, you will find an auger tool (to prepare the nail hole for the plug), rubber plugs, rubber cement, and the plug injector tool.
- Insert the auger tool into the hole using the sides of the tool to make the sides of the hole uniform.
- Insert the auger all the way in until it is up to the base of the tool handle.
- Leave the auger tool in the tire until you are ready to insert the plug.
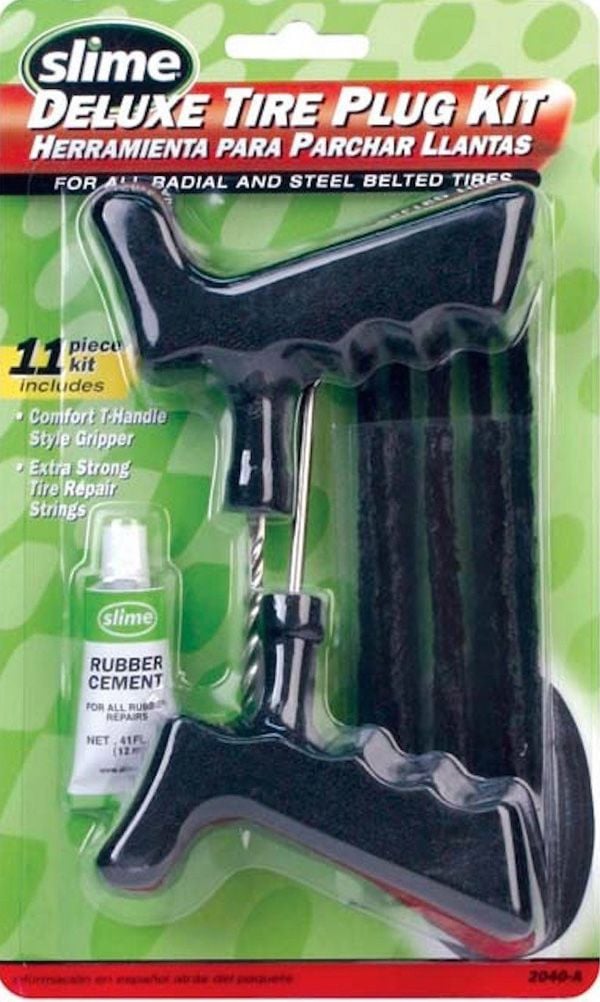
Figure 4. Complete tire plug kit. 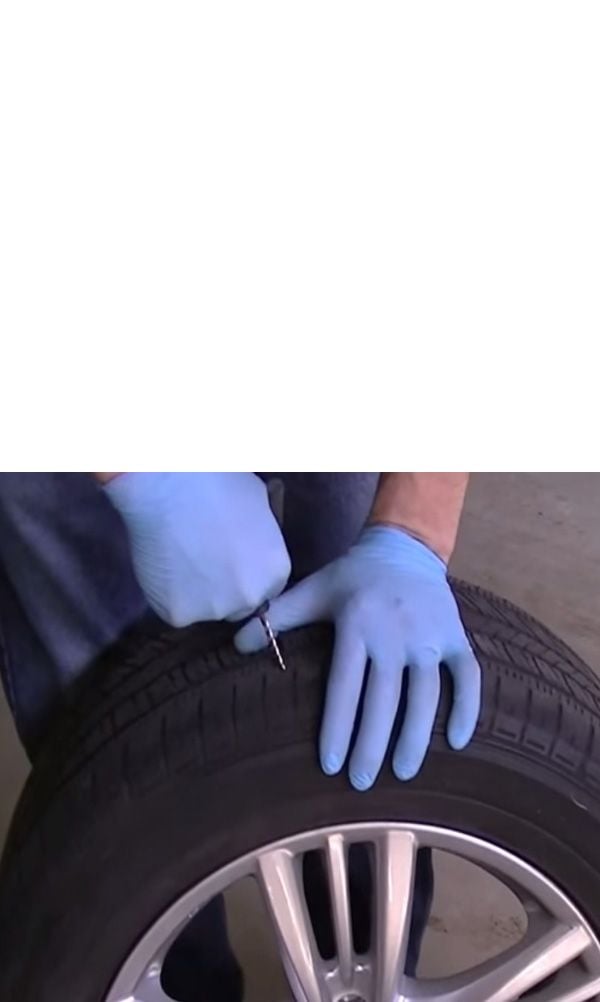
Figure 5. Insert the auger tool.
Step 5 – Apply the rubber cement
- Thread one of the rubber tire plugs through the "eye" of the plug tool. You may want to use pliers to pull it until it is halfway through.
- It is important that there are equal lengths of the plug on either side of the tool.
- Generously apply the rubber cement to all surfaces of the plug.
Step 6 – Plug the leak
- Pull the auger tool out, and then quickly force the loaded plug injector tool into the hole.
- Again, make sure you push the tool down until the base of the handle touches the tire. If you don't, the plug will come right back out when you pull the tool out. It's a little like the principle of inserting a toggle bolt into drywall. The bolt mechanism has to clear the thickness of the wall.
- Once you have inserted the plug tool down to the base of the handle, rapidly pull it straight up and out. This action splits the portion of the plug in the "eye" of the tool, and pulls the plug up into the body of the tire.
- You will see two small nubs of the plug sticking out of the hole. Use your wire cutter pliers to trim these nubs flush with the surface of the tire. A sharp pocket knife will also work.
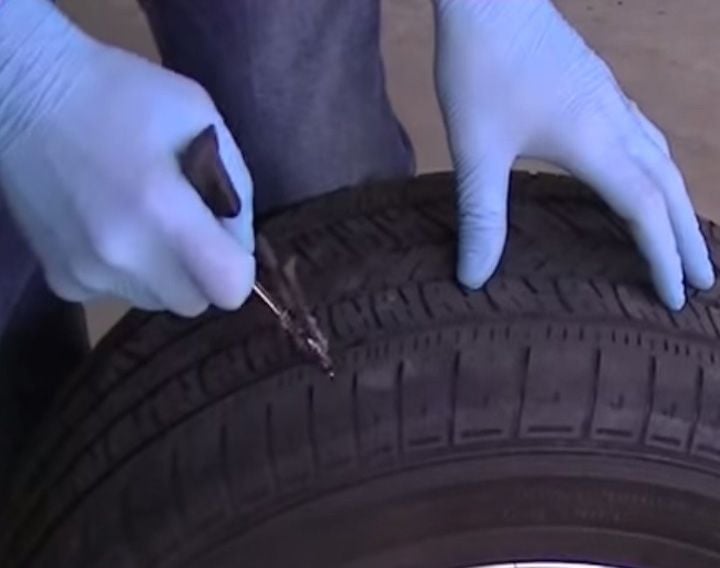
Figure 7. Insert the plug. 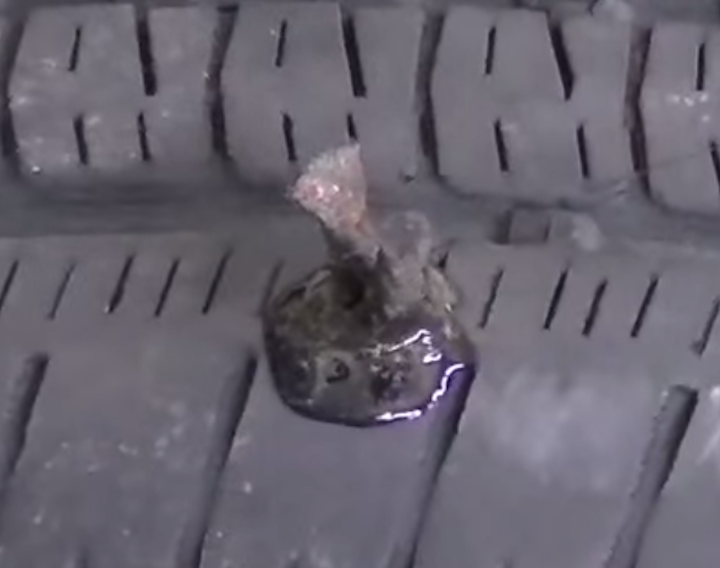
Figure 8. Trim the nubs.
Pro Tips
- The reason you want to insert the plug immediately after pulling out the auger is to keep as much air in the tire as possible, allowing you to limp to the nearest gas station and refill it.
- To save a little time and effort, use the cap on the cement tube to break the seal before you start. This will make it a little easier to apply the cement when the time comes.
Step 7 – Re-install the tire
- Re-install the tire onto the wheel.
- Lower the car, and drive it for a few miles.
- Check the tire, and make sure there is no longer a leak.
Pro Tip
There are different opinions on how to fix an air leak in a tire. Most forums and experts argue against using the "spare tire in a can" type products. If you can't plug the leak immediately, put the spare tire on.
(Related Article: How to Change a Tire - Honda-Tech.com)
Related Discussions, Videos, and Site
- How to Fix Tire That's Leaking Air - Honda-Tech.com
- Discussion: Slow Leak Tire Fix - Honda-Tech.com
- Which Car Tire Repair Kit to Buy - CarsDirect.com
- Video: How to Fix a Flat Tire - YouTube.Com
- How to Repair a Nail Hole in a Tire - YouTube.Com