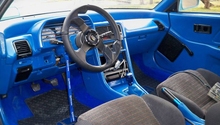
Honda: How to Clean and Protect Leather Seats
It's costly to replace or repair damaged leather seats. To keep them clean and damage-free, follow these steps and prolong the life of your leather interior.
This article applies to the Honda Civic and Accord (1990-2002).
The leather interior of your Honda has already (or will eventually) face some exhaustion, grime, and dirt. Many people falsely believe that there's nothing you can do to bring the old leather back to its original look and finish. But by following the steps below, you will be able to improve and preserve the longevity of your leather seats for many years to come.

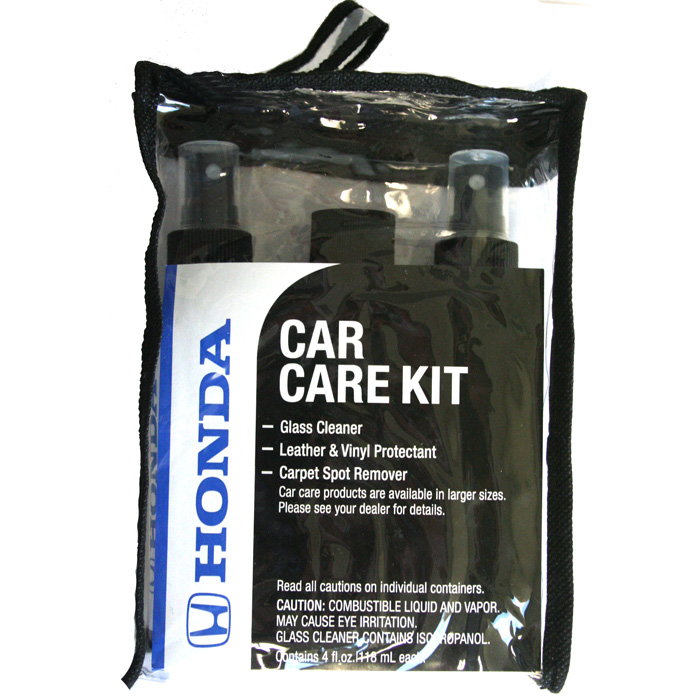
Materials Needed
- Leather cleaner or homemade leather cleaning solution
- Bucket of warm water
- Clean microfiber towels and a lint-free cloth
- Leather upholstery sunscreen solution
Pro Tip
To make your own homemade leather cleaning solution, you will need linseed oil, vinegar and a spray bottle.
Step 1 – Choose a leather cleaner or make one at home
There are several leather cleaning products floating around in the market for cars and home furniture. You can either buy a manufactured cleaner or make a homemade solution, which is a popular option because it is less abrasive on the leather. Simply mix two parts linseed oil and one part vinegar into a spray bottle. Before using any leather cleaning products, be certain that it's safe for automobile use. Also, smell the product because that scent will stick around the vehicle for a period of time after cleaning.
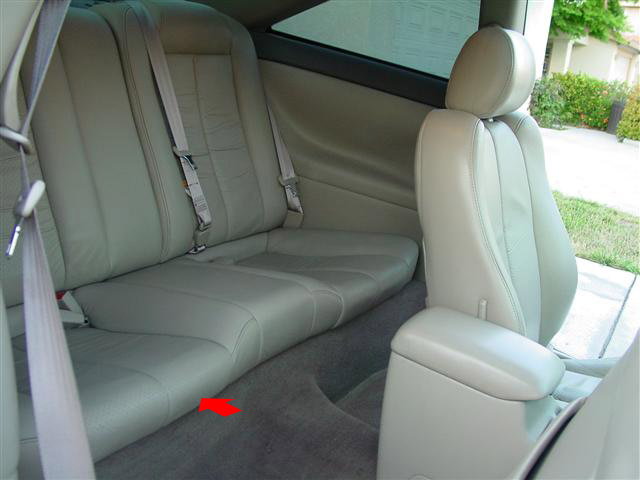
Step 2 – Perform a patch test on the leather seats
Before beginning the cleaning process, test the cleaning product on the leather interior. Take a small dab of the leather cleaning solution and apply it to an inconspicuous part of the leather interior. An area in the lower part of the back seat is a good place to start. Quickly wipe down the area with water, wait for it to dry, and spray the leather cleaning solution on the patch. Wait five to ten minutes to see if there is any discoloration and check if the cleaning solution is working to your satisfaction. If everything looks good, move on to the next step and continue cleaning the entire vehicle.
Step 3 – Wipe down the leather interior
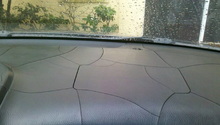
Using warm water and a microfiber towel, wipe down all the leather seats inside of your vehicle. Wipe down the dash and any other areas where you are applying the leather cleaner or sun protectant. You can use soft soap with water to clean the interior, but this is only necessary if the interior is extremely dirty.

Step 4 – Spray the leather cleaning solution
Using the store-bought or homemade solution, spray the leather cleaner onto the interior. Generally, you will only need to spray each area two or three times.
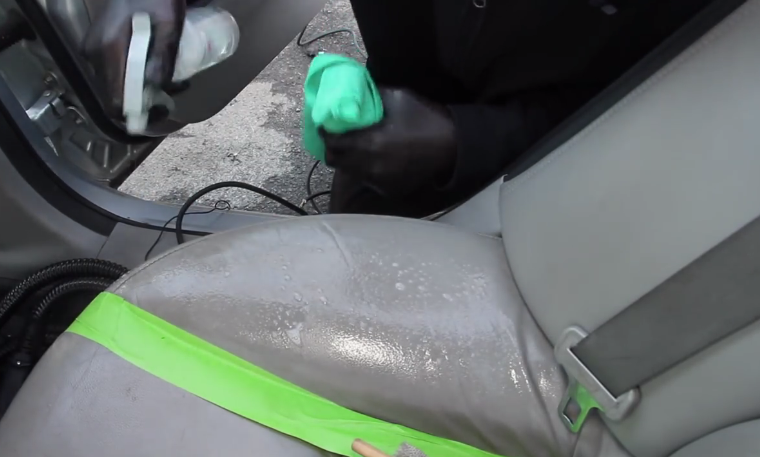
Step 5 – Use a lint-free cloth to rub in the leather cleaning solution
With a lint-free towel, gently rub the surface of the leather interior in circular motions. Leave the leather cleaner on the surface for 10 to 15 minutes. Follow the bottle's instructions if it specifies a different time frame. Depending on the brand of leather cleaning solution, the cloth might need to be slightly moist to activate the foam in the cleaner. Many cleaners are self-foaming as well.

Step 6 – Wipe off excess leather cleaning solution
Using the dry end of the lint-free towel, wipe off excess leather cleaning solution from the interior. If some areas have not been fully treated, repeat the previous step and continue the process.
Step 7 – Apply the sunscreen protector
Confirm that you are using a sunscreen product that is safe for leather and interior surfaces. Spray the sunscreen product to all the leather seats, including the dash. Use the dry end of the lint-free towel to rub in the protectant appropriately.

Featured Video: Best Interior Detailing Tricks
Related Discussion and Sites
- Leather Cleaner Conditioner - Honda-Tech.com
- Can I fix My Wrinkled Leather Seats? - AutoGeekOnline.com
- Hair Dryer to Remove Leather Seat Wrinkles - eHow.com