Honda: How to Change a Tire
If you do find yourself needing to change a tire on your Honda, it doesn't need to be as horrific as death or taxes. This article will take you through the simple steps of changing a tire on your Honda Accord or Civic
This article applies to the Honda Civic/Del Sol (1992-2000), and Accord (1990-2002).
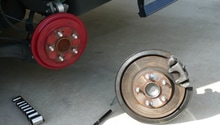
Sooner or later, most people will have a reason to change a tire. You might want to put on the spare tire during an emergency, you might want to work on your brakes, or you might want to install new tires. Changing a tire is one of the easiest procedures you can do with your car. It can also be, if not done right, one of the most dangerous. This article will walk you through the steps needed to change a tire quickly and safely.

Materials Needed
- Automobile jack
- Lug wrench and extension rod
- Bricks or wheel chocks
- Rubber mallet (if needed)
Warning
If the tire needs an immediate change, pull the car off the road as far and safely as possible. Turn your hazard lights on in order to alert traffic coming up behind you. Never change a tire on a hill or uneven ground. If the car starts to roll or the jack slips, you will suddenly find yourself having to deal with over a ton of metal coming down on your hands or feet.
Step 1 – Preparing the car
The first thing to do is apply the parking brake. Then, put the car in "Park" if it's an automatic, or shift into a gear (not Neutral) if it's a manual transmission. Next, using bricks or wheel chocks, secure the wheel that is diagonal from the tire you are changing. For example, if you are changing the right passenger's side tire, secure the rear driver's side wheel. If you are changing the rear passenger's side tire, secure the front driver's side wheel.
Open the trunk or rear hatch. Lift the floor board to reveal the spare tire and the jack tools. Manually turn the lifting bolt in a counterclockwise direction. This lowers the jack a little, allowing you to remove it from the holding bracket. Repeat this step when you return it. The jack tools should be in a black vinyl bag resting on the spare tire. In the bag, you will find the jack extension tool (with the hook at one end) and the "L" shaped lug wrench.
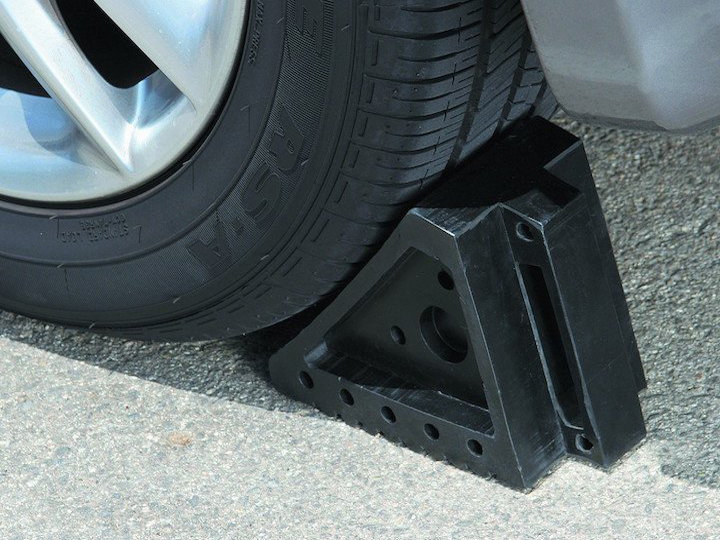
Figure 1. Wheel chock. 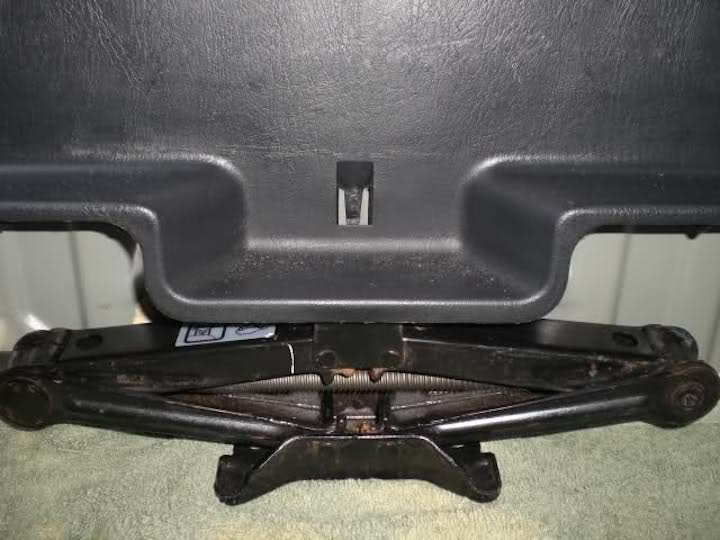
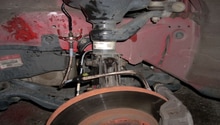
Figure 2. Jack location. 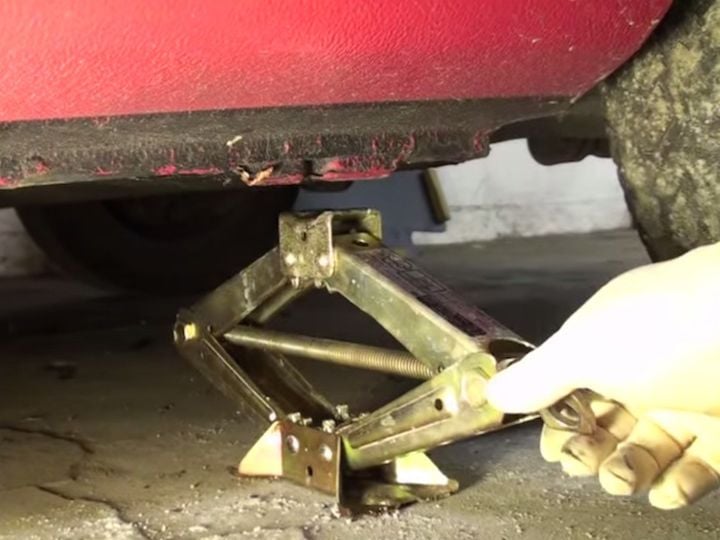
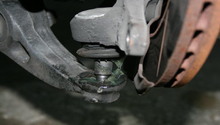
Figure 3. Jacking point on the side of the car.
Remove the jack and the tools. Then, remove the spare tire. It's easier to have the spare tire near you and ready to be put on the car when it's needed. If there is a wheel cover, use the flat end of the extension rod to pry it off. Take the lug wrench, and begin to loosen the lug nuts on the tire that needs replacing. It is better to slightly loosen them while the car is still on the ground. If you try to loosen a nut that is tough to turn after the wheel is raised, the wheel will simply spin as you turn the wrench. If a nut is stuck, you may have to push down on the wrench with your foot to provide sufficient force. Loosen the nuts in a star pattern. This helps to keep the tire straight and prevents undue pressure on the other nuts.
Once you've loosened the lug nuts, slide the jack under the car enough to place it under the jack point. These are areas near the wheel openings where the manufacturer has provided flanges, which fit into the head of the jack. They are located where the body sheet metal meets the undercarriage frame. Hand twist the lifting bolt until it seats on the jack point. Place the hook end of the extension into the lifting bolt. Then, slide the other end of the extension into the hole in the middle of the lug wrench handle. This is what you will turn to raise the car. Rotate the handle in a clockwise direction until the tire is raised off of the ground. Raise it only high enough to easily slide the old tire off, and to put the new tire on.
Pro Tip
If you are in a pinch at the side of the road, a rock will work in the place of the chock.
Related Articles
- How to Jack Up Your Civic - Honda-Tech.com
- How to Jack Up Your Accord - Honda-Tech.com
Step 2 – Replacing the tire
Once the car is raised, finish the removal of the lug nuts to slide the old tire off of the wheel. Be sure to place all of the lug nuts nearby because you don't want to lose any of them. If the tire "sticks" to the wheel, a bump on the outer edge of the tire with the heel of your palm should release it. If that doesn't work, use the rubber mallet to tap the outer wall tire several times in several places.
Roll the old tire out of the way, and install the new tire. Put the lug nuts back on, and tighten them using a star pattern. Make sure they are snug. You will be giving them a final tightening once the car is back on the ground.
Step 3 – Lowering the car
Lower the car by inserting the middle of the lug wrench handle on the flat end of the extension bar, and rotate it in a counterclockwise direction. Do this until the jack itself disengages from the jack point under the car. Take the lug wrench, and using the star pattern, tighten each lug nut in turn. By tightening them in this order, you help the tire fit snugly against all points of the wheel. Tighten the lug nuts securely. If you have a torque wrench, tighten them to 80 lbs. Replace the wheel cover or hub cap if one was used. Repair the damaged tire as soon as possible because the spare was not intended for long-term use.
Pro Tip
Periodically check the air pressure in your spare. It will be worthless to you if it is under-inflated when you need it.
(Related Article: How to Check Your Tire Pressure - Honda-Tech.com)
Featured Video: How to Change a Flat Tire
Related Discussion
- Checking Spare Tire - Honda-Tech.com
- Jack and Tool Storage - Honda-Tech.com