Honda Civic: How to Replace Radiator
If you want to improve your engine's cooling and overall performance, then replacing your worn out radiator will do just that. Learn how to do so here.
This article applies to the Honda Civic/Del Sol (1992-2000).
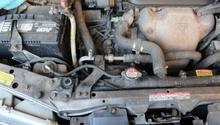
When you think of a good-performing engine, you might think of an air intake or an exhaust system, but running cool, even under hard use, is the sign of a well-performing engine. The radiator's job is to work as a big cooling agent for the engine. It does so by using air to cool down hot coolant that is pumped through the engine. Without it, it would over heat. Replacing the radiator requires some draining and undoing a few bolts and hoses. If you don't like the idea of slashing a little coolant on you, you may opt for taking it to a shop instead.

Materials Needed
- Jack and jack stands
- 10mm socket
- Ratchet wrench
- Flathead screwdriver
- Funnel and drip pan
- Engine coolant and distilled water
Warning
Make sure that the engine is cold before working on it. The cooling system sees temperatures in excess of 200 degrees Fahrenheit, and it is a pressurized system. Hot coolant will scald you!
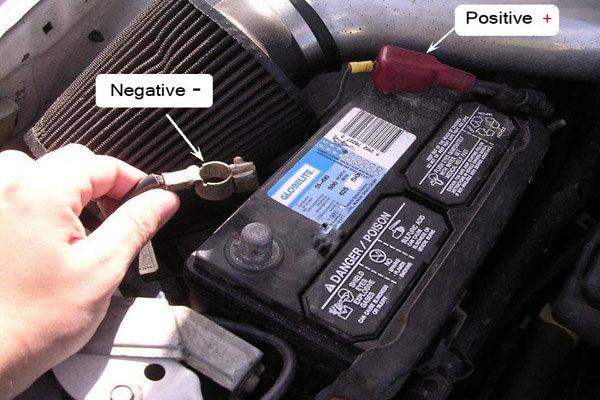
Step 1 – Disconnect the battery terminal
Disconnect the negative (black) battery terminal.
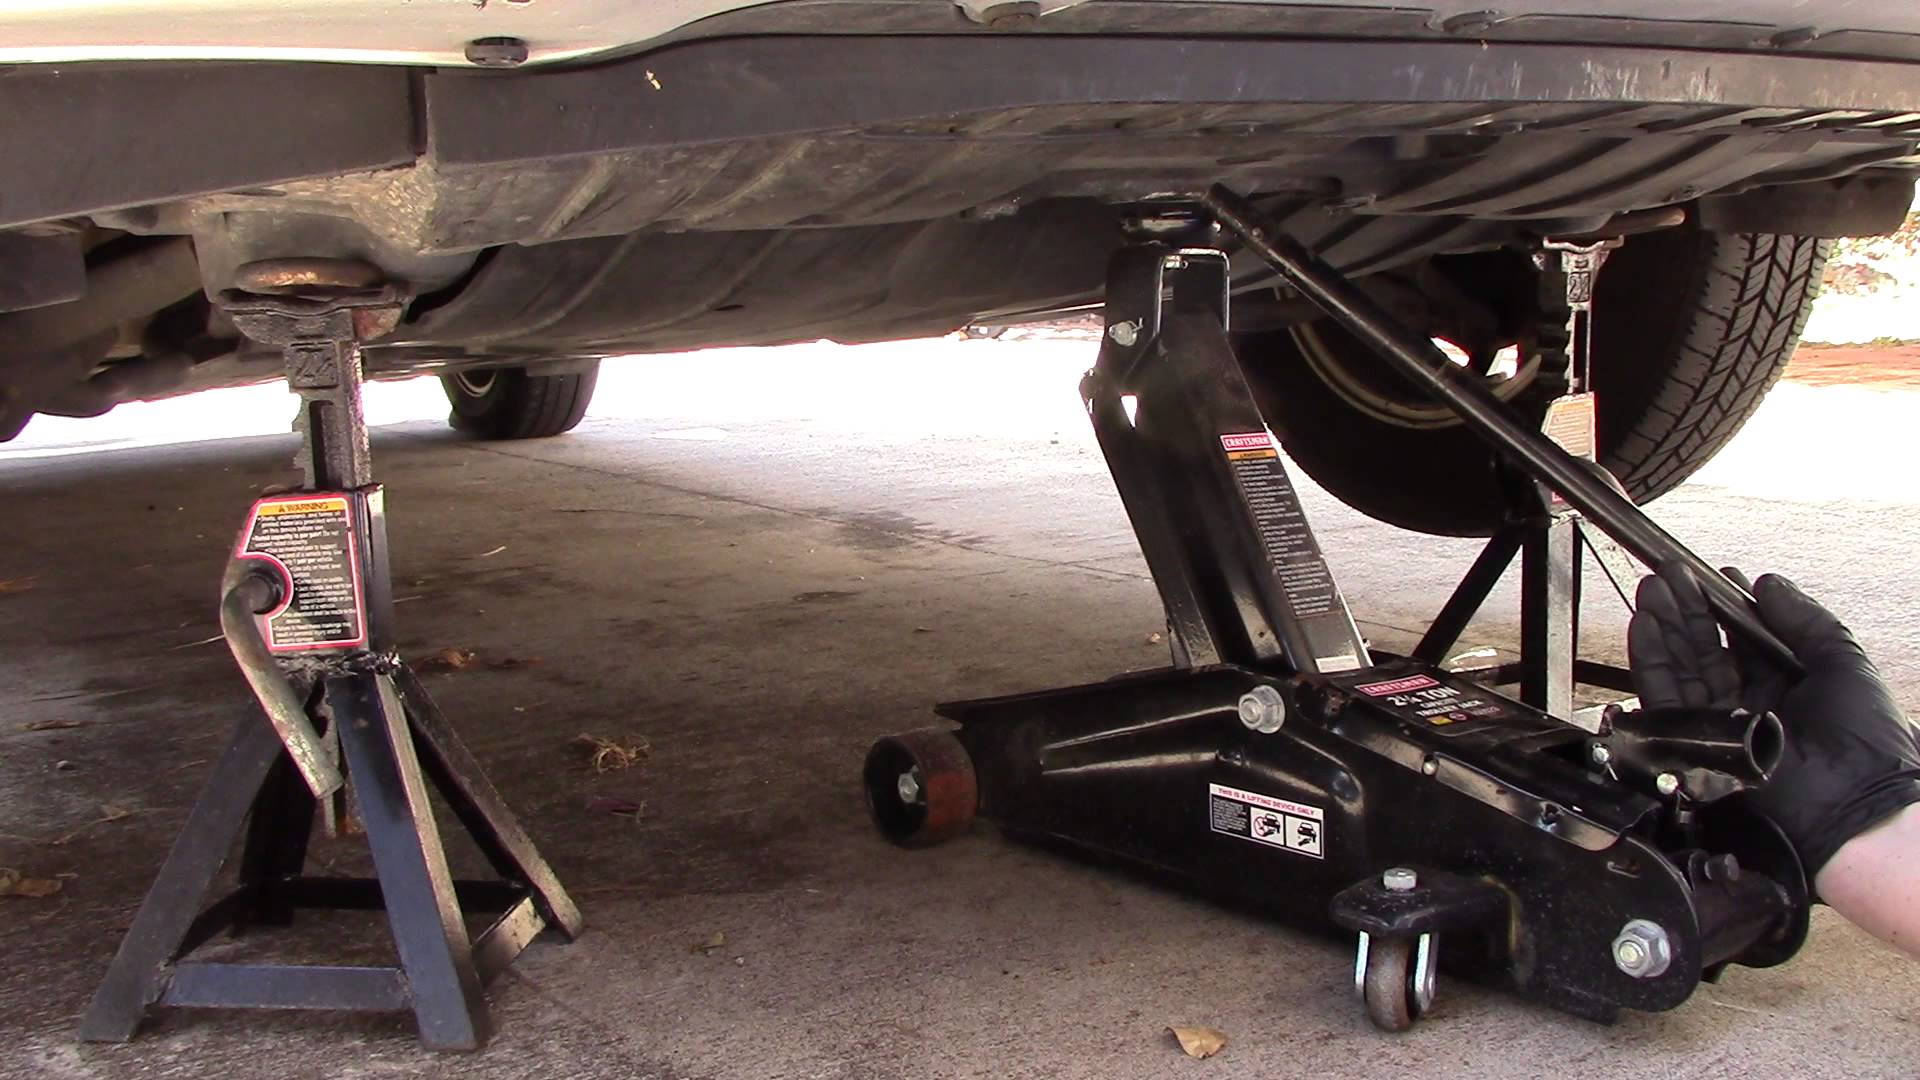
Step 2 – Secure the car on jack stands
Jack up the front and back ends of the car and secure it on jack stands.
(Related Discussion: How to Jack Up '96 Civic - Honda-Tech.com)
Step 3 – Drain the radiator
Again, make sure the engine is cold before you begin working on it. Once the hood is secured open, look underneath the car and reach to the bottom of the radiator. Run your hand along the radiator to locate the drain plug, then turn the plug until it comes out and let the coolant drip into a bucket or drip pan.

Step 4 – Remove the radiator cap and hoses
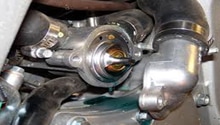
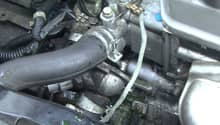
Remove the radiator cap at the very top of the radiator. As discussed above, the cooling system is pressurized. If you feel pressure behind the cap when attempting to remove, stop immediately and wait for the system to cool down further. Removing the cap will allow air to flow through both openings and for coolant to come out faster. Once the cap is removed, grab the pliers, or flat head screwdriver, and loosen the clamp to remove the radiator overflow hose, then remove lower hose located on the bottom corner of the radiator.

Figure 4. The overflow reservoir was located in that big empty space. Removing it will offer more flexibility. 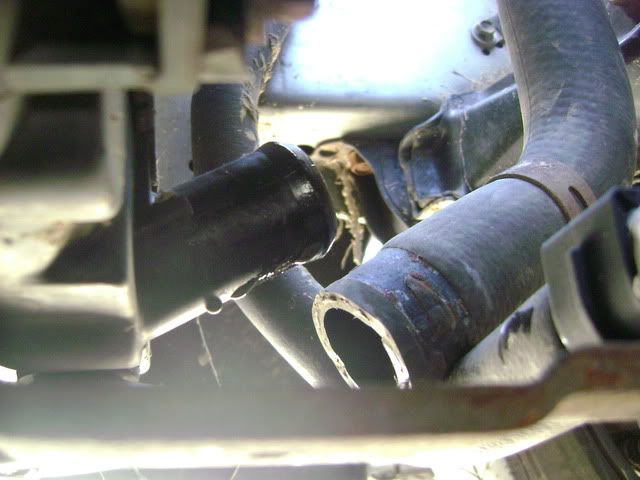
Figure 5. Remove lower radiator hose.
Step 5 – Unplug the fan and remove radiator
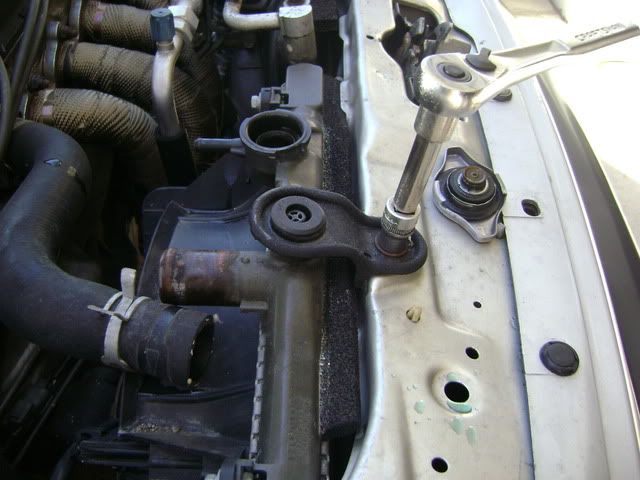
Locate the wiring harness for the radiator fan and unplug it. Once the radiator is free of any attachments, locate the main upper radiator support and undo the main bolt.
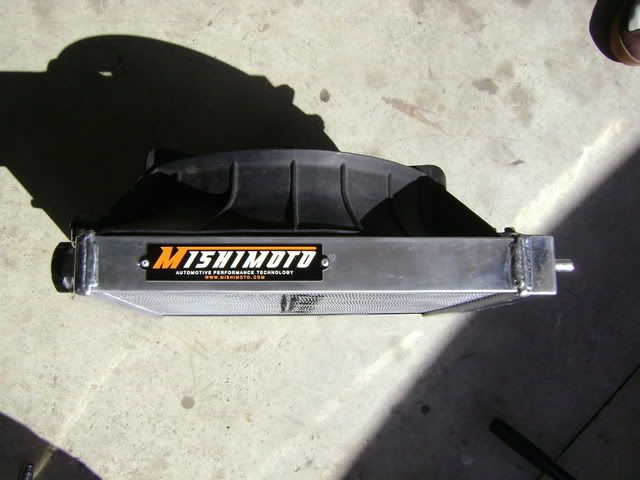
Step 6 – Install new radiator
Before you lower the new radiator into place, attach the radiator fan shroud onto it (if applicable). Then, carefully lower radiator into place. Finally, bolt down the support bracket but don't tighten it all the way.
Step 7 – Prep the radiator and lower the car
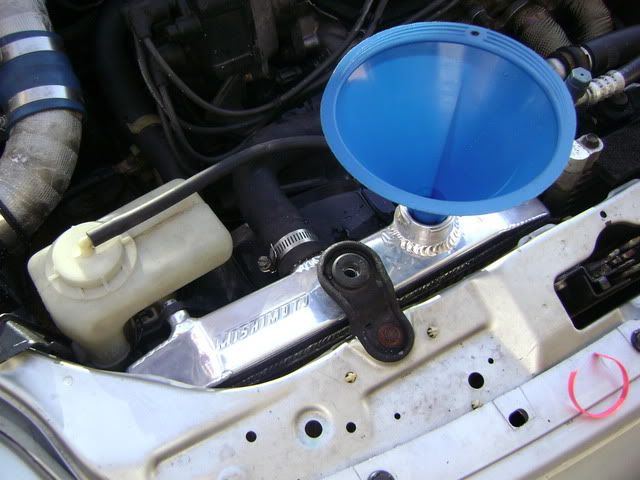
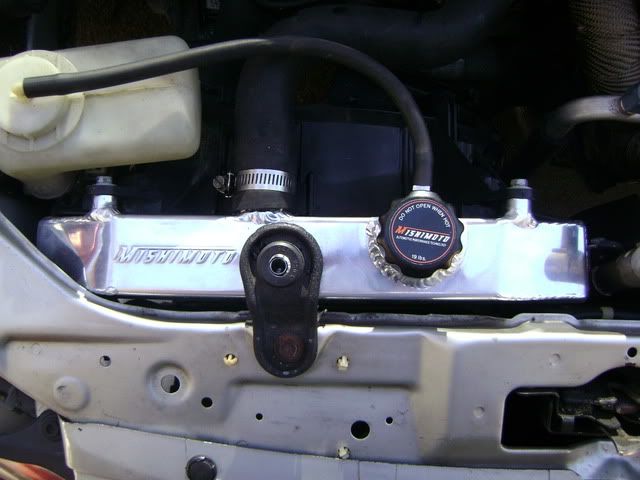
Attach the fan wiring harness and reconnect the lower radiator hose as well as the radiator overflow hose. Use your funnel to fill up the system with new coolant before putting the radiator cap back on. Then, lower the car and start the engine.
Step 8 – Test system
Start your car and let the engine run, keeping the hood open so you can visually inspect for possible leaks. Keep an eye on the temperature gauge to prevent any overheating issues.
Featured Video: How to Install a Radiator '92-'00 Civic
Related Discussions
- Radiator Install Instructions - Honda-Tech.com
- How to Install Mishimotor Radiator - Honda-Tech.com