Honda Civic: How to Install Trunk Light
Illuminate your trunk for daytime or nighttime use. Learn how to install a trunk light here.
This article applies to the Honda Civic (1992-2000).
Trunk lights are manufactured to improve the way you organize and search for the belongings in your trunk. These handy accessories are easy to control and can be wired to provide immediate illumination and radiance the moment your trunk door opens. No more fumbling around for a switch or haggling with a clunky control panel to see inside your trunk. Simply install the lights and presto: they're ready to go! One click to access your trunk, and you will have the light you need to organize your belongings or search for those all-too-important jumper cables, for example, when you need them. Let's get started.

Materials Needed
- Trunk light
- Splicer
- Trim removal tool
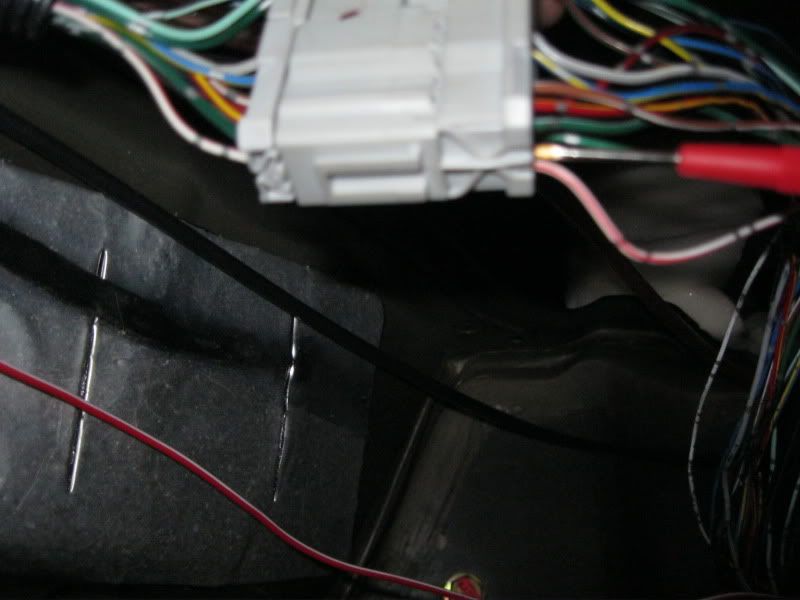
Step 1 – Locate the connector
Remove the rear side panels, which start at the back seat. Locate the connector that connects the trunk wiring to the floor wiring, which you will find along the driver's side quarter panel. Note the floor harness has a red/white wire (the trunk harness does not). This wiring will provide your trunk light with 12 volts of power.
Pro Tip
The interior trim panels are best removed with a plastic trim removal tool; these are inexpensive and won't damage interior plastics.
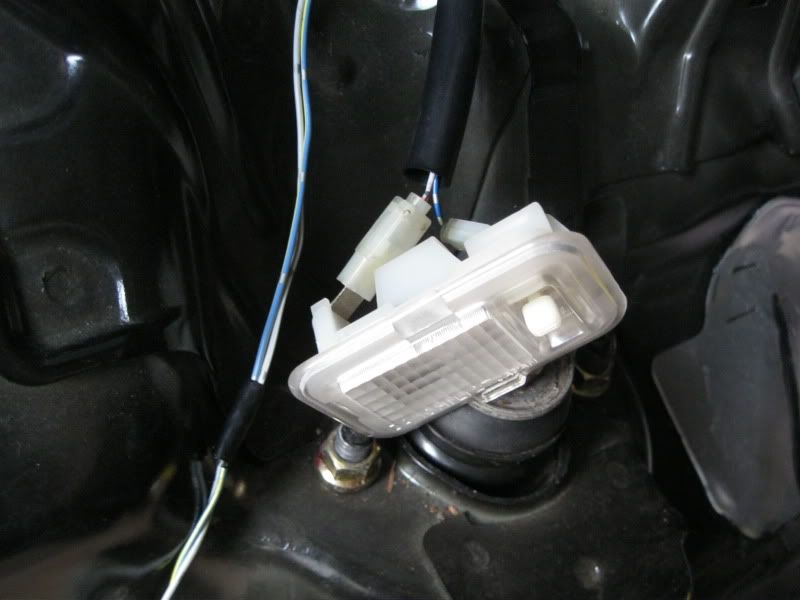
Step 2 – Run the wire
Run the red/white wire to the larger connector on your trunk light. The smaller connector or blue/black wire is for the ground wire.
The trunk light will automatically illuminate whenever the trunk door opens.

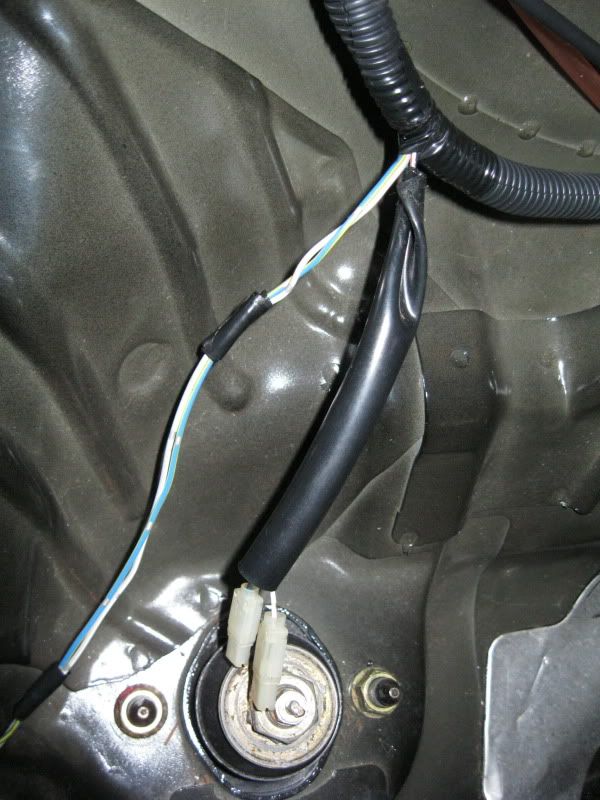
Step 3 – Splice the wire
Splice into the red/white wire and then run the wire to your trunk light. Splice the two together using a splicer. Now that the wires are connected, pull together any slack in the wire to ensure the area is kept organized.
Step 4 – Decide on a location
Decide where you wish to hang the lights. It's recommended to run the lights along the back of your trunk and hang them from the hole in the middle of the rear trunk shelf. Measure how much length you'll need. For instance, when starting from the point just above the rear strut, you would need approximately six inches of wire.
Step 5 – Finish the job
Unwrap the tape and run your wires out. Replace the tape using any spade connector that fits the two tabs. The smaller tab is for the ground wire (blue/black) and the larger tab is for the power (white/red wire).
Related Discussions
- Trunk/Map Light DIY - Honda-Tech.com
- Adding Trunk Light to EK - Honda-Tech.com
- Trunk Light in EG Hatch? - Honda-Tech.com