Honda Civic: How to Convert Your Automatic Transmission to Manual
Sure, automatics are comfortable, but nothing beats the sportiness and visceral feeling of a manual transmission. Read on to convert your Honda Civic into something more exciting.
This article applies to Honda Civic/Del Sol (1992-2000).
Automatic transmissions are considered an upgrade, and they also cost more than manual transmissions. What if you couldn't choose your preferred transmission once purchasing your Honda Civic? If you really want to drive a stick, a manual transmission swap is an option. However, be aware that this is no small feat because most of the car must be disassembled for the conversion. This is a job that requires a lot of specialty tools and knowledge, so visiting a mechanic might be the best option. This article will provide you with a general overview of what's required to swap your transmission.
Materials Needed
Car lift
Engine crane
Transmission dolly
Breaker bar
Pro Tip
You can purchase these tools, loan them from an auto store, or visit a DIY garage.
Step 1 – Prep the car
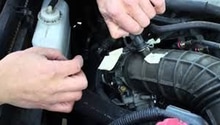
Before starting a transmission swap in your Honda Civic, you must first remove all of the interior trim: seats, carpeting, the dashboard, etc. Basically, the whole interior must be stripped. Once you are finished with the interior, remove the hood. Then, you can start to disconnect and remove all the vital components. Start by disconnecting the battery, followed by completely draining the engine oil and coolant. Make sure all hoses, cable linkages, and electrical connectors are removed. Also, unbolt the shock towers. Once the engine is cleared of those components, the only thing holding it back should be the transmission and engine mounts.
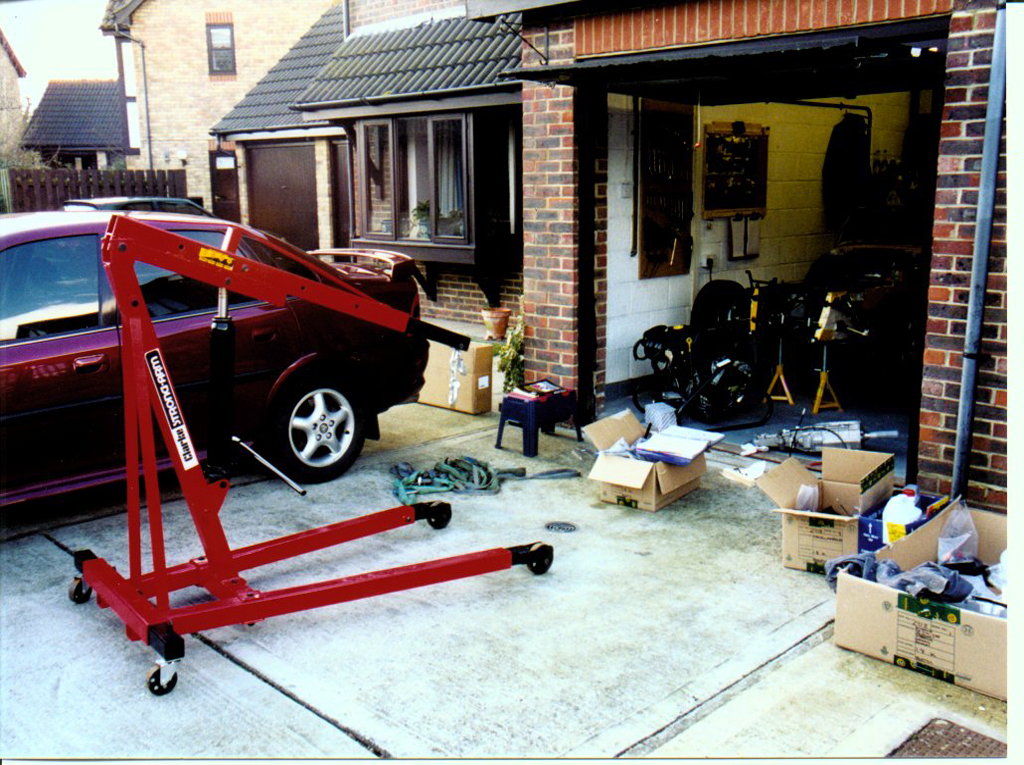
Figure 1. A professional auto mechanic shop is the ideal location for a transmission swap.
Figure 2. Make sure you have the right equipment before performing this job at home.
Step 2 – Disconnect the transmission
Once the engine is dry with no residual oil or coolant, you can lift the car and start separating the transmission from the engine. The starter must be removed first to gain access. Then, you can remove the transmission, which is held in place by ten bolts of varying sizes. These may be extra tight, so you may want to use a breaker bar.
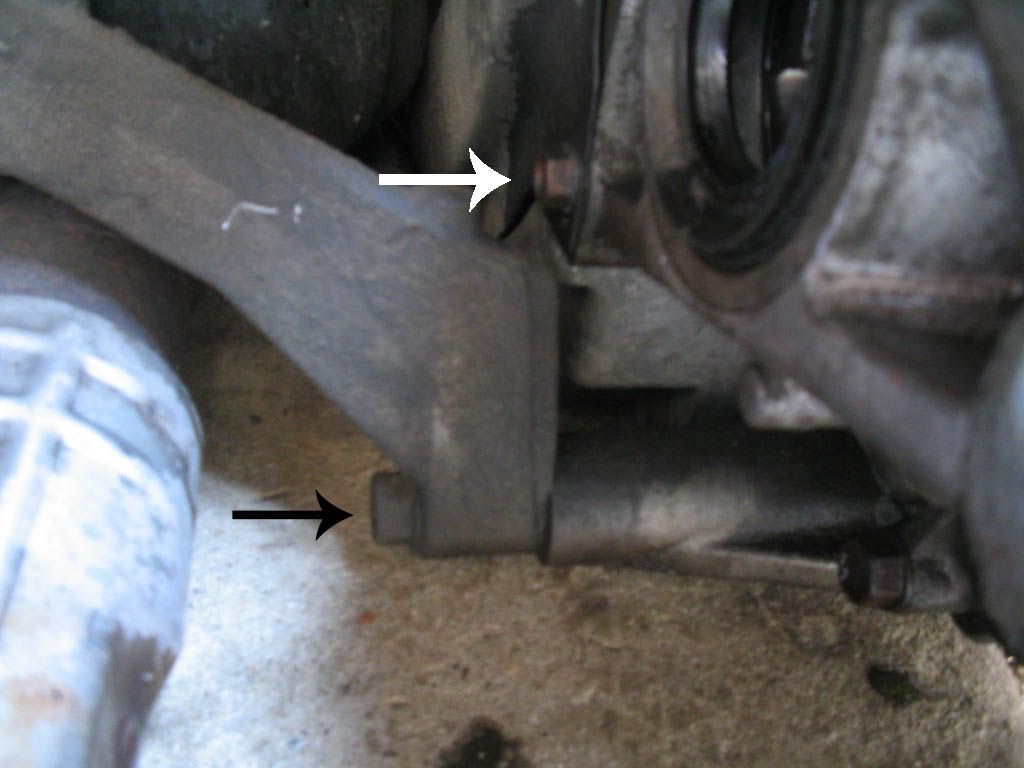
Figure 3. Remove bolts from the transmission.
Figure 4. Exposed flywheel after transmission removal.
Step 3 – Remove the engine
Once the automatic transmission is out and the engine is completely disengaged from the car, it can be removed. First, locate a good point to attach the hooks in order to hoist the engine out. Any solid opening in the engine block would work. You can also attach a secure device to the engine, which should also stabilize it when taken out.
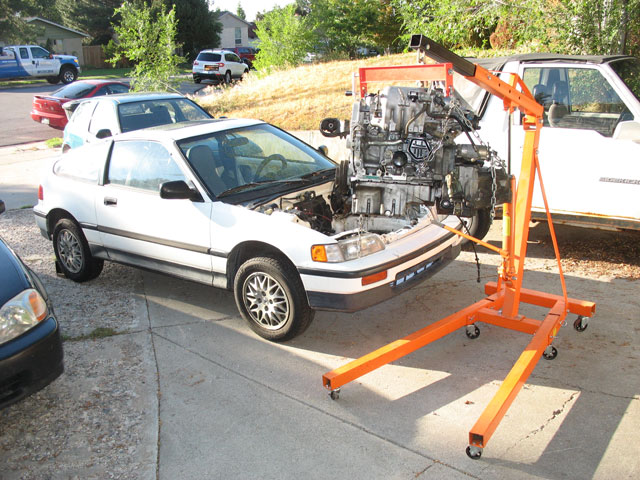
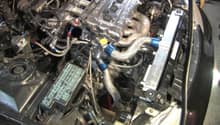
Figure 5. Attach chains to a solid opening in the engine.
Figure 6. Carefully hoist engine out.
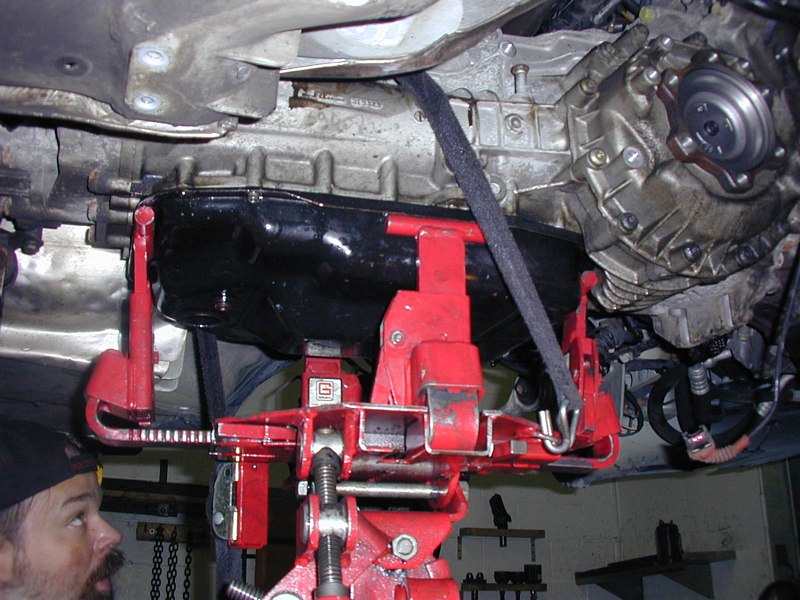
Step 4 – Remove the transmission
To remove the transmission, you must raise the car high enough for a dolly to fit under the car. Then, the transmission must be tightly secured to be pulled out from underneath. As with the engine, this must be done slowly and carefully to avoid any damage to the car body or cause any injuries.
A new clutch pedal assembly must now be installed to the manual transmission. You can install an OEM or aftermarket assembly. According to most Honda-Tech forum members, this is one of the most difficult parts of the swap because the pedal assembly is quite tricky. The clutch mechanism and complete cable system must also be installed.
Figure 9. Aftermarket clutch pedal assembly.
Step 6 – Install the manual transmission
Before you can install the manual transmission, several parts of the car frame and body must be cut as well as welded to accommodate the new transmission. Firewalls, transmission tubes, and cables must also be fitted to the new manual linked. Once these have been taken care of, the new transmission can be mounted and the shifter can be installed.
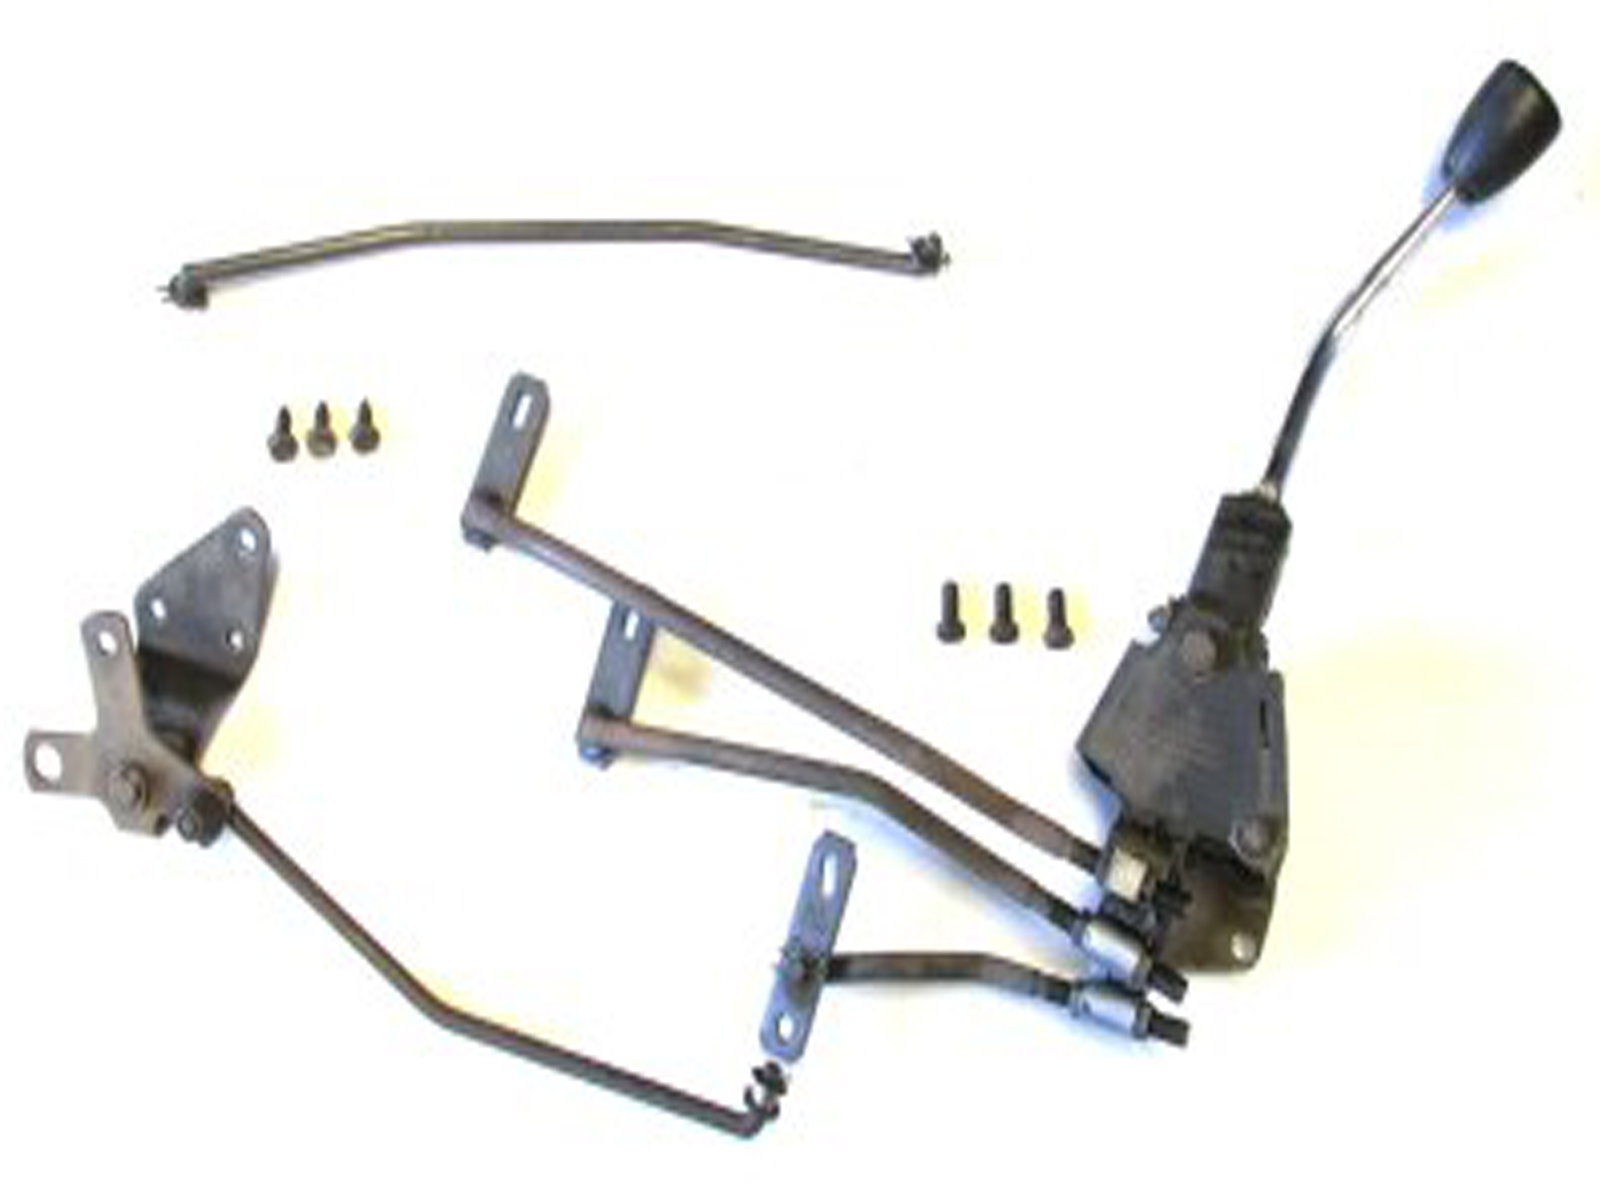
Figure 10. Custom linkages and brackets to fit manual transmission.
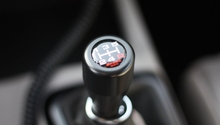
Figure 11. Manual shifter assembly.
Step 7 – Re-install the engine
Now that the transmission is in, you can finish up the installation in reverse order to the removal process. Lower the engine back into the bay, attach the starter, bolt the transmission to the engine, secure all vitals back to the engine, pour in the coolant engine oil, and re-attach the hood. Then, move to the cabin and re-install all of the interior components. You must make sure all bolts have been torqued to the right specifications, and all belts have the correct tension.
Featured Video: Honda Civic Auto to Manual Transmission Swap
How to Convert Your Automatic to Manual
If the driving experience is your first priority, look no further than a manual swap. Find out how to do just that here.
This article applies to the Honda Civic (1992-2000). ...
How to Swap Automatic for 5-Speed Manual
s.cali alan
Find out what it takes to turn your automatic Honda Accord into a 5-speed manual.
This article applies to the Honda Accord (1990-2002).
So you have a really ...
How to Convert to Rear Wheel Drive
Rear wheel drive Honda Civics and Accords aren't completely unheard of, but what exactly does it take? Find out here!
This article applies to the Honda Civic (1992-2000), and ...
How to Replace Clutch and Flywheel
honda-acura
It's a scary feeling when your foot presses the clutch pedal only to have it hit the floor. Avoid that travesty by replacing the clutch and flywheel on your Honda ...
Why Does My Car Shake When Releasing Clutch in First Gear?
Click on this article, and find out how to fix the shaking in your clutch.
This article applies to the Honda Civic (1992-2000).
The clutch in your Honda ...
Why is My Car Jerking?
Find out what is causing your car to jerk with the help of this guide.
This article applies to the Honda Accord (1990-2002).
It can be irritating as well as dangerous to have your engine ...