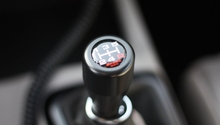
Honda Civic: How to Convert Your Automatic to Manual
Converting your 1992 to 2000 Honda Civic automatic to a manual transmission is one of the most rewarding experiences you can have as a Honda enthusiast. Using basic tools and supplies, you can have your newly converted Civic running within a weekend.
This article applies to the Honda Civic (1992-2000).
Have you ever been frustrated by the lack of driver control in your automatic 1992 to 2000 Honda Civic? The simple and DIY friendly option to transform your driving experience is to convert to a manual transmission. The transmission is the mechanical connection from your engine to your axles and wheels. Simply, a manual transmission is responsible for transferring the rotational force generated by the engine via a clutch to the axles. The culprit of your numb driving experience is your automatic transmission. Instead of using your left foot to directly control the engagement of the clutch, you are at the mercy of your gas pedal. A manual transmission also provides a direct connection to the axles, while an automatic transfers power through a torque converter leading to more than 5 percent power loss. Not only will you be more in control of your car and enjoying the new driving experience, you will also feel some free’d up horsepower.
This DIY swap will make you appreciate your car even more, and save your more than $1,500 from taking it to a professional. If you do not have basic mechanical skills, it might be best to avoid this swap as it could cause irreversible damage to your car.

Materials Needed
- Metric and standard socket set
- Engine hoist (if possible)
- Pry bars
- Needle nose pliers
- WD-40
- Dremel
- Automotive Goop and Quiksteel
- Jack or lift and jack stands
- Torque wrench
Step 1 – Steering column removal
Get a clutch pedal from a 1992 to 2000 Civic from eBay or a junkyard to use for this swap. Remove the lower steering wheel cover, which is held on by three screws under the steering wheel. The steering column cover needs to be removed, which is held on by two screws. Now, remove the steering column by removing the four (12mm) bolts under the steering column, and drop the steering column.
Featured Video: Steering Column Removal
Pro Tip
Have someone help you with dropping the steering column because it will fall once the four bolts are removed.
Step 2 – Pedal assembly removal
Remove the gas pedal by disconnecting the cruise control cable. To disconnect, simply twist the pin out of the gas pedal bracket. Next, detach the throttle body cable by pulling it towards you, and pushing it out of the bracket.

Remove the brake pedal by removing the two bolts from the brake pedal to the firewall, and by removing the cotter pin connecting it to the brake master cylinder. Remove the pin from the brake pedal to the master cylinder. Remove the brake sensor by prying the clip off.

Figure 2. Brake pedal mounting bracket. 
Figure 3. Brake pedal to master cylinder cotter pin.
Install the clutch master cylinder and pedal into the two pre-drilled holes on the left side of the firewall.

Figure 4. Firewall holes drilled. 
Figure 5. The same hole afterwards.
Pro Tip
If you wish to retain the automatic pedals, the gas and brake pedals don’t have to be removed.
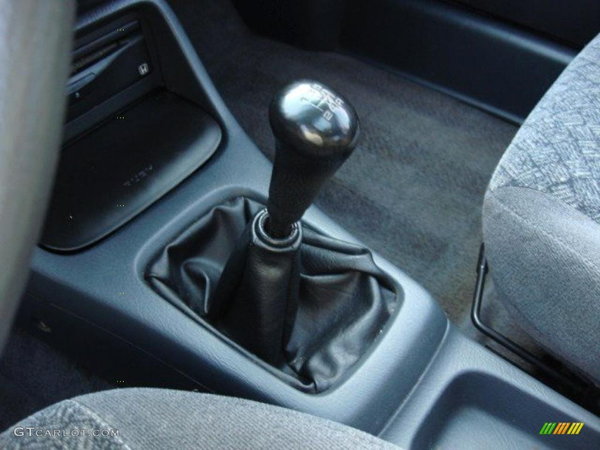
Step 3 – Center console and automatic shifter removal
Now that the pedals are taken care of, the center console needs to be addressed for this swap. Remove the center console by removing the screws on the perimeter of the center console.
Go underneath the car, and remove the four bolts that connect the automatic shifter to the chassis. Disconnect all of the connectors from the automatic shifter, and remove the screws connecting the shifter from the center console. You can now move on to the engine bay.
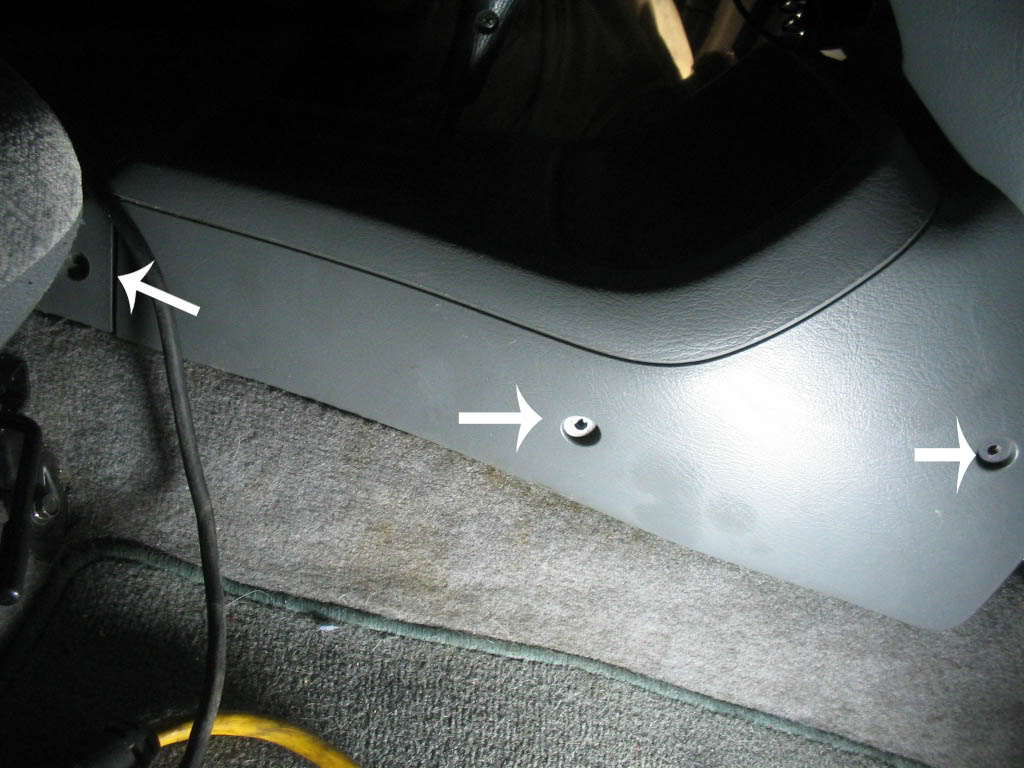
Figure 6. Center console tabs. 
Figure 7. Center console screws.
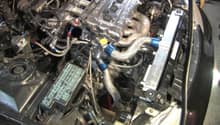
Step 4 – Engine and front suspension removal
Now comes the fun part. To make this conversion much more hassle free, you will need to pull the motor. The basic rundown of pulling a motor includes draining the engine oil and coolant, pulling the battery out, then disconnecting all of the electrical connectors that anchor the engine in. Also, the starter and coolant lines (17mm bolts) must be removed.
As you get closer to finally driving your manual Civic, there are a few more steps to removing the engine. You must remove the radiator and all of the heater hoses, fuel lines, throttle cables, as well as vacuum lines.

Figure 8. Engine mount #1 on the chassis. 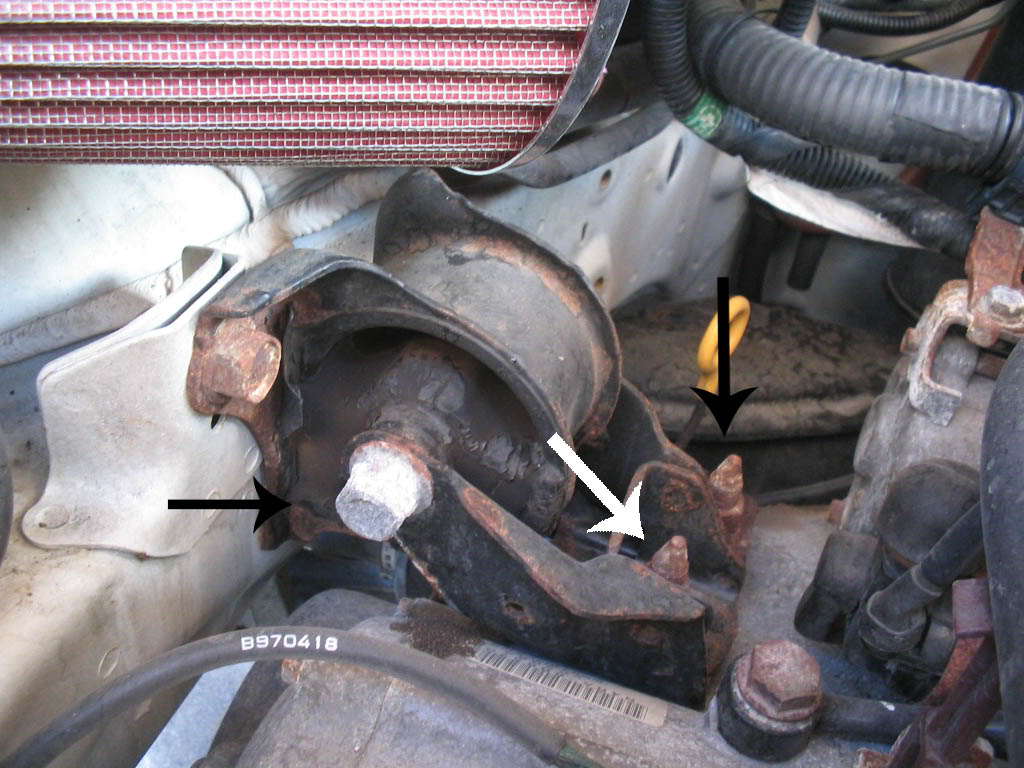
Figure 9. Engine mount #2 on the left side of the engine, beneath the filter. 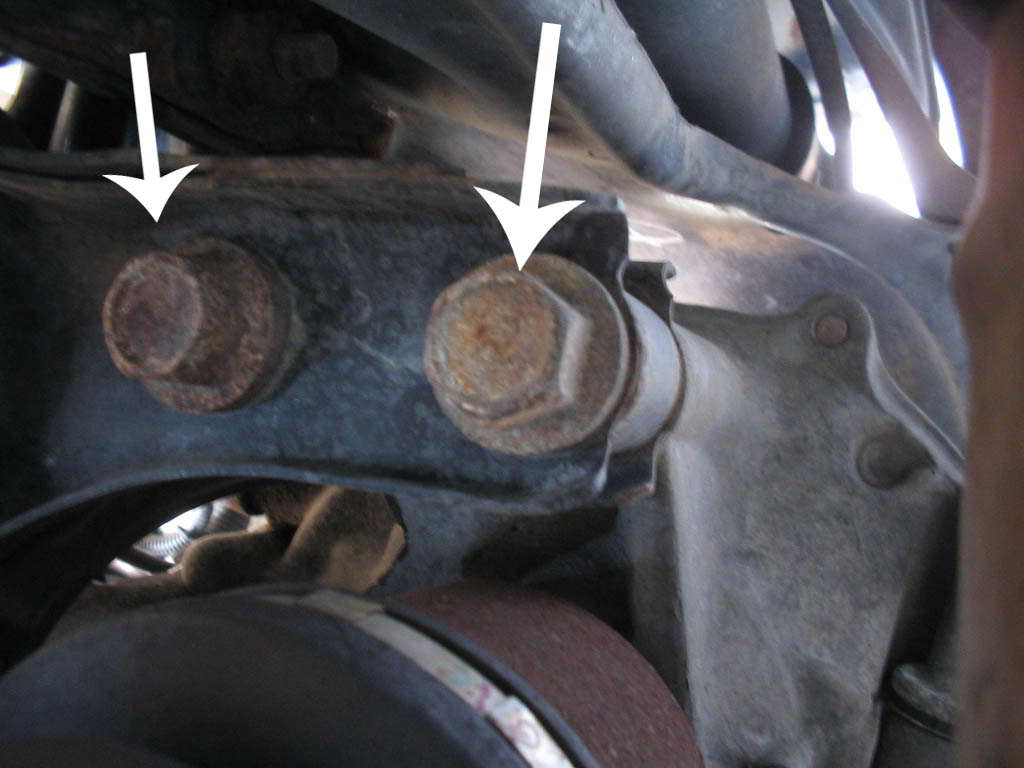
Figure 10. The final mount between the engine and transmission.
Next, take off the front wheels. You will need a 17mm socket, needle nose pliers, 17mm wrench, and a 1/2 ratchet for this next step. You will be removing the suspension fork to gain access to the transmission, and to be able to hoist the engine out. Also, the front axles must be removed. At this time, the header and exhaust can be removed to further free the engine from the chassis. Two 19mm bolts on the rear transmission mount needs to be removed as well.
Lastly, there is an engine mount with a shaft on the driver’s side on the AC bracket that must be removed with a 19mm and 17mm socket. Now, unbolt the motor mounts and the engine should be free to be removed.
Featured Video: Honda Civic Engine Removal
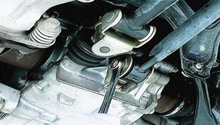
Step 5 – Transmission removal
You are almost there! Remove the starter (two 14mm bolts) and any connectors the on the transmission. Then, drain the transmission fluid. All that connects the transmission to the block are six 17mm bolts, two 14mm, and two 10mm bolts. The 17mms are easy to see on the circumference of the transmission. The next two 12mm bolts are next to the oil pan on the stabilizer, and the two 10mm bolts are on the dust cover. Finally, claim success by using a couple pry bars to pry the block apart from the transmission.

Figure 11. 17mm transmission bolts. 
Figure 12. Smaller transmission bolts. 
Figure 13. Smaller transmission bolts.
Pro Tip
Have a large drain pan available when draining the transmission because the torque converter holds a large amount of fluid.
Step 6 – Torque converter and flywheel removal
Next, the torque converter needs to be removed. There are 8 to 10 10mm bolts holding it on the transmission. Be careful as it will fall without warning when the last bolt is removed, and it is quite heavy. Next, remove the flywheel, which is held on by six 12mm 10-point bolts. That’s all, and the automatic equipment has officially been removed.

Step 7 – Manual transmission installation
You are officially one step closer to your new driving experience. First, install the manual flywheel bolts to 87 ft-lbs in the following order:
........1........
....3.....5....
....6.....4....
.......2........
The pressure plate must be installed as well, but only torqued to 18 ft-lbs. Take the pins off the automatic transmission and re-install them onto the manual transmission. Now, the manual transmission can be dropped into its place (finally).

Step 8 – Intake manifold
Remove the seven 12mm bolts holding the intake manifold, and remove the coolant lines as well as connectors holding the intake manifold on. Re-install the new intake, and torque the bolts in the following order:
.....4...2.....3....5....
..6..........1...........7
Then, the idle air control valve (IACV) needs to be rewired according to the following diagrams in Figures 17 and 18.

Figure 16. Intake manifold. 
Figure 17. Diagram for '96-'98 Civic. 
Figure 18. Diagram for '99-'00 Civic.
Step 9 – Re-install coolant and clutch lines
Re-install the coolant lines in the same orientation as they came out. You might want to consider replacing these if you see any cracks or leaks. Next, the clutch lines need to be routed, which is fairly straightforward because everything only fits in one place.
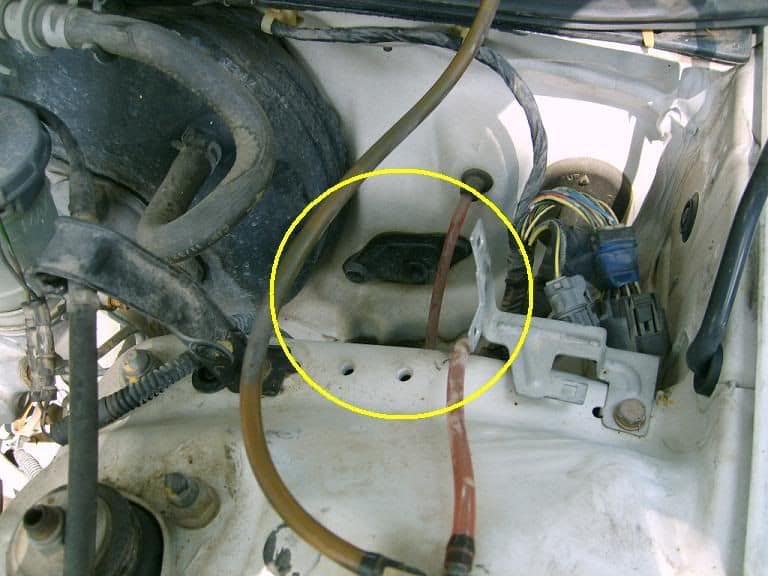
Figure 19. Firewall mounting spot. 
Figure 20. Reservoir mounted. 
Figure 21. Clutch line orientation.
Step 10 – Wind plate modification and wiring
The wind plate needs to be modified. You will need Automotive Goop and Quiksteel to complete this job. This modification assists in running wiring, and cleaning up the area where the E-brake goes. Please see the Related Discussions at the bottom of this article for more information.

Figure 22. E-brake area.
Step 11 – Buttoning it all up!
Congratulations, you have saved over $1,500 by doing this install yourself, and will be able to enjoy an awesome new driving experience. Make sure to button everything up, which includes re-installing the center console. Also, connect the shifter linkages and shifter mechanism. Make sure the motor is securely connected to the chassis, and all bolts are torqued to spec. Refill all of your fluids, which includes transmission fluid, coolant, and oil. Double check all of the electrical connectors are reconnected, and start up you “new” Civic!
Featured Video: Auto to Manual Engine Swap
Related Discussions
- Auto to Manual Swap DIY - Honda-Tech.com
- My Auto to Manual Swap - Honda-Tech.com
- Auto to Manual Do's and Dont's - Honda-Tech.com