Honda Accord: How to Replace Automatic Shifter Light Bulb
If the shifter light bulb burns out, there is no need to shift in the dark because replacing the bulb is easy, inexpensive, and should take you less than 30 minutes to complete. Continue reading to learn how to replace the automatic shifter light bulb of your Honda Accord.
This article applies to the Honda Accord (1990-2002).
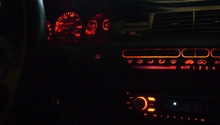
Most sixth-generation manual Honda Accords have shifters that light up at night, helping you see the gear you're shifting into. The older your car, the more likely that this bulb will burn out. Replacing it is easy enough for even the most novice of DIY-ers. The hardest part may be holding onto the spring that goes inside the shifter, but knowing in advance that it likely will "spring" away when you remove the shifter should help minimize the risk of losing it.

Materials Needed
- New bulb
- Phillips screwdriver
Step 1 – Prepare to remove shifter and shifter console
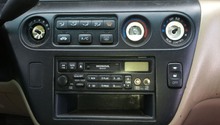
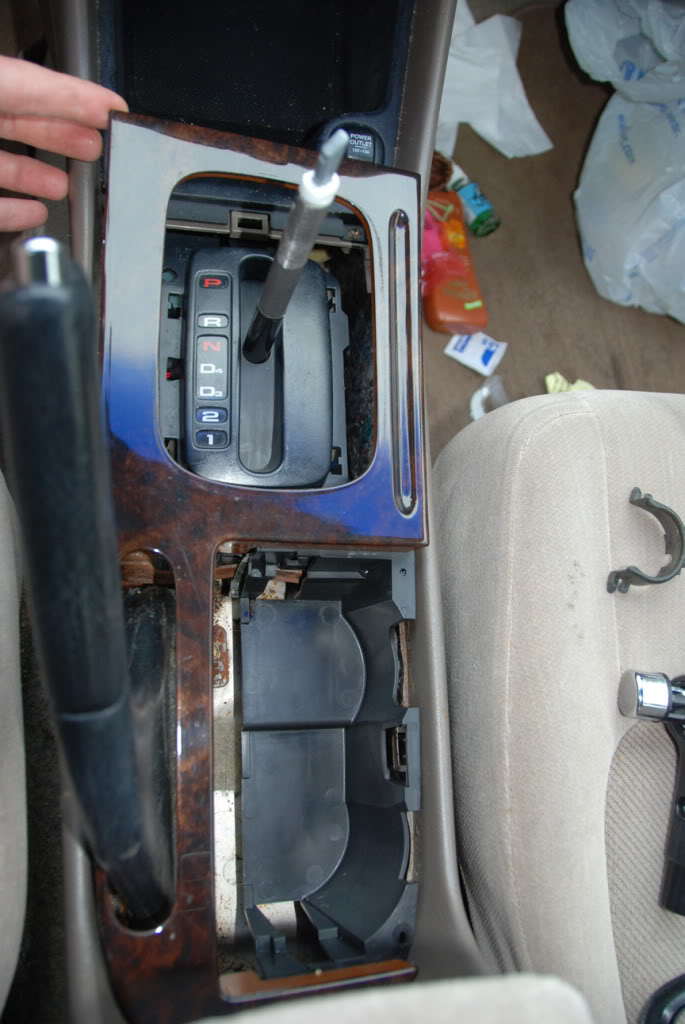
Remove perimeter trim piece around the shifter base. Pull out the cup holder. Apply the emergency brakes. Put the shifter in its central position, which will let you more easily slide the shifter console up, and give you better access to the bulb.
Step 2 – Remove shifter handle and inlay
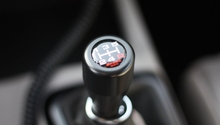
Remove the shifter handle. It’s spring-loaded, so be mindful of where the spring ends when it “springs” out of place. Then, remove clips holding inlay in place, and remove the inlay.
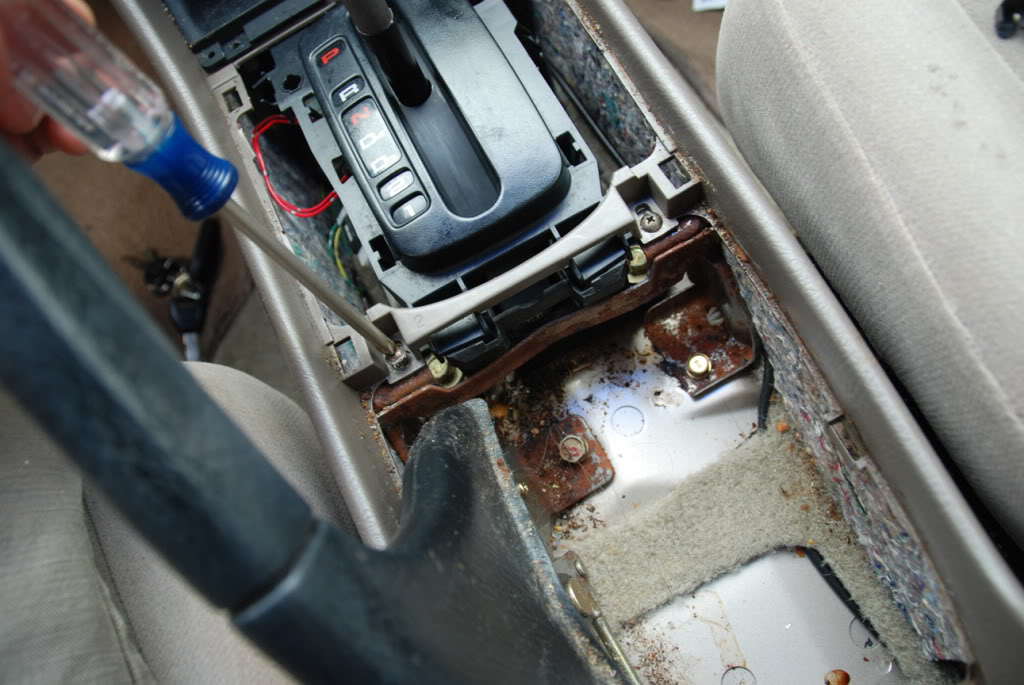
Step 3 – Remove shifter console
Use the Phillips screwdriver to remove four screws that hold the shifter indicator console in place. Pull up on the console, and slide it out of clips that are further holding it in place. Slide console out from under the outer console shell, and then off of the shifter itself. Turn over the shifter console to access the bulb.
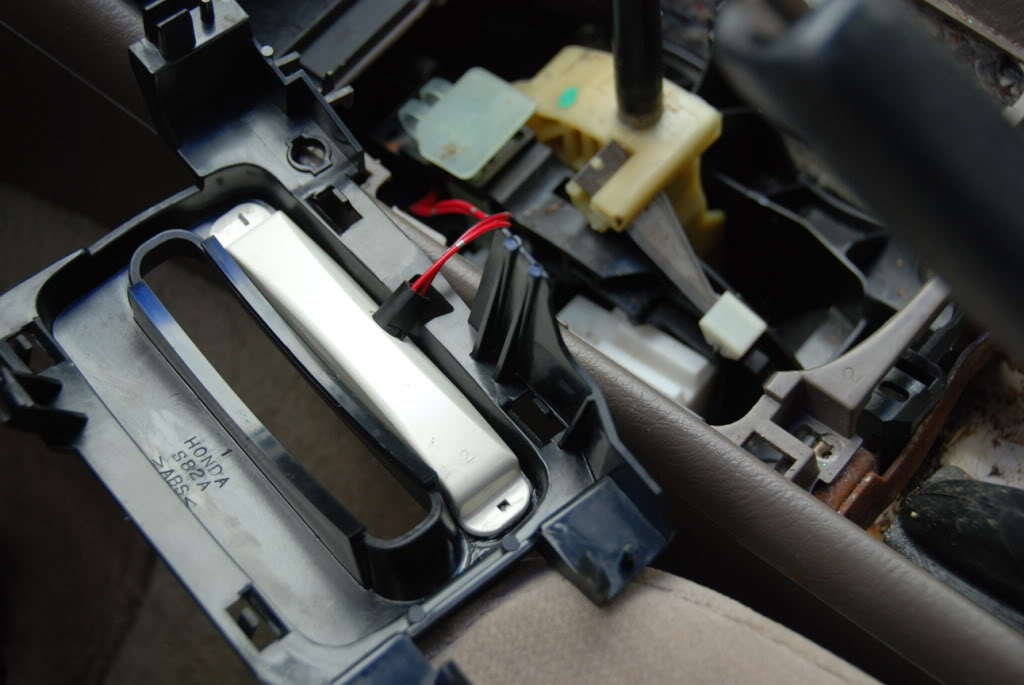
Step 4 – Remove old bulb and install new one
Twist the bulb connection to remove the wire (which is likely red) and the bulb holder. Pull out the old bulb to install the new bulb.
Step 5 – Re-assemble in reverse order
- Re-install the console under the outer console shell.
- Insert console back into the four clips that will hold it in place.
- Use the Phillips screwdriver to install and tighten four screws that hold console in place.
- Re-install inlay, and then the four clips that hold it in place.
- Replace the shifter handle, making sure you insert the spring before you do.
- Re-install the cup holder.
- Re-install the perimeter trim.
Step 6 – Test bulb
Turn on car, and make sure that the bulb works. If not, check your connections and wiring to make sure that nothing is pinched.
Featured Video: How to Change Gear Shift Light Bulb
Related Discussions
- Shifter Light in 2000 Honda Accord Not Working - Honda-Tech.com
- Automatic Shifter Light Bulb Replacement - Honda-Tech.com
- Indicator Lights on Gear Shift Column - Honda-Tech.com