Honda: How to Repair Scratches and Paint Chips
Sure, everyone has misinterpreted the distance between the bumper and, well something. The point is, how can you fix your misses? Continue reading to learn how.
This article applies to the Honda Civic/Del Sol (1992-2000), and Accord (1990-2002).
Using just a few simple tools, you can refresh the exterior paint of your Honda in practically no time at all. There's no need to fiddle with repair options that cost loads of money or contract an expensive mechanic to do so. Getting started is easy, and this how-to will provide you with step-by-step instructions to complete the job yourself. You may be a novice at auto repair, but after this how-to guide, you'll feel like a pro. Let's get started!

Materials Needed
- Chipex paint repair system or comparable product
- Microfiber cloth
- Latex gloves
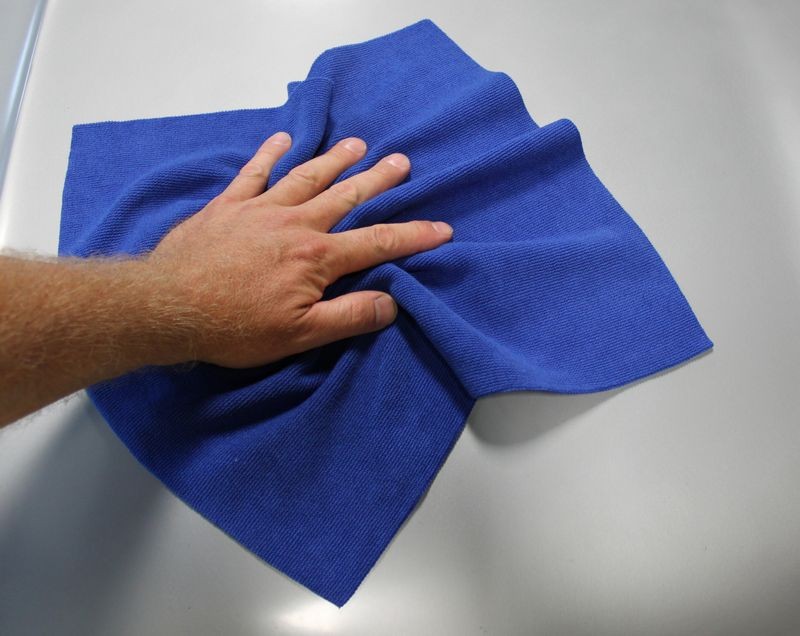
Step 1 – Clean the damaged area
Using a microfiber cloth, clean the chipped or scratched area completely. Be cautious to reach the coated cracks and debris as well as any residue from old shampoo stains, which may not be visible to the human eye. Use the cleaning solution that comes with the paint repair system you are using. Soapy water will also suffice.
Pro Tip
While handling paint and other auto repair substances, use latex gloves to protect your hands from the exposure to chemicals.
Step 2 – Apply the repair paint
Shake the paint bottle to mix the ingredients, and then apply a dab or drop using the small applicator brush, which should also come with the paint repair system package. A small paint brush or toothpick will also suffice. Size-up the amount of paint to use according to the dimensions of the area. Choose a paint brush designed with a fine point or rounded head to maximize the level of precision. Dab the paint with your gloved finger, and allow it to sit for about 10 minutes, depending on the weather and amount of paint used.

Figure 2. A brush used to apply auto repair paint. 
Figure 3. You could also use a toothpick for the ultimate DIY experience.
Pro Tip
It is safe to move to the next area as you allow the paint to settle for 10 minutes.
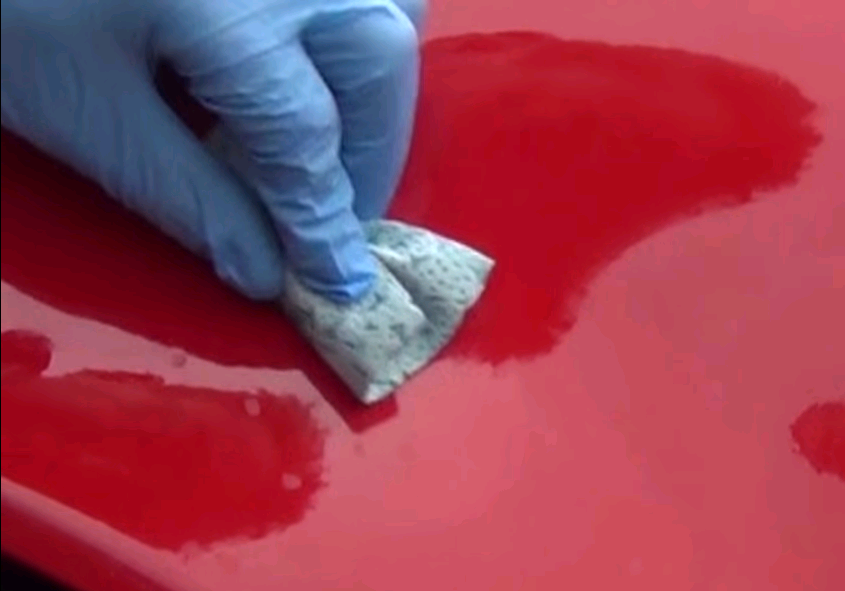
Step 3 – Blend the paint
Wrap the small foam block that comes with the paint repair system in the buffering cloth. Treat the cloth with a small amount of blending solution, and buff the area you wish to repair in a gentle, up and down motion. Blend each area one at a time.

Pro Tip
Avoid applying any pressure while buffing the area as you can loosen delicate paint chips.
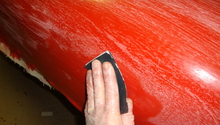
Step 4 – Polish the targeted area(s)
Using the polishing cloth provided, spread a generous amount of polishing solution over the targeted area, and begin polishing in a broad, circular motion. Continue until the polishing solution is blended completely into the paint for a smooth, professional finish. Move to the next area and repeat.
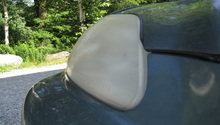
Step 5 – Apply more paint to stubborn paint chips
Treat stubborn paint chips by adding a new coat of paint. Repeat the above steps, allowing sufficient time for the paint to dry before buffing and polishing. Only stubborn paint chips and deep scratches should require a second treatment process.
Related Discussion, Video and Site
- Paint Chip Repair on a Corvette - Youtube.com
- How to Use a Touch Up Paint Pen - PaintScratch.com
- Honda Paint Code List - Honda-Tech.com