Honda: How to Wash and Wax Your Car
A Honda Civic pulls right up to you at the light, and what do you see? None but yourself in the car's reflection. Don't let your car lose in speed or style. Learn how to properly wash and wax your Civic here.
This article applies to the Honda Civic/Del Sol (1992-2000) and Honda Accord (1990-2002).
We all care for what's under the hood of our cars, but that shouldn't be our main concern. Washing and cleaning your car will increase its resale value, look great on the road, and make you happy for having done it yourself. Whether you have a Honda Civic, Del Sol, or an Accord, a key to maintaining the exterior paint finish of your car for years to come is frequency and technique. Using the following easy-to-understand instructions, you can save time and money by doing the job right the first time. You will also learn when it is best to seek professional help, such as when you discover a problem that normal detailing cannot fix. You don't need to be a car expert, but you will need to be able to maneuver comfortably around your car.

Materials Needed
- Car wash product such as Turtle Wax ICE Premium Car Wash or Mequiar's Gold Class Car Wash
- Car-washing bucket (including water)
- Microfiber towel
- Clay bar treatment (optional)
- Polishing product
- Car wax
- Dual-action polisher
Pro Tips
- The recommended wash products are available online and through automotive aftermarket chains such as Pep Boys or Auto Zone.
- The microfiber towel should be large enough to fold into fourths.
Step 1 – Choose an ideal location
Park your Honda in a cool, shady place, even if you are using a sun-friendly synthetic polymer-based car wax product. According to Edmunds.com, "Hard water, meaning that it contains a lot of minerals, leaves spots on the paint's finish when it evaporates, which happens more quickly in hot sunlight."
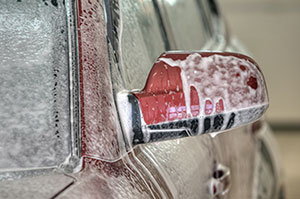
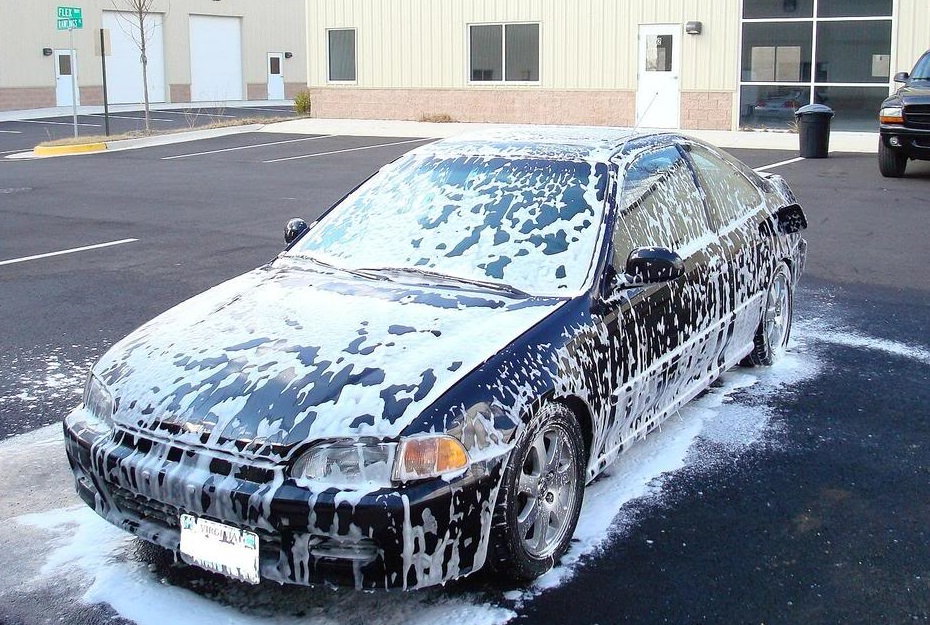
Step 2 – Wash your Honda
Wash your Honda using a car washing product that is pH-balanced and specially formulated to loosen and lift surface contaminants. Meguiar's Gold Class Car Wash, Mothers California Gold Carnauba Wash, and Wax or Turtle Wax ICE Premium Care Car Wash are all excellent choices.
Wash and dry the exterior of your car using a microfiber towel to reduce damage to your car's finish. Cotton towels and chamois are more likely to create scratches, which may not be immediately visible. An up and down motion is best, taking caution not to rub too hard while moving from one section of the vehicle to the next.
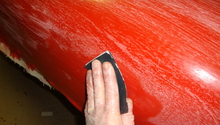
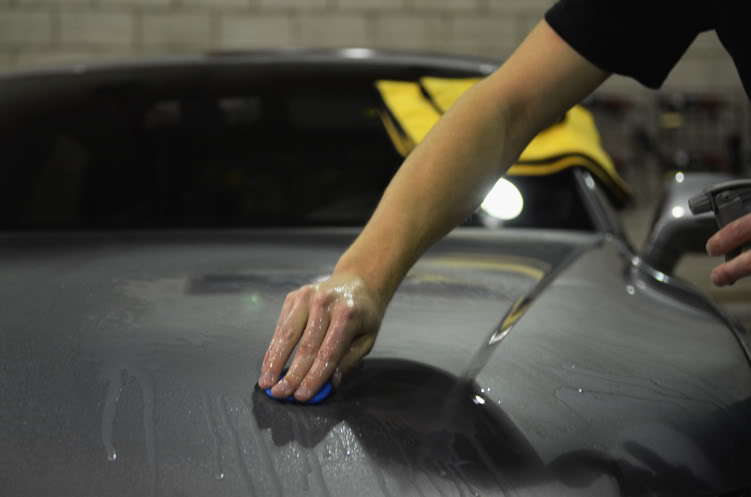
Step 3 – Feel along the paint for gunk and defects
While above-the-surface bonded contaminants, such as fallen debris and bird droppings, are usually easy to spot, you may need to feel for below-the-surface defects. Gently sweep your hand over the surface of the vehicle, feeling for swirls, oxidation and other physical defects. If there are no defects, proceed to Step 5.
Step 4 – Remove gunk, if applicable
Remove above and below-the-surface gunk and defects using a mildly abrasive clay bar kit. Top sellers include Meguiar's Smooth Surface Clay Kit or Mother's California Gold Clay Bar Kit. Apply the product using the microfiber-covered or foam applicator pad that comes included in the box. Work the product in using soft, circular, overlapping strokes. For best results, work the product in one section at a time, wiping away excess buildup as you go. Fold a microfiber towel in fourths. Use one section to remove the product and another to capture residue. Repeat as needed, and take caution not to transfer old product onto clean areas. Move on to Step 5 when the paint on your Honda feels smooth. Experts suggest using a clay bar every six months.
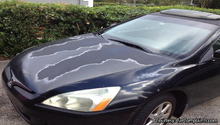
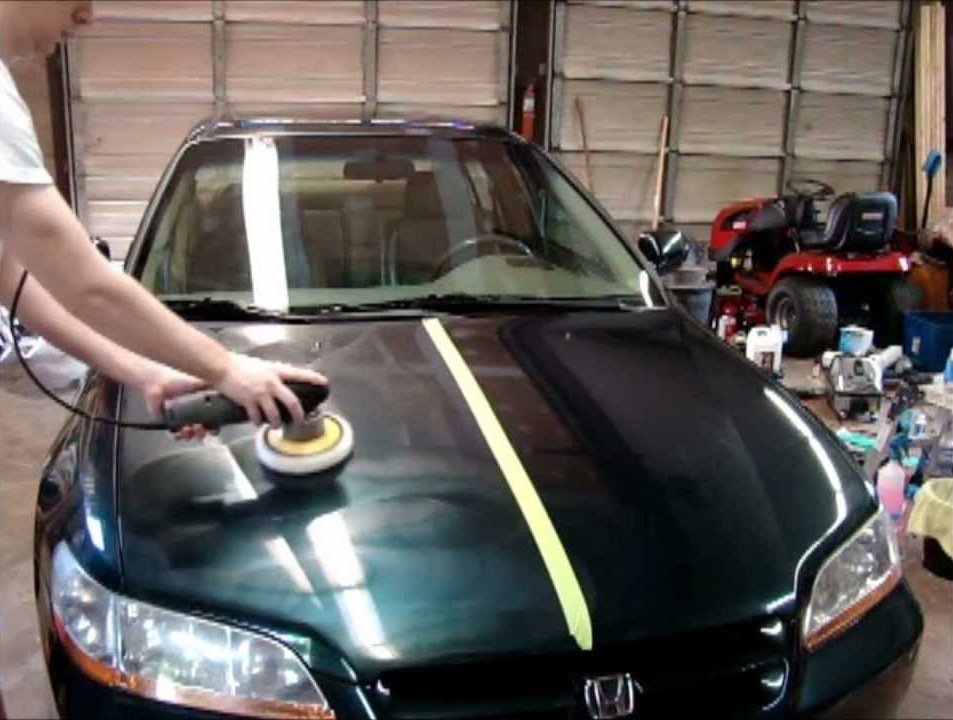
Step 5 – Polish your Honda
Apply a polishing product, such as Meguiar's Ultimate Polish or Mother's California Gold Micro-Polishing Glaze, to the vehicle using a dual-action polisher. Complete one section at a time, using circular, overlapping strokes. It is not necessary to allow the polish to dry completely, as doing so could lead to scratches.
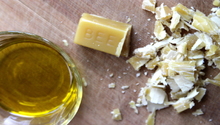
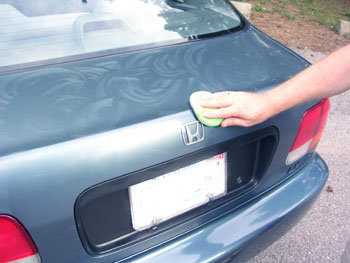
Step 6 – Apply car wax at least every three months
Apply the car wax to the exterior paint using the microfiber-covered or foam applicator pad that comes included in the box. Edmunds.com recommends using a synthetic polymer-based wax, such as Meguiar's Ultimate Wax, Mother's California Gold Synthetic Wax, or Turtle Wax ICE Premium Care Liquid Wax. According to the industry-respected website, "These generally provide longer-lasting protection and are easier to use in the sun than older-style carnauba-based waxes." Apply using small, circular, overlapping strokes, working the product onto one section of the vehicle at a time.
Step 7 – Touch up the vehicle (optional)
Boost your Honda's shine between applications with a spray wax. Designed for quick touch-ups, the product can be applied more frequently than regular car wax (weekly) and can be easily wiped off using a microfiber towel. Top sellers include Meguiar's Ultimate Quik Wax, Mother's California Gold Spray Wax, and Turtle Wax ICE Premium Care Spray Wax.

Related Discussion and Sites
- Wax Your Car - Wikihow.com
- Keep Your Car Looking Its Best - Edmunds.com
- Occasional Wash and Wax - CorvetteForum.com