Honda: How to Detail Your Car
Some may think washing and waxing their car is plain and simple, but there's more to it than they think. Read on to find out how clay bars, waxes, polishes, and sealants can extend the longevity of your car's exterior.
This article applies to the Honda Civic Del Sol (1992-2000), and Accord (1990-2002).
Most detailing tasks and light polishing can be done by beginners, but some aspects of the job (like heavy compounding or polishing) should be left to the professionals. When it comes down to how much you love your car, a regular wash, wax, and polish will be one of the most rewarding tasks. It will also cost less than paying a professional to do it! So if you have the time, follow these steps to properly wash your car.

Materials Needed
- Microfiber towels
- Wash mitt(s)
- Car soap
- Clay bar
- Clay lubricant
- Wheel/tire cleaner
- Wheel cleaning brush
- Glass cleaner
- Wax or sealant
- Polish
- Tire dressing
- Dual-action polisher or hand polish applicator pad
- Interior trim protectant
- Carpet shampoo
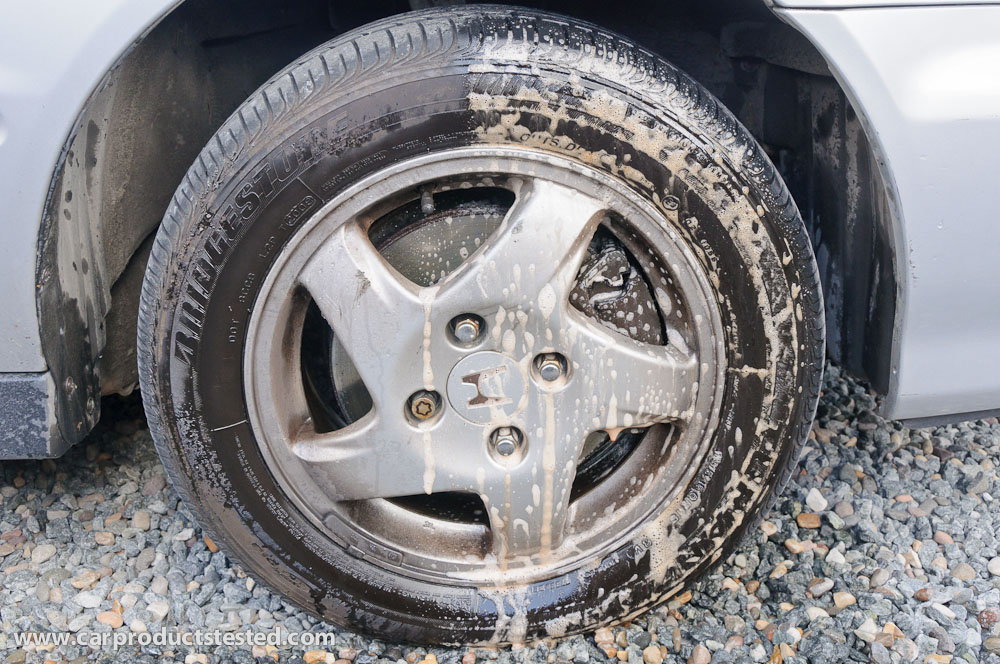
Step 1 – Clean the wheels and tires
Brush the wheels and tires using wheel or tire cleaner. This is done first because cleaning the wheels and tires will prevent dirt and grime from splashing onto the body after the wash.
Pro Tip
To prevent oxidation of alloy wheels, try to use a non-acid tire cleaner for wheels and tires.
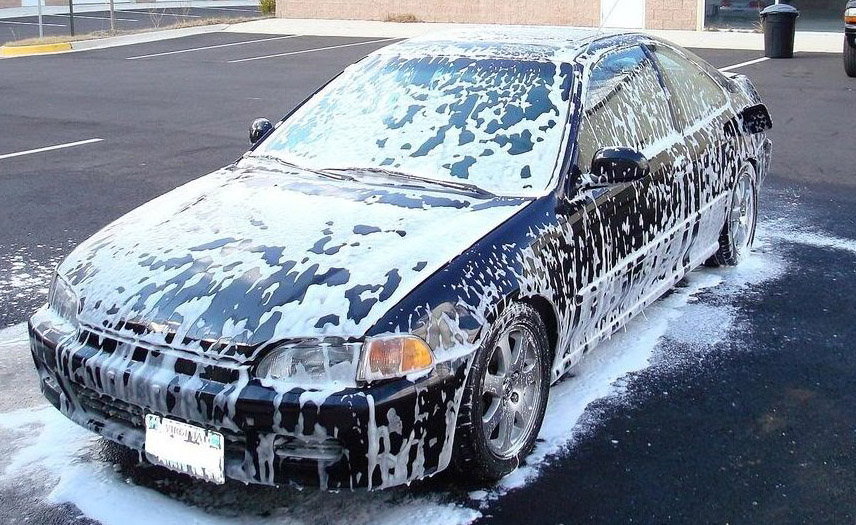
Step 2 – Wash and dry the exterior
Wet the car thoroughly with water. Using the wash mitts and car soap, clean the exterior of your car from top to bottom, panel by panel. Rinse off the soap and dry the exterior with multiple microfiber towels to dry excess water spots.
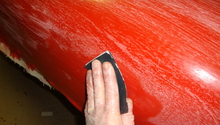
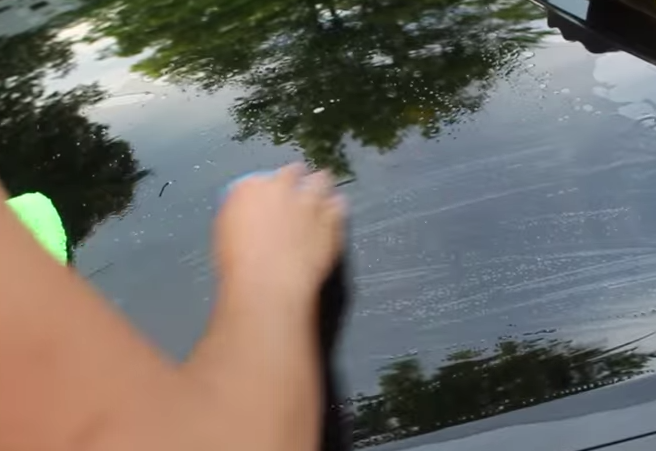
Step 3 – Clay bar the paint
Determine if the vehicle needs to be clay barred. To do this, place a plastic bag over your hand and lightly run your hand across the paint in several areas around the car. If you feel rough, gritty areas, the vehicle needs to be clay barred. To clay bar the paint, first apply a lubricant spray to condition the clay because any lingering soap causes the clay to deteriorate. Then, lightly run the clay bar over the paint in straight, back-and-forth motions. Work the paint by sections, starting from top to bottom.
Pro Tip
Between panels, knead the clay to ensure that a clean section of clay is being used on each panel.
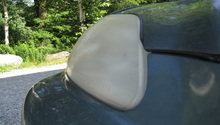
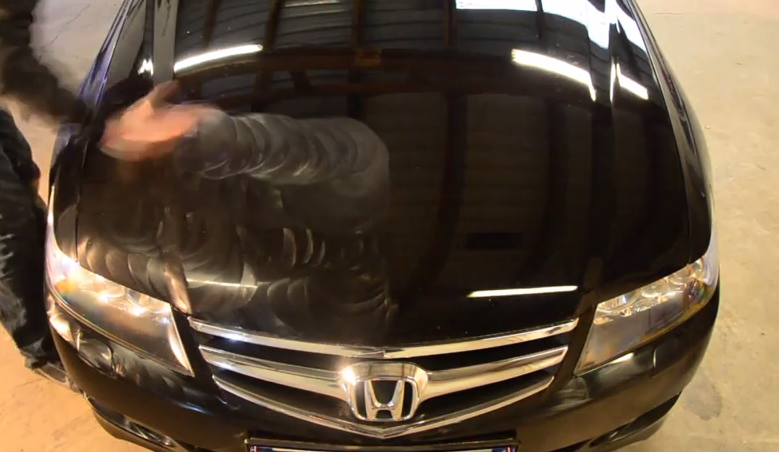
Step 4 – Polish the paint
Inspect the paint in the sun so all imperfections and swirls can be isolated. If imperfections are found, apply the polish by hand or with a dual-action polisher to polish each section of the vehicle. Work the polish into the paint in a circular motion and crosshatch pattern. After each section is polished, wipe away the residue with a microfiber towel and inspect your work to ensure that all imperfections have been removed.
Pro Tip
A dual-action polisher is recommended to achieve the best results.
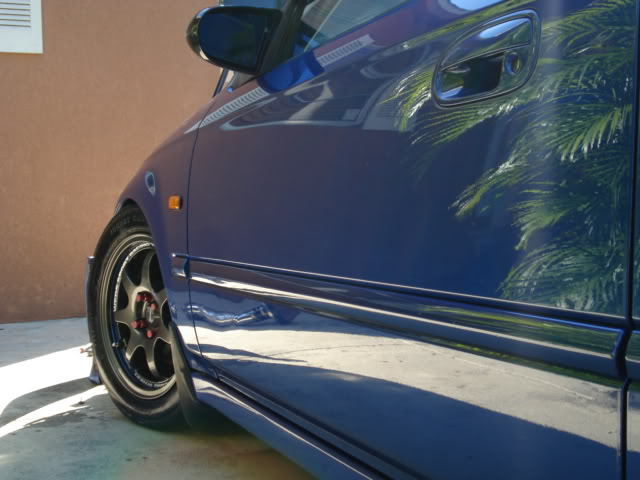
Step 5 – Wax or seal the paint and polish the tires
Use a wax or sealant to protect your freshly polished paint. Apply in a circular motion using an applicator pad or polisher, but be sure to follow the manufacturer's directions for the best results. To protect and maintain the tires, apply a tire dressing of your choice.
Pro Tip
Cover plastic and rubber trim with masking tape. Waxes and sealants are not meant for these materials and may increase wear over time.
Step 6 – Clean the glass
With the microfiber cloth, apply non-abrasive sealant to the interior and exterior of the glass. These sealants may also add UV protection.
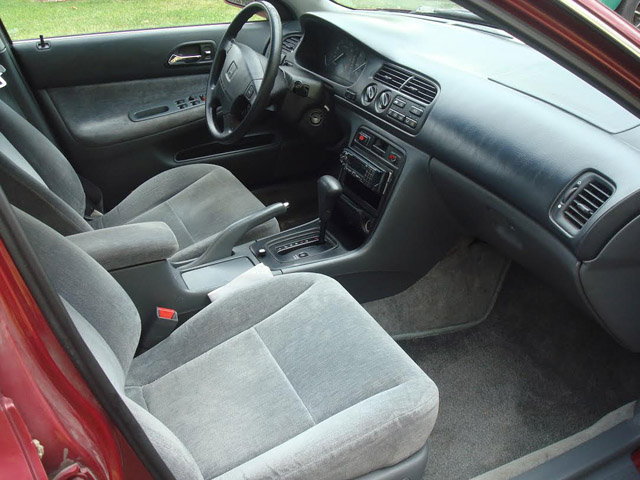
Step 7 – Clean the interior
If needed, vacuum and shampoo the carpet. Apply the interior trim protectant to clean all plastics inside of the car. Protectants maintain and restore the trim, as well as provide protection against sun damage. Most do this step while waiting for the wax to cure.
Related Discussions and Sites
- Car Detailing Tips - Honda-Tech.com
- Detailing - Honda-Tech.com
- Detailing Tips - AutoGeek.net
- Good Washing Technique - DetailingWorld.co.uk
- Detail Like a Pro - PopularMechanics.com