Honda Civic: How to Repair a Headlight-Wiper Combo Switch
In order to streamline the vehicle's controls, one single part can operate multiple systems in your car such as the lights and wipers. Here is how to fix your headlight-wiper combo switch on your Civic if it ever goes wrong.
This article applies to the Honda Civic/Del Sol (1992-2000).
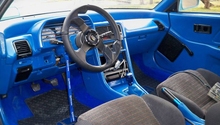
The headlight and wiper combo switch is the component connected to the left side lever in your steering wheel. This allows you to control the two different headlight settings, and the multiple speeds for your windshield wiper. The switch can become faulty over time and relay intermittent signals to both components, causing your headlights or wipers to work inconsistently or not at all. Repairing the switch requires you to take it apart and clean it, so you must dig into the steering column to remove the switch. If this is something way out of your comfort zone, then it is recommended getting it done by a professional.

Materials Needed
- Adjustable wrench
- Flat head screwdriver
- Phillips screwdriver
- Q-tips and rubbing alcohol
- One dielectric grease pack
Step 1 – Disconnect the battery and uncover steering column
Use your adjustable wrench to disconnect the battery. Start by undoing the negative (black) terminal first, followed by the positive (red) terminal second.
In order to access the combination switch, first remove multiple panels that surround the steering column. Start by undoing the panel located on the dash (directly under the steering column). This panel is held on by three Phillip screws. Then, unscrew the top and bottom steering wheel column, which is also held on by three Phillip screws.
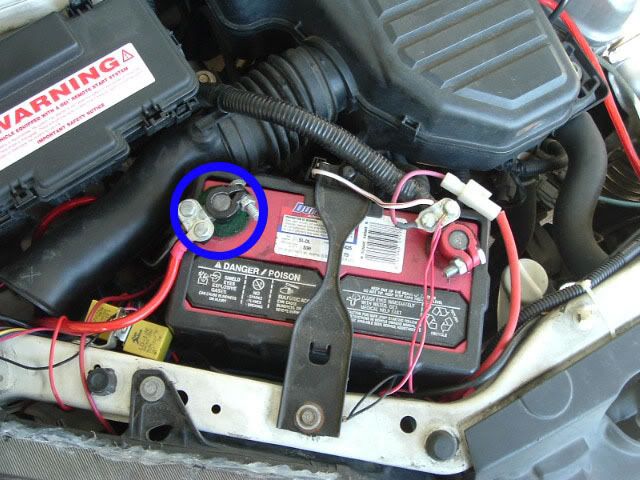
Figure 1. Disconnect the black terminal first, which is highlighted in blue. 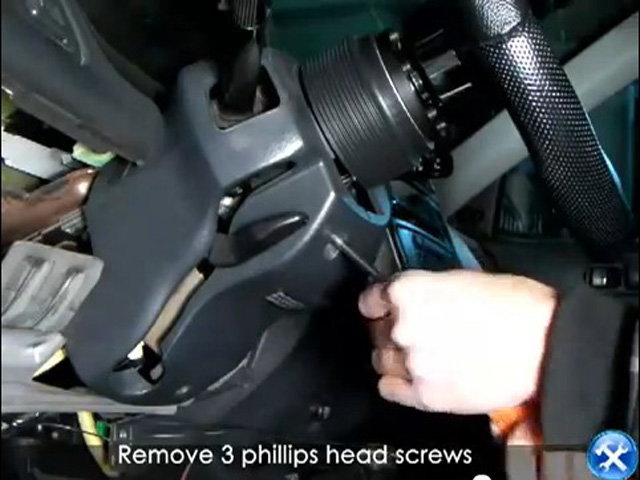
Figure 2. Steering column diagram.
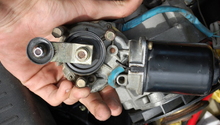
Step 2 – Remove the switch
Now that the steering column is uncovered, you should be able to see the switch box along with the two Phillip screws that hold it in place. Use your Phillips screw driver to remove the two screws, and then slide the switch out of the steering column. Before you are able to fully remove the switch, you need to unplug the two wiring connectors attached to it.

Step 3 – Disassemble the switch
The most common reason why switches malfunction is because their contacts are dirty. In order to clean the contacts you have to dismantle the switch. Start by removing the two Phillip screws located atop of the switch, and then remove the black plastic cover. Once the cover is off, you can pull up on the plastic tabs to remove another piece of the switch. Now the switch is completely taken apart, and ready to for the next step.
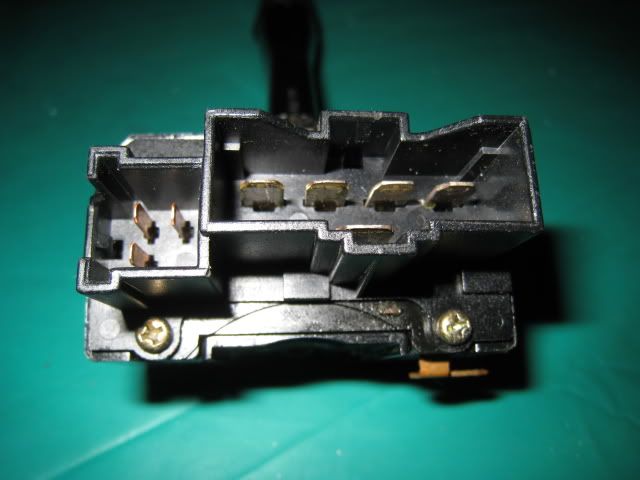
Figure 4. Remove both Phillip screws. 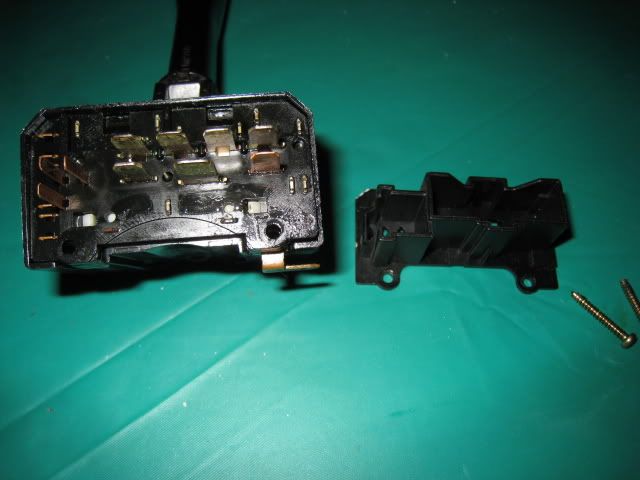
Figure 5. Remove the black plastic cover. 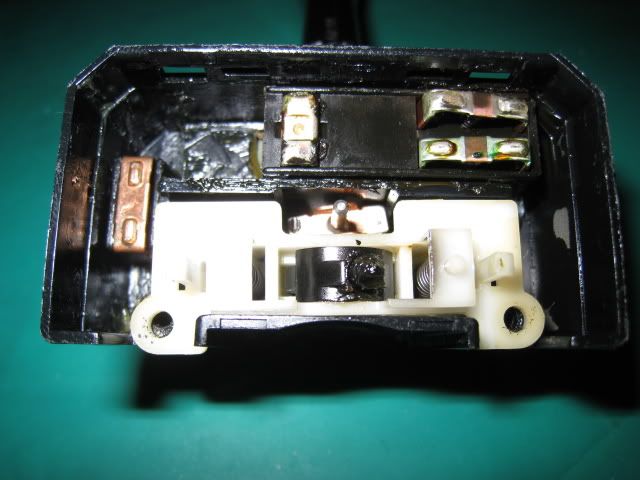
Figure 6. Remove the white plastic cover. 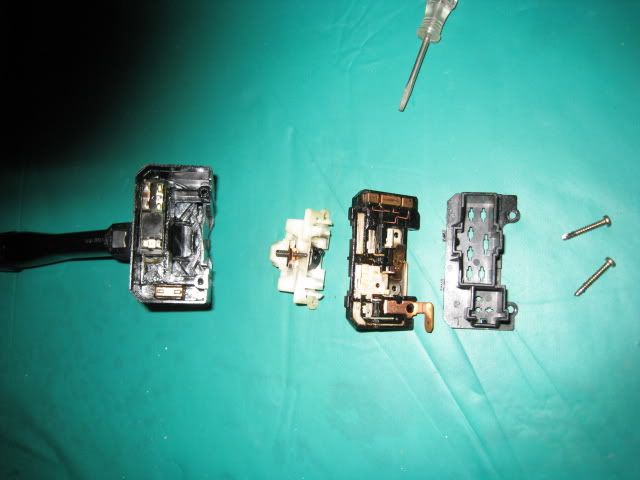
Figure 7. Switch fully taken apart.
Step 4 – Clean contacts
Use a Q-tip and rubbing alcohol to clean the contact prongs on the switch. Once clean, you can use another Q-tip to coat the metal parts with dielectric grease to ensure it functions properly for a while.

Figure 8. Clean the contact prongs. 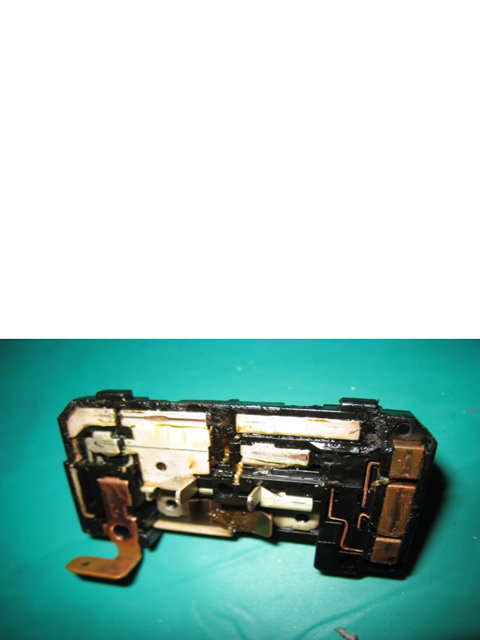
Figure 9. Cover the metal prongs in dielectric grease.
Step 5 – Reassemble switch and re-install.
Once the switch is clean and greased, you can reassemble it. Then it's time to install the switch back into the steering column. Follow these steps in order to avoid forgetting any parts.
- Slide the combination switch back into place.
- Connect both wiring harnesses.
- Tighten both Phillip screws that hold the switch in place.
- Screw the steering column covers back into place.
- Screw the lower dash steering column cover back.
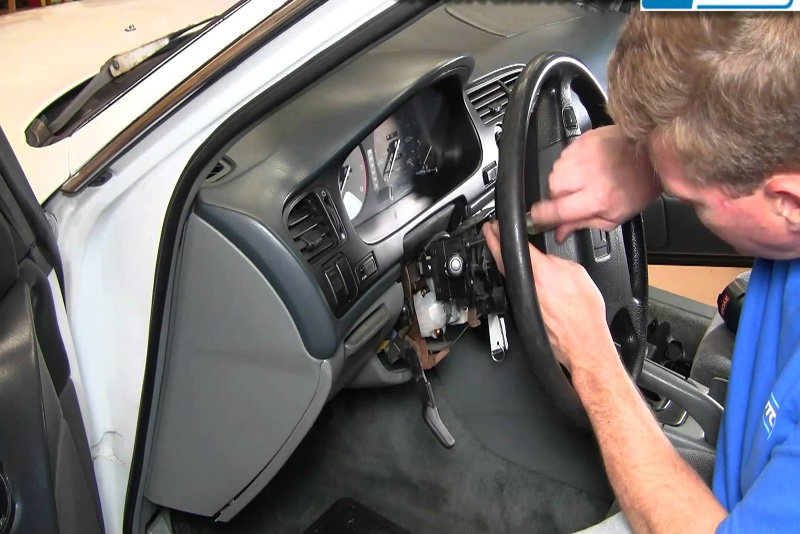
Figure 10. Re-install the switch back onto the steering column. 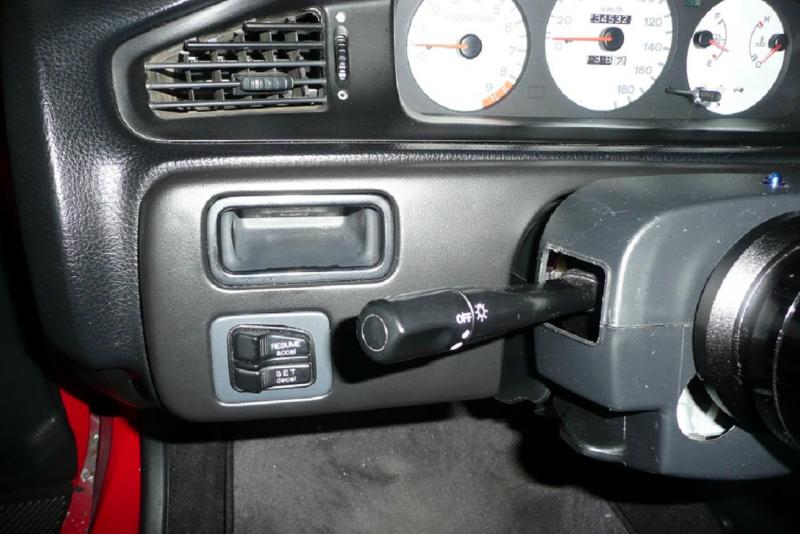
Figure 11. Combination switch re-installed.
Related Discussions
- DIY Combination Switch Fix - Honda-Tech.com
- Combination Switch Repair Info- Honda-Tech.com