Honda Civic: How to Wire Your Fog Lights
Fog lights can help make driving better, even under the worst conditions. Continue reading to learn how to wire the fog lights on your Honda Civic.
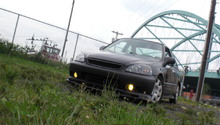
This article applies to the Honda Civic (1992-2000).
Installing fog lights can help you see better in poor driving conditions, such as during a snowstorm, heavy rain, or (of course) fog. If your ride already has fog lights, but they’re not working, then you can simply replace the non-working fog lights. Since most Civics don’t come equipped with fog lights, you will need to install them. If you've never installed something this complicated before, then you might want to seek a professional. Before starting, remember to disconnect the negative (black) terminal of your battery.

Pro Tip
Replacement lights can run around $100, but a fog light installation kit costs between $300 to $400.
Materials Needed
- Phillips head screwdriver
- Flat head screwdriver
- 10mm socket
- Ratchet
- Ratchet extension (optional)
- Sharpie
- Dremel
- Dremel cutting wheel
- Flashlight (optional)
Step 1 – Remove the bumper
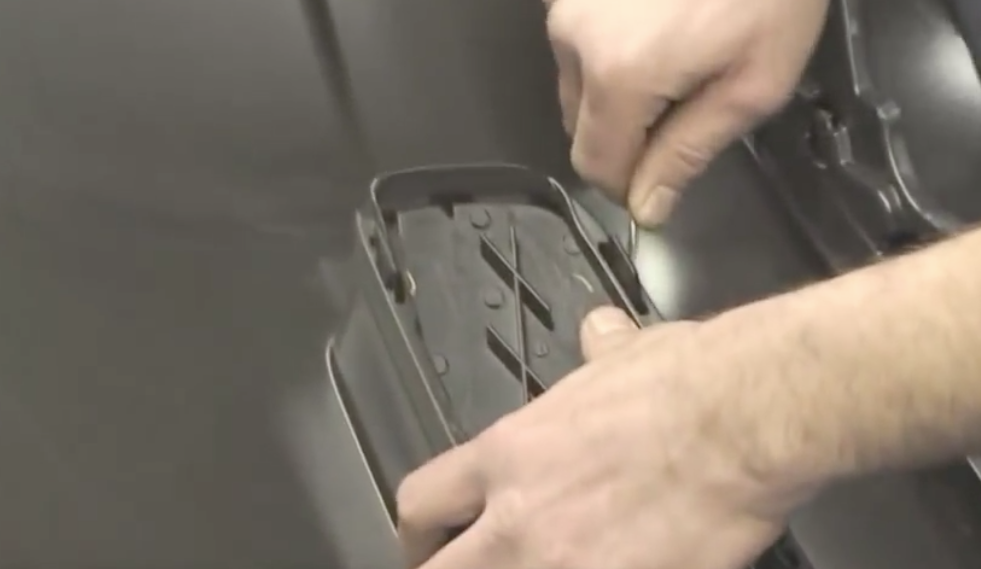
There are usually seven clips between the hood and the grill that hold the bumper in place. Remove the two Phillips screws and the two 10mm self-taping screws holding the bumper in place. Now you can easily and carefully pull off the bumper.

Figure 1. Remove the bumper clips. 
Figure 2. Remove the bumper.
Step 2 – Cut the bumper
Use the Dremel and Dremel cutting wheel to cut out the section where you’re going to install the fog lights. Be sure you don’t cut the studs where the screws that hold the bumper in place are located. If your car already has fog light covers on the bumper, then you just simply need to remove the covers.
Step 3 – Install fog light brackets and re-install bumper
Position the metal brackets (that hold the fog light) into these cut-out sections, and screw them in place. Install the plastic fog light cover by screwing it into place. If your car already has fog light covers, then insert the new fog light covers and housing.
Re-install the bumper by reattaching the two Phillips screws, two 10mm self-taping screws, and seven clips.
Step 4 – Pull wires and harnesses through the firewall to ground
Pull the wires and harnesses through the firewall.
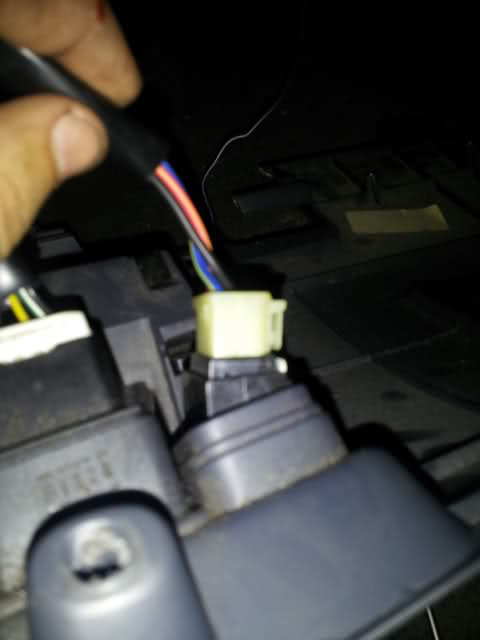
Then you will need to ground the fog light harness. Identify the harness that connects to your fog lights. You should see one brown female clip, one ground clip, and two clips that connect to the fog lights. Connect the ground clip to any bolt that creates a metal-to-metal connection. Consider connecting the ground clip to one of the headlight bolts.
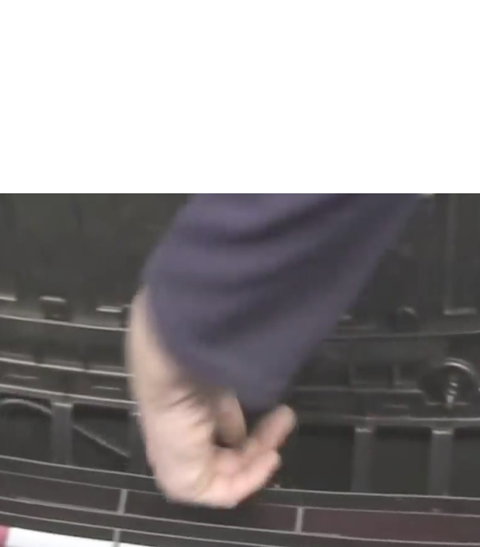
Figure 4. Pull wires and harnesses through the firewall. 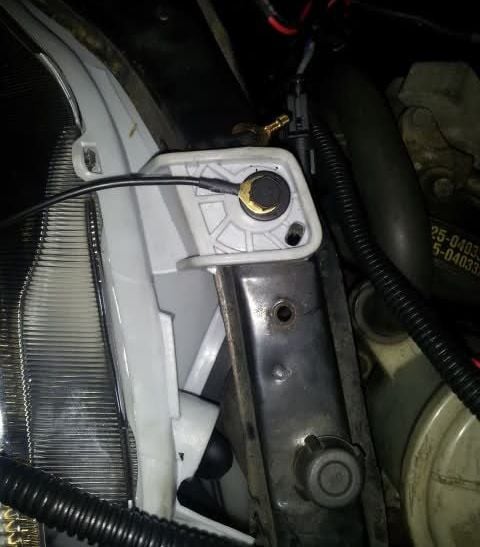
Figure 5. Ground the fog light harness.
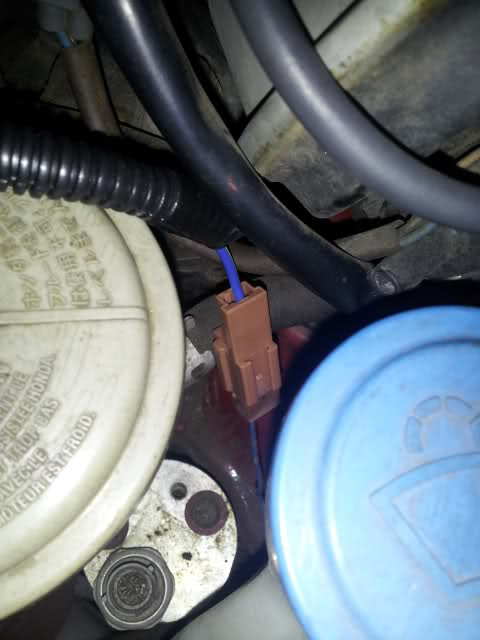
Step 5 – Connect the fog light harness
Look for the built-in fog light harness. This harness should be near your windshield wiper fluid reservoir. Look for the brown male connector (be aware that it’s small), and then connect it to the female clip on your fog lights harness.
Step 6 – Remove knee bolster to locate male connector
Use the Phillips screwdriver to remove the three screws holding the knee bolster in place. One screw is in the bottom left corner, one screw is in the bottom right corner, and one screw is in the top left corner. After removing these screws, you can pop the knee bolster off. If it doesn't easily come off, use a flat head screwdriver to gently pry it off. Don’t snap off any of the clips along the edge.
Identify and locate the switch harness. It is usually right behind your fuse box. Once you’re in the general area, you should see several unused connectors wrapped in blue tape. Find the brown male connector and remove it from the blue tape.
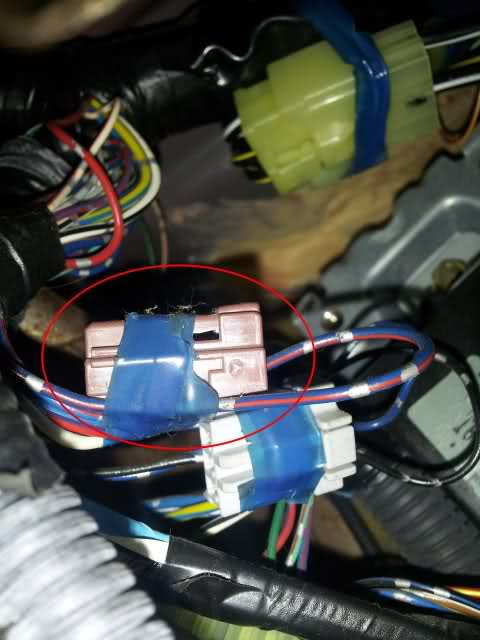
Step 7 – Connect switch harness and ground
Connect the brown female connector from the switch harness to the brown male connector. Then you will need to connect two additional brown male connectors in the switch harness to two of the brown female connectors on the fuse box.
Connect the ground clip to any bolt that creates a metal-to-metal connection. Consider connecting the ground clip to the bolt that holds up the knee bolster.
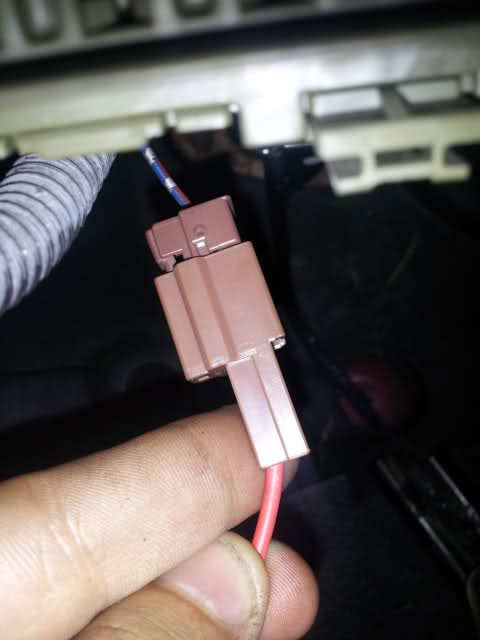
Figure 8. Connect switch harness. 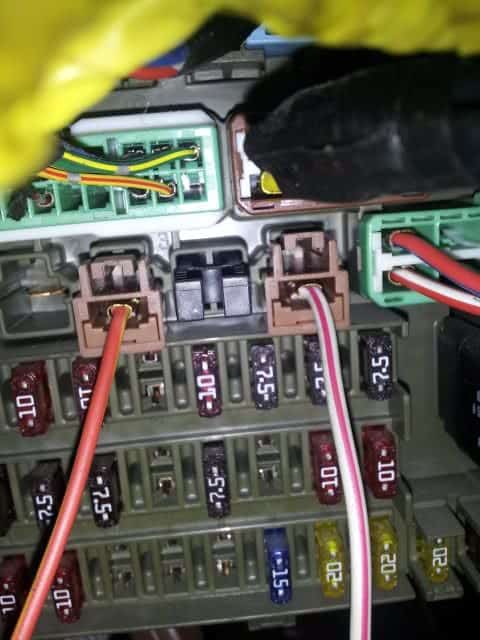
Figure 9. Connect two additional connections on fuse box. 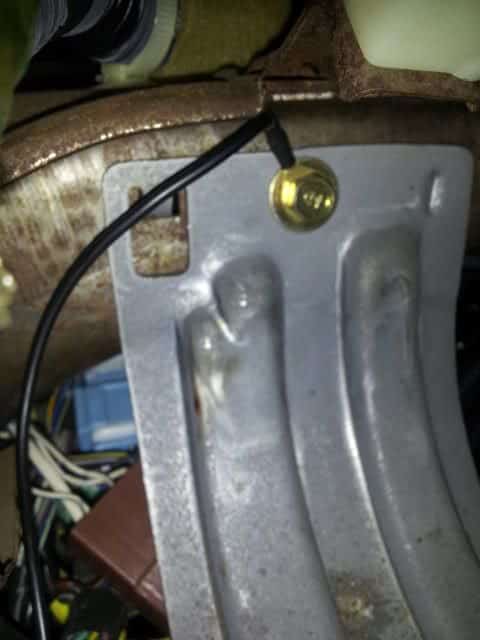
Figure 10. Ground the switch harness.
Step 8 – Position relay and fuse
Position your relay and fuse. While you don’t have to bolt it into place, you can. Another option is to position it on top of the knee bolster.
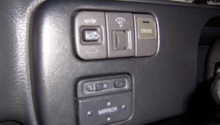
Step 9 – Install fog light switch to connect
Remove the blank switch out of the panel where the mirror adjustment is and where the sunroof switch is (if your car has a sunroof). Put the new switch in where this blank switch used to be.
Connect the switch connector to the back of the switch.
Step 10 – Re-install knee bolster and test fog lights
Re-install the knee bolster by attaching it with the three screws.
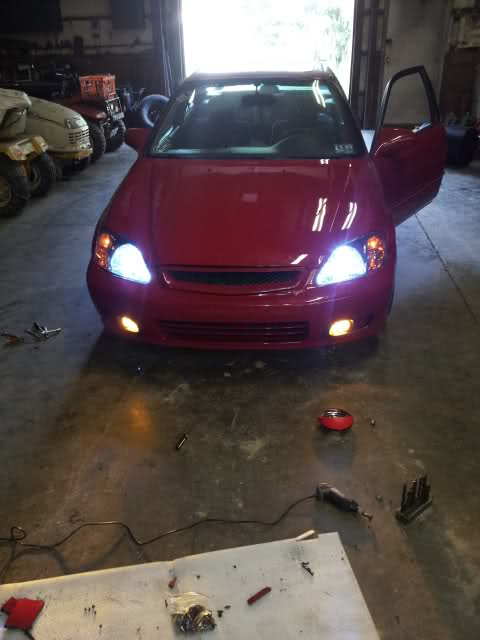
Reconnect the battery. Turn on your car, and push the switch you just installed to test the fog lights. The switch should light up when your fog lights are on. If the switch does not turn on, then you likely need to secure one or more of the connections.
Featured Video: How to Install Fog Light on a Honda Civic
Related Discussions
- Wiring fog lights on a 1999-2000 Honda Civic - Honda-Tech.com
- Aftermarket to OEM foglight harness wiring instructions - Honda-Tech.com
- How to install fog lights - Honda-Tech.com