Honda Accord: How to Install Push Button Starter
Aside from its ease and efficiency, it just looks cool. The only hard part you will encounter during this installation is where to mount it on your Honda Accord.
This article applies to the Honda Accord (1990-2002).
Let's be honest, the only reasons to install a push button starter are they are cool to have and cool to use. As a simple modification that takes less than an hour to complete, a push button starter turns your ride into a rocket ship, even though it won't be able to launch you into space. You likely already have most of the tools you need, but if you don't have a multimeter, you may need to get one to find the correct wires during installation.

Materials Needed
- Push button starter kit
- Electric drill
- Rotary tool
- Phillips screwdriver
- Flat head screwdriver
- Wire strippers
- Electrical tape
- Marker
- Multimeter (optional)
Step 1 – Position your push button starter
Disconnect the negative (black) terminal of your battery before starting, and make sure your ignition is in the lock position. Next, decide where you want to install the push button starter. Make sure it's located in an easily accessible spot, one that not is too high or too low. Position it on the panel, and then use a marker to trace its outline. Some manufacturers include a template with their starters.
Pro Tip
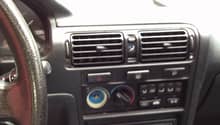
Since you must create a hole in which to install the push button starter, be sure to position it on a spare panel. Some people install it near the ignition, while others install it near the cigarette lighter or radio.
Step 2 – Drill a hole for the push button starter
Use your electric drill to make small holes inside the circle you drew. Then, use your pliers to remove the remaining inner sections of the plastic. With your rotary tool, smooth out the edges until the hole reaches the outline you drew. Once you are done, hold the push button starter up to the hole to confirm that it fits. Be sure not to drill outside the hole as this will affect the fitment of the push button starter.
Step 3 – Remove the driver's side lower dash panel and steering column panel
Remove the driver's side fuse box panel. You will find two screws that hold the lower dash panel in place. With the Phillips head screwdriver, remove these screws and support the side of the dash panel. Next, use a flat head screwdriver to pry off the panel under the radio. Behind it, remove one more screw that is holding the right side of the lower dash panel up. Gently remove the panel and set it aside.
Use your Phillips head screwdriver again to remove three screws holding the steering column panels in place. Then pop the bottom panel off to reveal the wiring harness for the ignition switch.
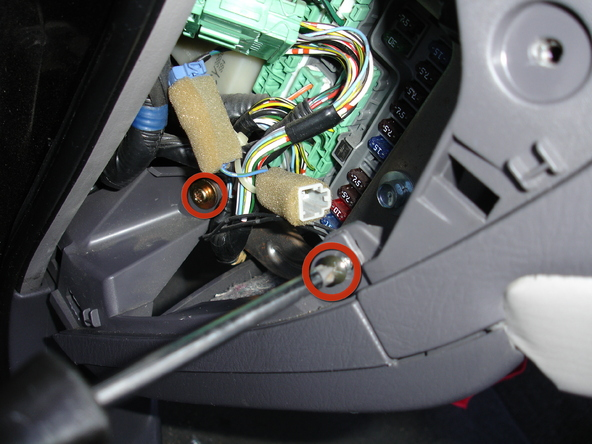
Figure 3. Remove the two screws that hold up the left side of the lower dash panel. 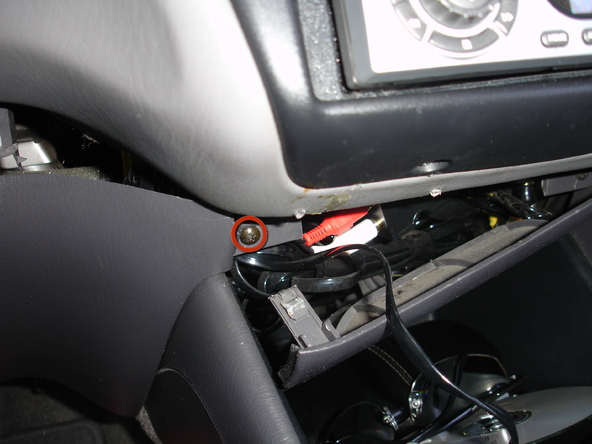
Figure 4. Remove one screw that holds up the right side of the lower dash panel. 
Figure 5. Remove three screws from bottom of the steering column panel.
Step 4 – Remove the ignition harness and connect push button wires
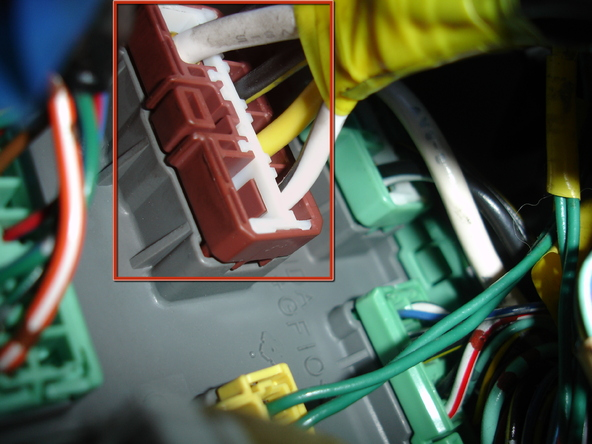
Behind the driver's side fuse box panel, locate the ignition switch harness connected to the red plug. Remove the harness because it contains the wires you will need to connect to the push button starter.
Locate the white 12-volt ignition wire on the ignition harness. Strip about a 1/4 inch of this wire near the plug.
Strip both ends (about 1/4 inch) of the wires that are connected to a plug on the push button starter. Connect one wire to a metal screw near the ignition to act as the ground wire. Then, connect the other wire to the 12-volt ignition wire. Bind these wires and any other loose wires with electrical tape to ensure they don't separate or disconnect. Plug the ignition harness back into the ignition switch.
Pro Tip
Some Accord models have a different color 12-volt wire. If you are unsure of which wire this is, you can test each wire with a multimeter.
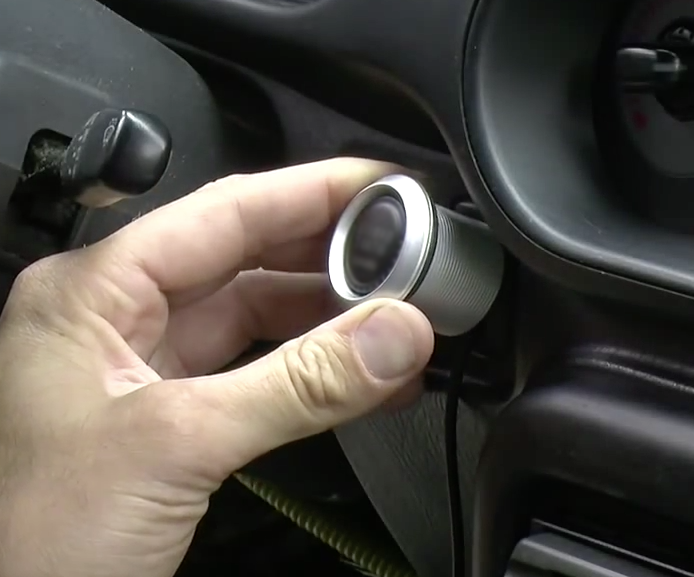
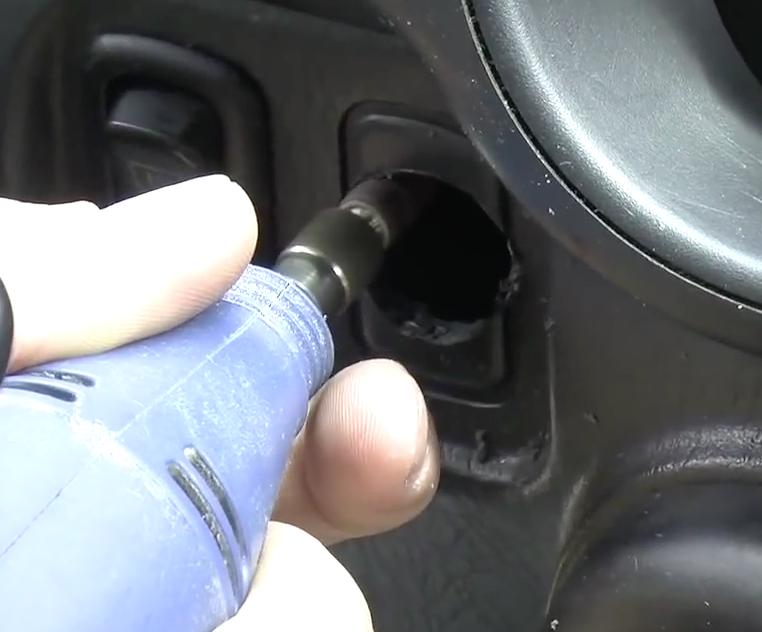
Step 5 – Install the push button starter
Guide the two wires (connected to the push button starter plug) through the back of the panels and out of the push button starter hole. Plug this into the back of the push button starter. Put the rubber gasket that came with the kit around the back end of the button. Then, insert the push button starter into the hole and make sure it is secure.
Step 6 – Test the push button starter
Reconnect the negative (black) battery terminal. Then push the starter button to test if your engine turns on. If your car fails to start, turn the ignition on with your key. If the engine starts, check to see if your connections are properly wired to the push button starter. Once you have successfully installed the push button starter, reassemble the bottom dash panel and steering column panel.
Featured Video: How to Install a Start Button
Related Discussions
- Push Button Start for EG - Honda-Tech.com
- 1998-2002 Honda Accord Ignition Switch Replacement - Honda-Tech.com
- Accord Ignition Switch Replacement - IFixIt.com