Honda: How to Change Automatic Transmission Fluid
Like many other components on your vehicle, the transmission fluid is a wear item that requires regular service.
This article applies to the Honda Accord, and Civic (1992-2000).
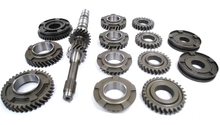
Transmission fluid is what allows the user to shift between gears smoothly. Transmission fluid that is dirty or burnt will cause the transmission to miss shifts or shift too hard. Honda recommends flushing the fluid in automatic transmissions every 60,000 miles. Don't use a transmission flush machine: it might seem like a faster way, but the extra additives in a power flush can do damage to a transmission. Instead, follow this guide. Changing transmission fluid is about as easy as changing the oil.
Materials Needed
- 3/8" ratchet
- Breaker bar with 1/2" adapter
- Drain pan
- Funnel
- Shop towels
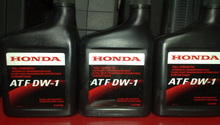
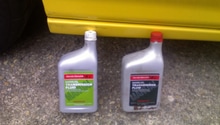
- Honda ATF
- Hydraulic jack and jack stands
Step 1 – Raise your vehicle
For easier access, it is best to get the car up in the air. Jack the front of the vehicle using a hydraulic jack and secure with jack stands.

Pro Tip
Jack point is in the center between the splash guards.
(Related Article: How to Jack Up Your Car - Honda-Tech.com)
Step 2 – Loosen and drain transmission fluid
With the car in the air, you will want to position the drain pan below the location of the drain plug. The drain plug will be lower than the fill plug and will fit a 3/8" square ratchet. Turn it clockwise to loosen. When the plug is removed, transmission fluid will pour out, so have a bucket handy.
To completely flush the transmission fluid, perform Step 2 through Step 4 three times.
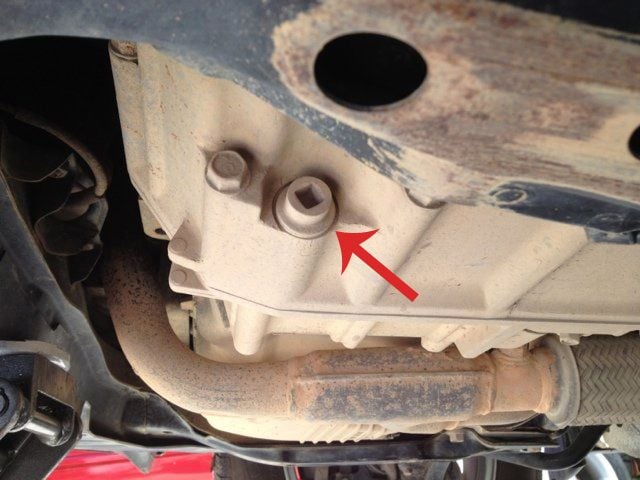
Figure 2. Transmission drain plug on 2000 Honda Accord. 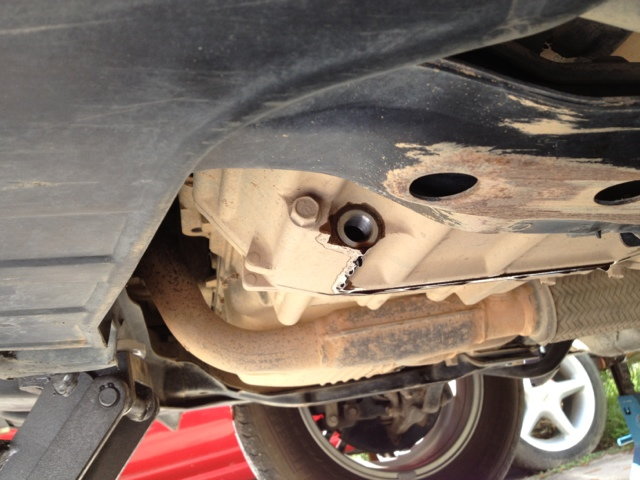
Figure 3. Drain plug removed.
Step 3 – Refill transmission fluid
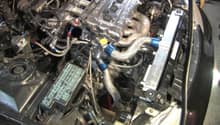
Replace drain plug. Open the hood and remove the transmission fluid dipstick. The handle will be yellow and located near the battery.
Insert funnel and fill the transmission with three quarts of Honda ATF.
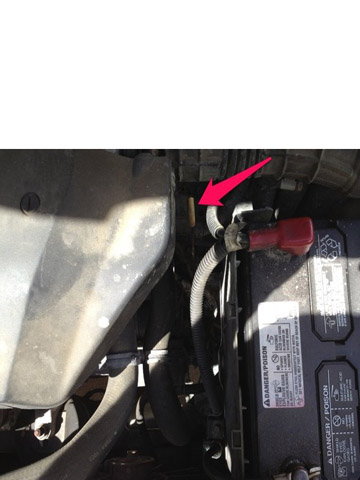
Figure 4. Location of transmission fluid dipstick. 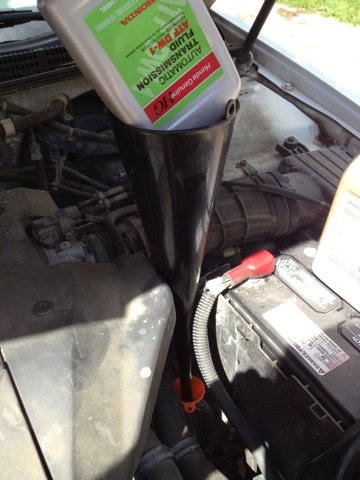
Figure 5. Refilling transmission fluid dipstick.
Pro Tip
On the last round of filling new transmission fluid, make sure the drain plug is tightened firmly with the new crush washer installed.
Step 4 – Test transmission shifting
Start engine and shift into drive. Gently accelerate, but don't go over 50mph. The idea is for the engine to shift through all the gears. Slow the car to a stop. Shift into reverse and drive up to 20mph before coming to a stop again. Shift to park and turn off the engine.
When finished, cycle through the gears and make sure everything works as it should. If there's a hesitation or hard shifting, check the transmission fluid dipstick. If the fluid is high, bleed out some transmission fluid. If the level is low, add more.
Pro Tip
Check the transmission fluid level and ensure it reaches the cross hatch mark on the dipstick. Top off accordingly.
Related Discussions
- Honda Accord Transmission Fluid Change DIY - Honda-Tech.com
- Honda Tech: How to Change Transmission fluid - Honda-Tech.com