Over time, your downstream or upstream O2 sensor may stop working. Replacing a faulty sensor is simple, and you likely already have most of the tools you need to replace either sensor.
This article applies to the Honda Civic/Del Sol (1992-2000).
The oxygen (O2) sensor is part of your car's emission control system. It feeds into your car's engine management computer, and it helps your engine run as efficiently as possible—while producing the least amount of emission as possible. A faulty O2 sensor can affect the engine's performance, result in poor fuel economy, and ultimately damage your car. One indicator that your O2 sensor is failing (or has failed) is your check engine light. Some drivers simply ignore this light when it turns on, but going too long without diagnosing and resolving the problem—in this case, replacing a faulty O2 sensor—can lead to even more expensive, time-consuming repairs down the road.
Materials Needed
Downstream O2 sensor
Upstream O2 sensor
7/8" O2 socket and ratchet
Ratchet extension
Jack and jack stands
Wire cutters
7/8" regular socket
Breaker bar (optional)
Replacing Downstream O2 Sensor
Step 1 – Lift car
Jack up car. Be sure to park on a flat surface before lifting your car, and then support it on stands.
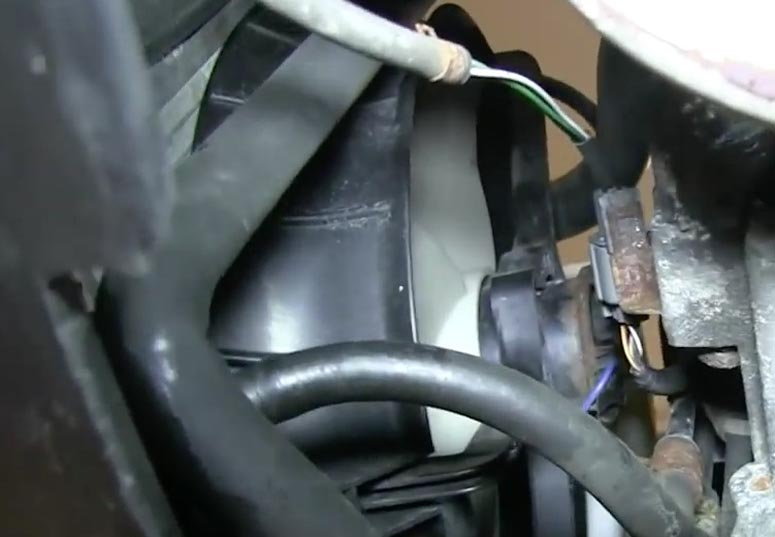
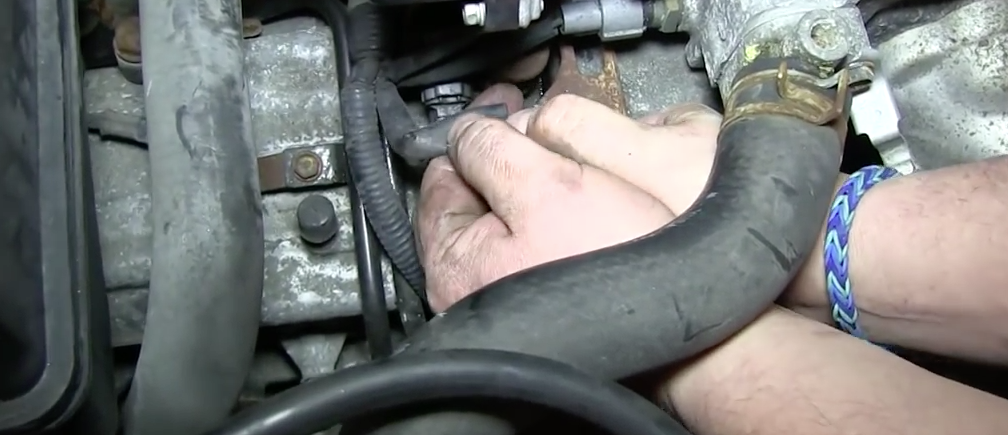
Locate the O2 harness, which is near the front of the car. Disconnect the harness connection by pressing the tab. You should hear it click. Once you do, simply pull the harness out of the clip.
Figure 1. Location of the downstream O2 sensor.
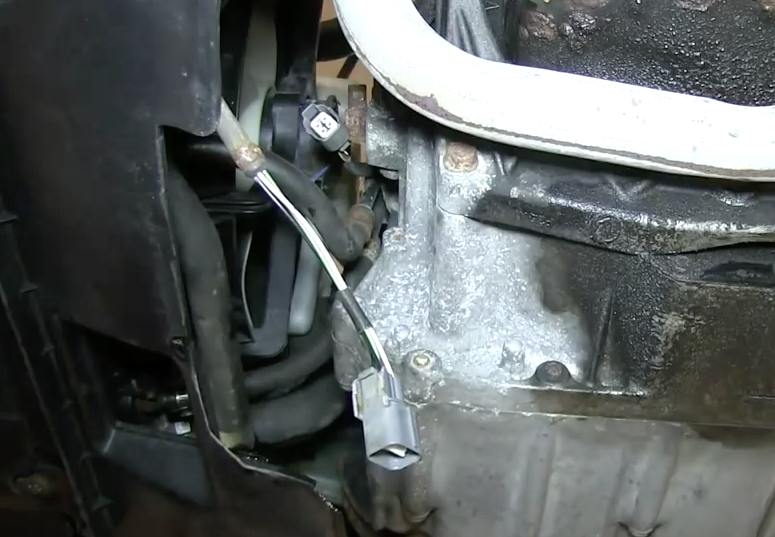
Figure 2. To disconnect, pull harness out of the clip.
Step 3 – Remove old downstream O2 sensor
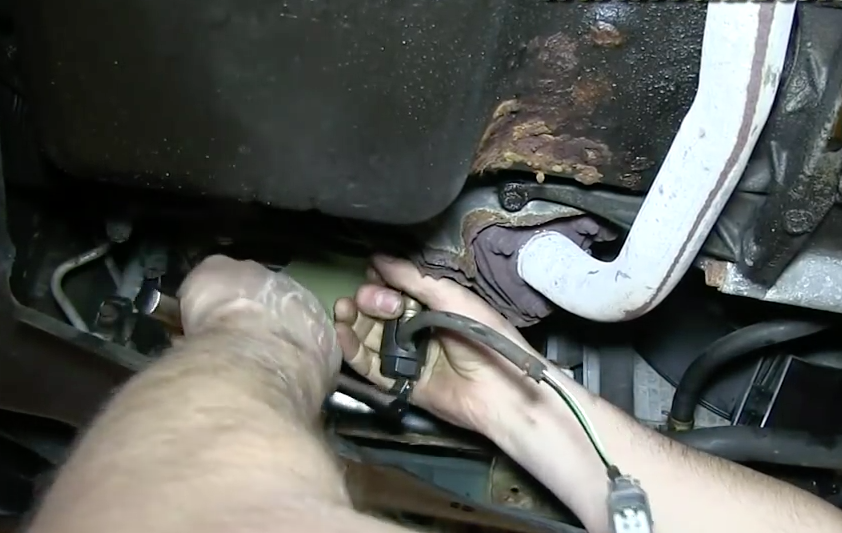
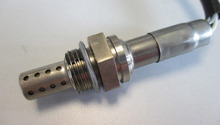
Use your O2 sensor socket and ratchet to remove the old downstream O2 sensor. There is a slot on the ratchet for the harness. Twist to remove sensor. Depending on how old your car is, you may have trouble twisting the old sensor off. If this happens, use wire cutters to cut the harness off of the sensor. Afterwards, use a regular 7/8" socket and ratchet to break the sensor free. Once you break the sensor free, it twists right out.
Figure 3. Use 7/8" O2 sensor socket to remove the sensor.
Step 4 – Install new downstream O2 sensor
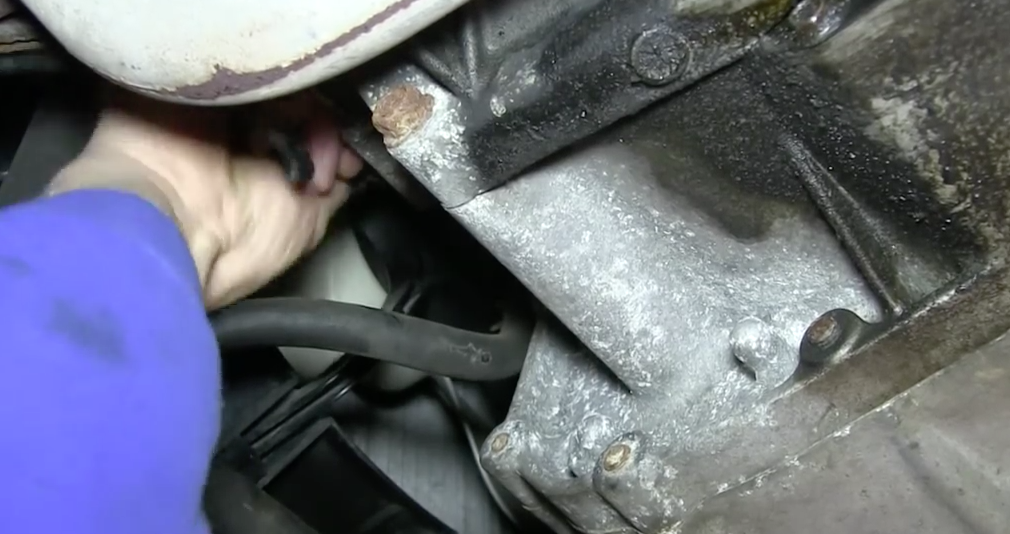
Twist the new sensor into place. Use your O2 socket and ratchet to tighten, and fully secure the sensor. Reconnect its harness, and clip the harness to the bracket. Lower your car.
Figure 4. Install new sensor, tighten into place, and re-clip harness to the bracket.
Featured Video: How to Replace Downstream O2 Sensor
Replacing Upstream O2 Sensor
Step 1 – Lift hood
The upstream O2 sensor is located on the exhaust manifold, and does not require getting under the car to access. Jacking up your car is not required.
Step 2 – Locate and disconnect harness connection
Locate the O2 harness, which is on the left and near the front of your car. Disconnect the harness connection by pressing the tab. You should hear it click. Once you do, simply pull the harness out of the clip.
Figure 5. Locate upstream O2 sensor.
Figure 6. To disconnect, pull harness from the clip.
Step 3 – Remove old upstream O2 sensor
Use your O2 sensor socket and ratchet to remove the old upstream O2 sensor. There is a slot on the ratchet for the harness. You likely will need an extension. Simply twist to remove sensor. Depending on how old your car is, you may not be able to simply twist the old sensor off. If this happens, use wire cutters to cut harness off of the sensor. Afterwards, use a regular 7/8" socket and large breaker bar to break the sensor free. Once you break the sensor free, it twists right out.
Figure 7. Use 7/8" O2 sensor socket to remove the sensor.
Step 4 – Install new upstream O2 sensor
Twist the new sensor into place. Use your O2 socket and ratchet extension to tighten, and fully secure the sensor. Reconnect its harness, and then clip the harness to the bracket.
Figure 8. Install new sensor, tighten into place, and re-clip harness to the bracket.
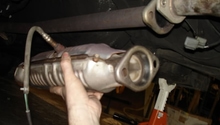
Figure 9. An upstream O2 sensor after installation.
How to Test and Replace Oxygen Sensor
Don't let your car turn blue and pass out -- replace its oxygen sensor!
This article applies to the Honda Accord (1990-2002).
The oxygen sensor looks like a rather simple ...
Why is My Car Shaking at Idle?
Honda Civics did not come with a built-in massage chair. Find out what is causing that shaking with the help of this article.
This article applies to the Honda Civic (1992-2000).
If ...
How to Install A Turbocharger Kit
EMSHHH
Are you tired of getting smoked at stop lights? Then add some power to your Honda Accord!
This article applies to the Honda Accord (1990-2002).
Are you looking to bring new ...
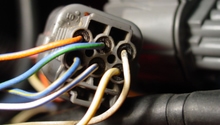
Engine Harness Connectors and Plugs
Honda-Tech, SuperStreetonline, PopularMechanics
Harness your car's power!
This article applies to the Honda Civic/Del Sol (1992-2000).
Each plug for each wire harness has one job ...
Why is My Car Hesitating?
dmorse88
If your car is buckling and stalling, there's a problem that requires immediate repairs.
This article applies to the Honda Accord (1990-2002).
Your car's hesitation is slowly ...
How to Install Supercharger Kit
ct-engineering, v6performance
You've been planning on upgrading your engine for more power. So why not take the unique route, and install a supercharger? Learn how to do just that ...