Honda Civic: How to Replace Distributor O-Ring
The distributor O-ring prevents oil from seeping out of the engine's head. When the O-ring fails, oil drips onto the transmission housing, leaving your Civic looking like a smoke stack. This article explain how to safely remove and replace the distributor O-ring on your Honda Civic.
This article applies to the Honda Civic (1992-2000).
The distributor's purpose is to send voltage to each individual spark plug on the engine. It is positioned on the engine's side, and mounted using 12mm bolts. The tips of the distributor has an O-ring that prevents oil from leaking onto the engine. When these fail, people tend to make the mistake of blaming their valve cover gasket, costing them more time and money to repair it. Fortunately, the distributor O-ring is actually very easy to replace, and only requires a few minutes to complete. This article explains how to replace your distributor O-ring.

Materials Needed
- 12mm socket
- Pliers
- Flat head screwdriver
- 3/8" ratchet
- Marker and straight edge
Step 1 – Prep the engine and mark off the distributor
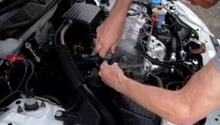
The distributor is found on top of the engine near the exhaust manifold. First, let the engine cool off and organize all the parts needed for the repair.
Use a marker and a straight edge to mark the position of the distributor to the head. Doing so will ensure the distributor is installed in the correct position, and avoids any timing induced ignition problems.

Figure 1. Gather your tools. 
Figure 2. Mark the position of the distributor.
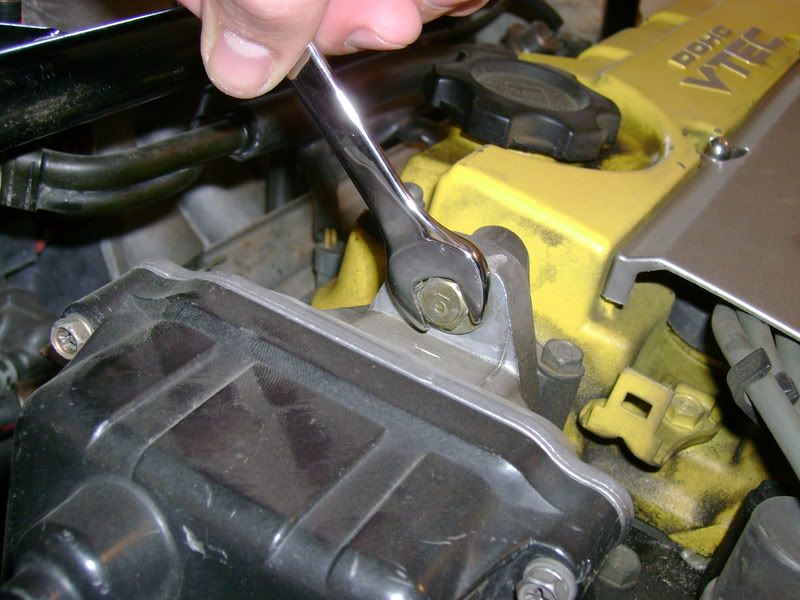
Step 2 – Remove the 12mm mounting bolts
Locate and remove all of the 12mm mounting bolts from the distributor to remove the distributor from the engine. If necessary, remove the spark plug wires from the engine head to allow enough room to access the O-ring.
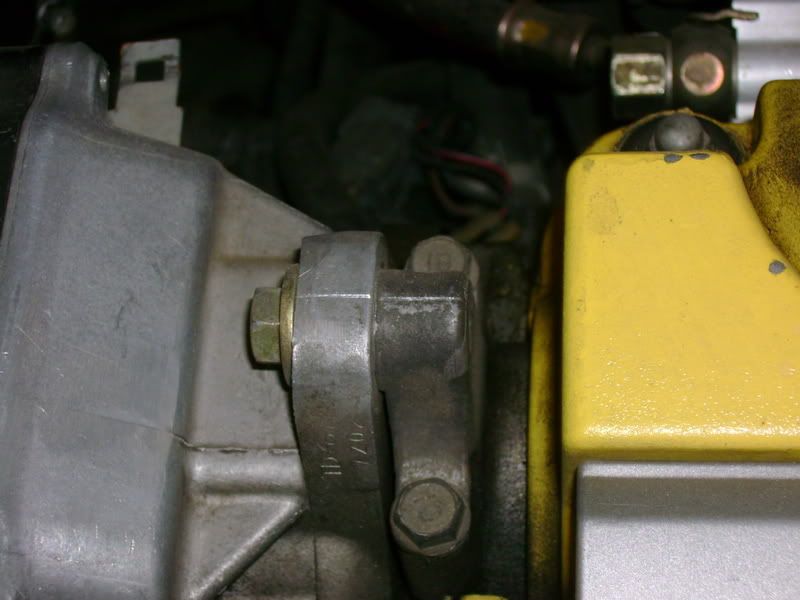
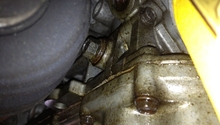
Figure 3. Remove the mounting bolts. 
Figure 4. Remove the distributor from the engine.
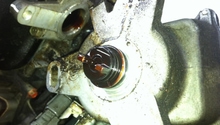
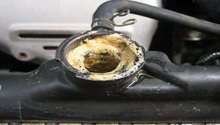
Step 3 – Inspect the distributor
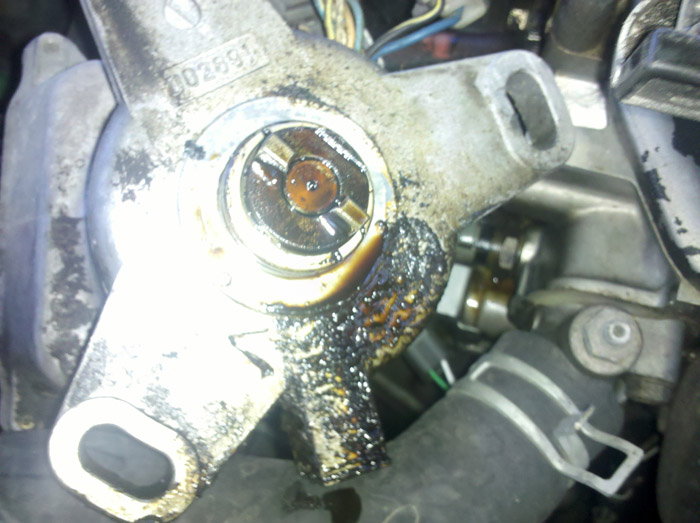
Visually inspect the distributor for signs of an oil leak. It won't be too hard to notice the usual signs, which consists of dried oil residue forming towards the bottom of the seal.
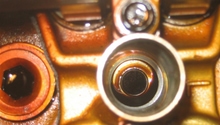
Step 4 – Replace the O-ring
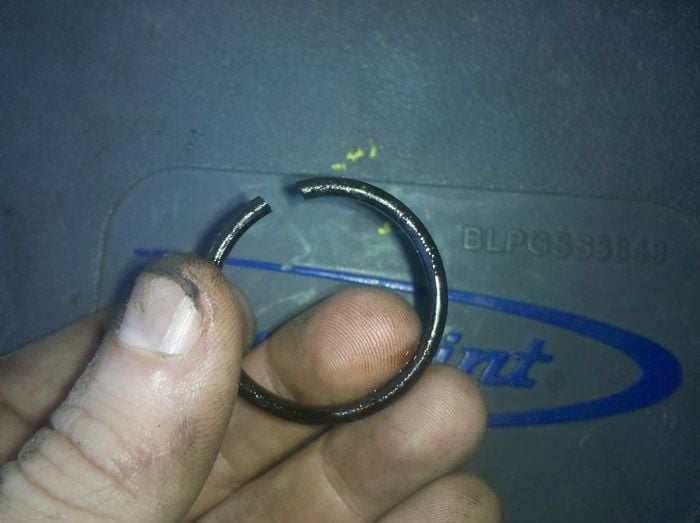
Use a the flat head screwdriver to remove the O-ring from the distributor shaft. Pull it out, and replace it with the new one.
Step 5 – Re-install the distributor
Once the O-ring is mounted, re-install the distributor to the engine. Carefully line up the marks previously made, and tighten the 12mm mounting bolts. Don't forget to connect the plug wires if they were removed. Once finished, start the car up and check for leaks.
Related Discussions
- DIY:Civic/Del Sol/Integra O-ring Replacement - Honda-Tech.com
- Distributor O-Ring Issues - Honda-Tech.com