Honda Civic: How to Replace Air Intake
The more air your engine breathes, the better it combusts and, therefore, the more power it makes.
This article applies to the Honda Civic (1992-2000).
The air intake allows the car to breath more air, and mix said air with fuel. More air and fuel means more power. Without it, one of the key phases of the internal combustion just wouldn't happen. So, how can you tell if it's time to repair or replace your air intake, and what are the effects of an under-performing air intake? Repairing the air intake is not all that common, and replacing the air intake may offer some performance gains. While replacing your air intake isn't a difficult task, if you aren't familiar with components under the hood, you might not want to do this yourself.

Materials Needed
- 3/8" ratchet handle
- 10mm socket
- Rachet socket extender
- Pliers
Step 1 – Remove stock filter box
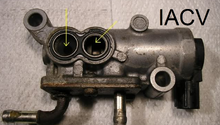
Start by locating the bolts that hold the stock airbox in place. Depending on the year model Civic, most of these should be 10mm.

Pro Tips
- Disconnect the negative (black) battery terminal before you start any work.
- Double check that your new intake comes with necessary new hardware; if not, reuse old hardware.
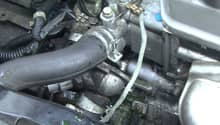
Step 2 – Remove stock air intake pipe
Once you've removed the stock filter housing, remove the intake pipe that feeds straight into the throttle body. Do this by locating the plastic clips and bolts that hold it in place. Be aware of sensors and wiring attached to the pipe.
Pro Tip
Be careful when pulling on parts; sensors can still be attached, and damaging any of those mean costly repairs.
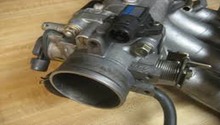
Step 3 – Lay out the new intake pipe
Before you start securing any new pieces, make sure to lay everything in place and that the fit is right. At this time, semi-tighten the hose clamps from the throttle body, as well as the air filter connector.
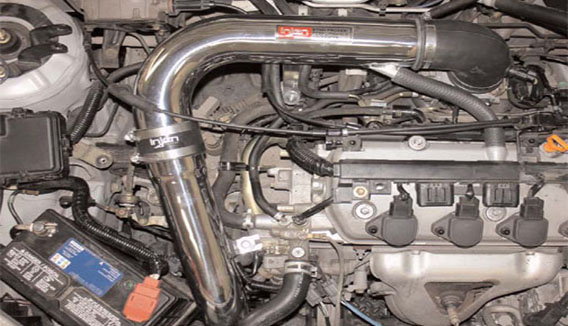
Figure 3. Don't tighten clamps down until everything is in place. 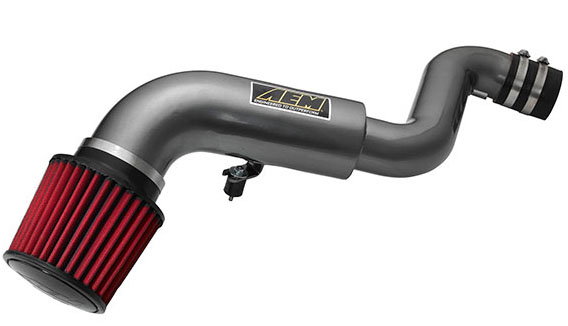
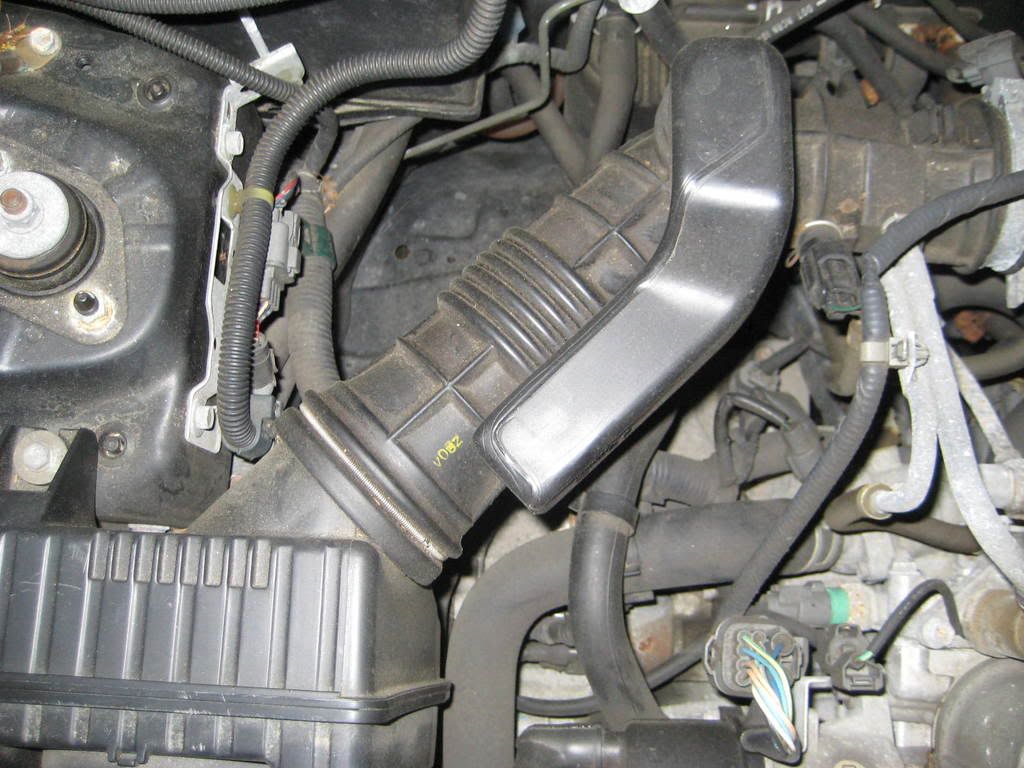
Figure 4. This is what a complete intake system looks like.
Pro Tip
Pre-tighten hose clamps until they are snug; this helps avoid struggling to hold them in place while installing.
Step 4 – Install air filter
Once the air intake pipe is connected to the throttle body, it's time to attach the air filter. Make sure to carefully slide the air filter rubber joint into the free end of the intake pipe. As before, the hose clamp should already be on the rubber joint of the air filter. Once it's on, tighten it for a secure fit.

Pro Tip
It is important that the air filter is free from obstruction of any other parts to prevent scrapping or damaging the air filter or its housing.
Step 5 – Reconnect sensors and battery
Once everything is properly tightened, clip the appropriate sensors back on. Then, it's time to reconnect the negative battery terminal you disconnected at the very beginning.

Related Discussion and Video
- AEM Intake Install - Honda-Tech.com
- Cold Air Intake Install - Youtube.com