Honda Accord: How to Replace Your Tail Light Assembly
This DIY is one of the easiest fixes for your Accord. By the end of this repair, you'll feel like a real mechanic!
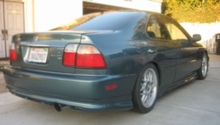
This article applies to the Honda Accord (1990-2002).
Replacing your tail light assembly is a very simple procedure and can save you from an expensive and unnecessary trip to the auto shop. Properly functioning tail lights ensure safe driving on highways and help to avoid rear-end collisions and tickets. Follow the steps below to replace the tail light assembles yourself.

Materials Needed
- Socket wrench
- Flat head screwdriver
Step 1 – Unplug tail light sockets
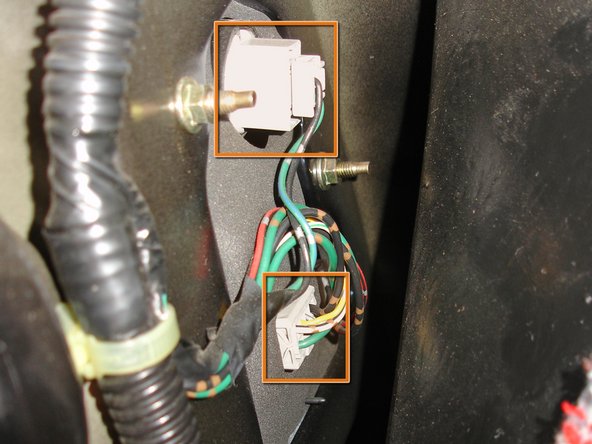
Pull the trunk lever under the steering wheel column to open the trunk. Using your flat head screwdriver, remove the plastic screws from each end of the trunk liner; they are located directly behind each tail light assembly. Pull back on the trunk liner to gain access to the tail light sockets. Rotate each light bulb socket counter clockwise and carefully pull them out. If necessary, unscrew the bottom trim cover panel to free up space.
Figure 1. Plastic screw location. 
Figure 2. Pull back on the trunk liner. Figure 3. Tail light sockets.

Step 2 – Unbolt and remove the tail light assembly
With your 8 mm socket wrench, remove three bolts located behind each tail light assembly. Then, slide the assemblies right out.

Figure 4. Unscrew the 8 mm bolts. 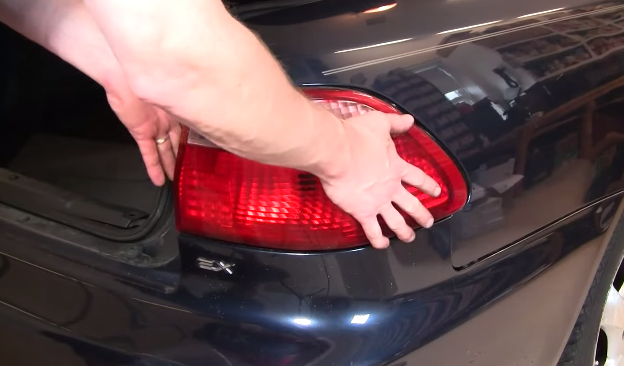
Figure 5. Slide the tail light assembly out. 
Figure 6. Remove the tail light assembly.
Step 3 – Install the new tail light assembly
Slide the new tail light assembly in. Re-install the lights and bolts in reverse order to the steps above.
- Re-install three 8 mm bolts
- Attach and secure the light bulb sockets
- Cover the back of the assembly with the trunk liner
- Re-install the plastic screw

Step 4 – Replace truck lid tail light assembly
If necessary, replace the trunk lid tail light assemblies as well. Remove the sockets as you did the side tail lights. Then, remove three 8 mm bolts from the assembly on each end of the trunk. Pull out the old tail light assemblies and install the new ones as you did with the side tail light assemblies.

Figure 8. Remove the trunk lid light sockets. 
Figure 9. Remove the bolts of the tail light assembly. Figure 10. Remove the trunk lid tail light assembly

Featured Video: Honda Accord Replace Tail Light Assembly
Related Discussion
- Replacing Tail Light on '95 Accord - Honda-Tech.com