Honda Accord: How to Replace the Head Gasket
Replacing the head gasket on your Accord is a small yet difficult challenge. Follow these steps to get the project done correctly.
This article applies to the Honda Accord (1990-2002).
Replacing the head gasket on your Honda Accord shouldn't be as daunting as it appears to be. Obviously, it's not as easy as replacing your headlight bulbs, but it is doable even for those without extensive mechanical experience. The key is making sure you follow the proper process and pay close attention to the details. The steps below will give you a better understanding of how to replace the head gasket on your Accord.

Materials Needed
- Socket wrench set
- Container for waste oil
- Razor blade
- Degreaser
- Soft bristle brush or toothbrush
- Towels or rags
- Enamel cleaner
- Isopropyl alcohol (optional)
- Engine oil
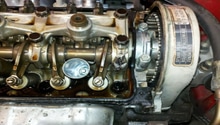
This how to assumes you have already removed the cylinder head and rockers, revealing the head gasket. These steps will only describe how to remove, properly clean, and replace the head gasket.
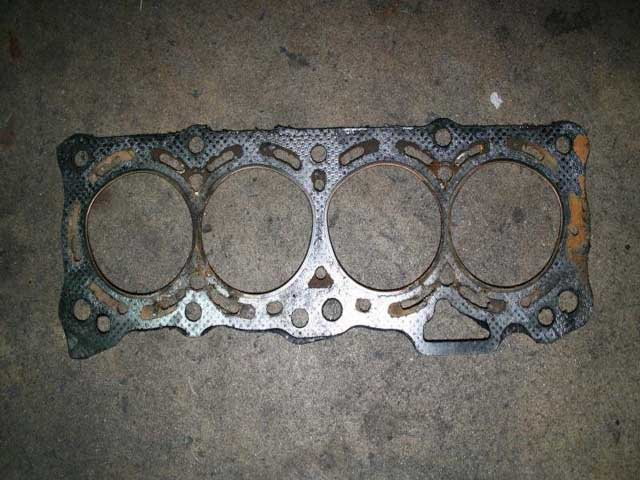
Step 1 – Remove the gasket
Peel the head gasket up to remove it. If the gasket it sticking in some areas, run the razor blade underneath the gasket as leveled to the surface as possible. Be careful not to gouge or nick the engine block and mounting surface of the cylinder head.
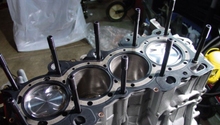
Step 2 – Clean and prep the engine block
Thoroughly clean the entire deck of the engine block and surface of the cylinder head with enamel cleaner applied to a rag. You can also use water followed by isopropyl alcohol to clean the surface. For areas that are difficult to reach or where oil buildup, carbon, and dirt are present, use a soft bristle brush to further clean the area.

Pro Tip
After cleaning, it's recommended to use a level ruler to check the cylinder head. If the head is warped in any way, it may need to be machined or even replaced. The new gasket won't mean much if the head is warped.
Step 3 – Clean the head bolts and stud threads
Thoroughly clean the head bolts and stud threads that secure the cylinder head and lightly lubricate with engine oil prior to re-installation. This will reduce strain on the cylinder head and engine block. It will also make it easier to tighten them to the proper torque during reassembly.
Pro Tip
It's recommended that you install new bolts and studs when replacing the head gasket. They are inexpensive, and also give your engine added support.
Step 4 – Install the gasket
Re-install the threads to their respective locations. The threads should be hand-tightened to a snug fit. Use the threads as a guide to fit the new gasket onto the engine block. It should fit properly into place, and now the cylinder head is ready to be installed.

Featured Video: Head Gasket Replacement on Honda Accord
Related Discussion and Video
- Replace Head Gasket on F22B2 - Honda-Tech.com
- Head Gasket Job on a 1995 Honda Accord - YouTube.com