Honda Accord: How to Replace Fuel Pump
Diagnosing the fuel pump is relatively easy when you do not hear it turn on, but its replacement requires a bit more work. This article explains how to safely drain your gas tank, lower it, and replace that dreaded fuel pump.
This article applies to the Honda Accord (1990-2002).
Your car needs three things to start – fuel, spark, and air – and when one or more of these fails to make an appearance, the engine will not start. A fuel pump is expected to wear out over time; this is especially common on vehicles with higher mileage. The usual case in replacing a fuel pump on a Honda chassis involves opening the access hatch found behind the seat and simply replacing the pump. Unfortunately, fourth and fifth-generation Honda Accord owners seemed to have gotten the raw end of the deal when it comes to fuel pump accessibility. Fourth and fifth-generation Honda Accord owners carry the burden of having to drain the gas, drop the tank, and disconnect all the fuel lines to access the pump. Here's how you can replace the fuel pump and save a few hundred dollars in labor.

Materials Needed
- Socket set
- 3/8" ratchet
- Fuel container
- Pliers
- Rags
- Jack
- Jack stands
Step 1 – Siphon out the gas tank
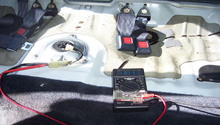
Take a tube and insert it into the tank, through the gas cap. Create a vacuum by blowing into the tank through the tube and pour the gasoline into a safe container. Drain out as much gas as possible.

Pro Tip
Use a vacuum pump, if one is available, to avoid accidentally sipping up gasoline.
Featured Video: How to Siphon Gas Without a Pump
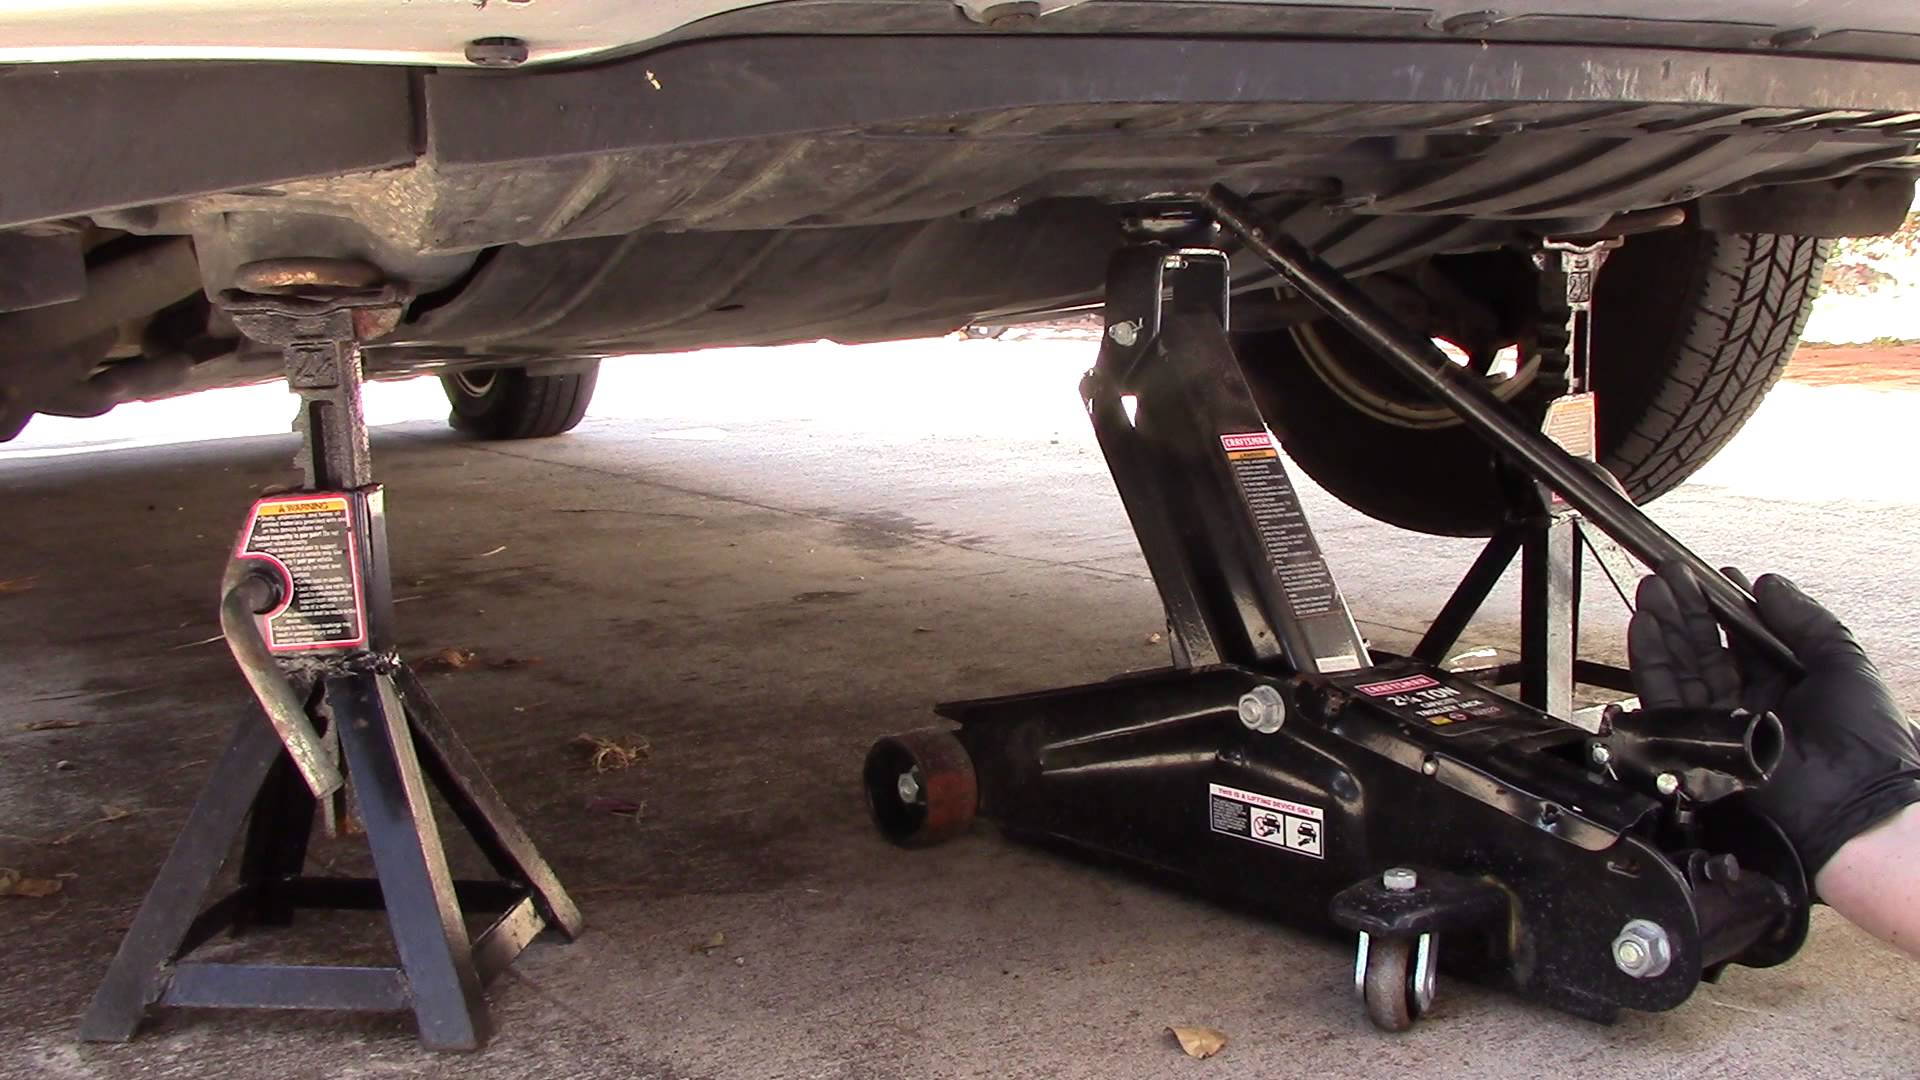
Step 2 – Raise and secure the car
Use a jack on one of the car's safety points and raise it. Position jack stands under the car to secure it into the air.
(Related Article: How to Jack Up Your Accord - Honda-Tech.com)
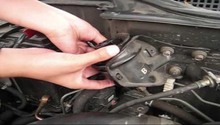
Step 3 – Disconnect the fuel-sending unit
The fuel-sending unit is found underneath the access hatch located inside the trunk. Open the hatch and disconnect it.

Step 4 – Begin disconnecting the fuel lines
There are four fuel lines that need to be disconnected, all of which are located behind the left rear wheel. First, remove the rear left wheel. Once off, begin disconnecting the fuel lines. There are two hard-lines, a high-pressure line, one brass line that connects directly to the tank, and a large line for fuel input.

Figure 4. The first two fuel lines that need to be disconnected. 
Figure 5. The high-pressure fuel line. 
Figure 6. The brass fuel hard-line. 
Figure 7. The gas-receiving line.
Step 5 – Remove the tank straps
The tank straps are held in place using 14mm bolts. Place a hydraulic jack with a long piece of wood under the tank. Loosen the straps and remove them. Once the straps are off, slowly lower to relieve the pressure from the jack and lower the tank.

Pro Tip
The exhaust heat shield may need to be removed to access one of the 14mm strap bolts.
Step 6 – Remove the fuel pump
First, disconnect the clip on top of the fuel pump. Then, use a 10mm socket to remove the nuts that secure the fuel pump to the tank. Once all the nuts are off, pull the unit out from the tank and remove the pump from its bracket.

Figure 9. Disconnect the clip on the fuel pump. 
Figure 10. Remove the pump.
Step 7 – Install the new pump
Mount the new pump to its holder and be sure to correctly position it inside the gas tank. There is a small plastic container located inside the tank. Position the pump so that it sits inside the plastic container, where the fuel pick-up is.

Step 8 – Mount the fuel tank and lines
Once done, raise the tank and secure the straps. Reconnect all the fuel lines and be sure to tighten the high-pressure line. Put the wheel back on and lower the vehicle. Open the gas cap, pour some fuel and start her up!

Featured Video: Honda Accord Fuel Pump and Fuel Tank Removal
Related Discussion
- My Fuel Pump Install Experience 94 Accord Ex - Honda-Tech.com