Honda Accord: How to Replace Cabin Air Filter
If your A/C sounds loud when you turn it all the way up or it smells funky, it might be time to replace your cabin air filters. Here's how you do it.
This article applies to the Honda Accord (1990-2002).
Cabin air filters protect your car's ventilation system from being contaminated or exposed to airborne pollen, bacteria, dust, exhaust gasses, and even smoke. Manufacturers recommend changing the cabin air filters every 25,000 miles or so, but if you have allergies, you may want to change them on an annual basis. They are very simple to replace on your own.

Materials Needed
- Flat head screwdriver
- Pair of new cabin air filters
Step 1 – Remove black clips and glove box
First you will need to open the glove box and remove everything in it.
Then, remove each of the black clips located inside and toward the back of the glove box. One way to remove the clips is to hold and squeeze each one by hand and push on the clip from the outside. You can also use a flat head screwdriver to pry the clips out, but this is risky because too much pressure can damage or break the clip. Hold the glove box in place. Once you remove the clips, it will fall forward. Removal of the glove box allows access to the air filters.
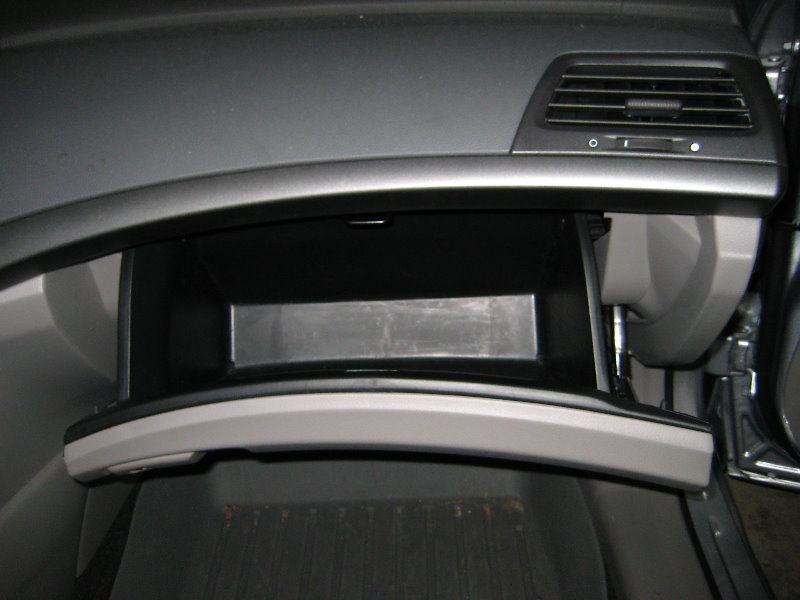
Figure 1. Empty your glove box. 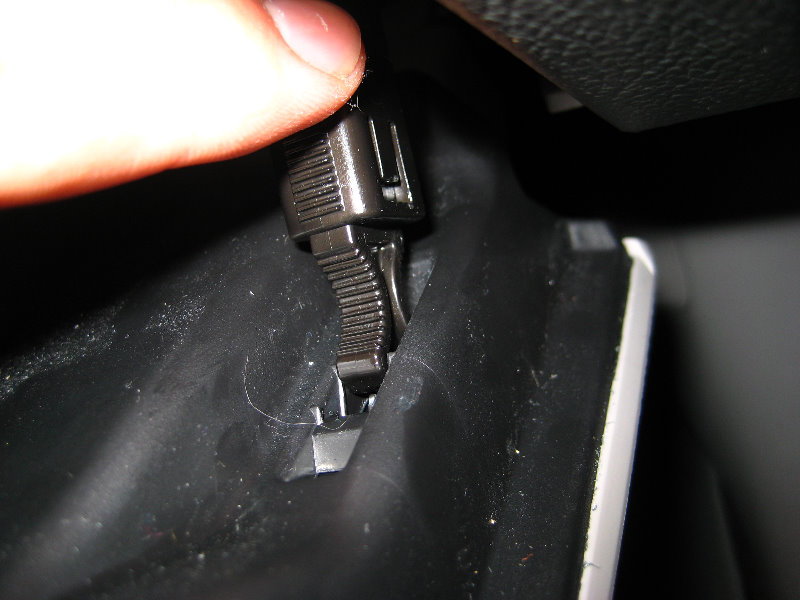
Figure 2. Remove the black clips holding the glove box in place.
Pro Tip
If one or both clips fall behind the dashboard, you can easily reach them once the glove box is removed.
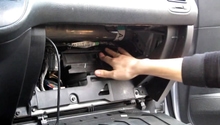
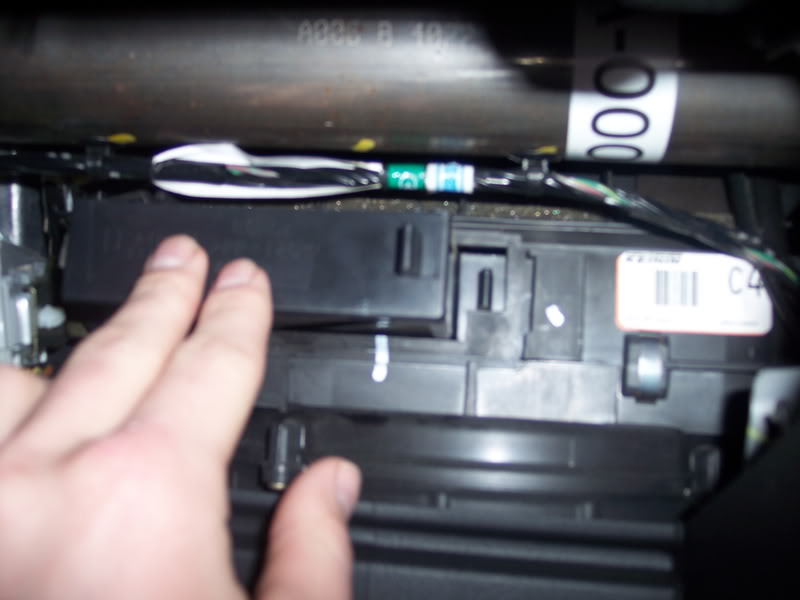
Step 2 – Remove cabin air filter cover
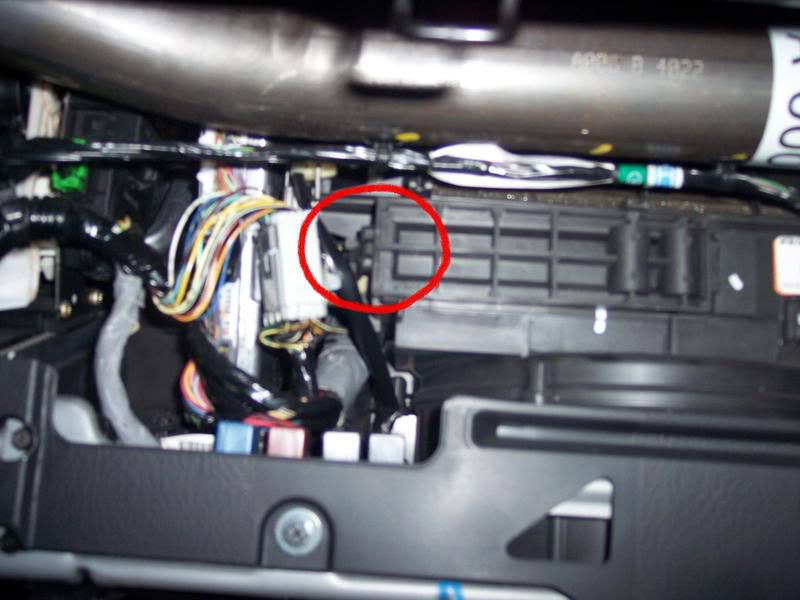
Remove the cabin air filter cover by pulling on the left-hand side tab. The cover is located to the right of several multicolored wires. The cabin air filter cover should pop out.
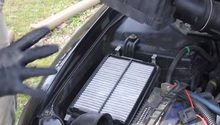
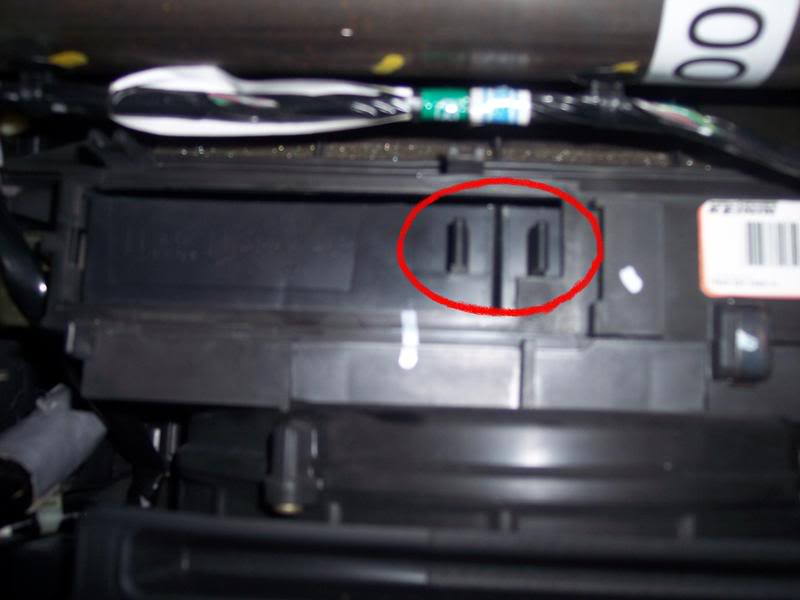
Step 3 – Slide cabin air filters out
Remove the air filters by sliding them and their frames out. The filters are positioned next to each other. First, pull the left-side tab outward and remove the left air filter. Then slide the right-side tab and air filter to the left filter's position. Remove this filter by pulling on its tab. The filters should be dirty, so be sure not to touch the filter itself.
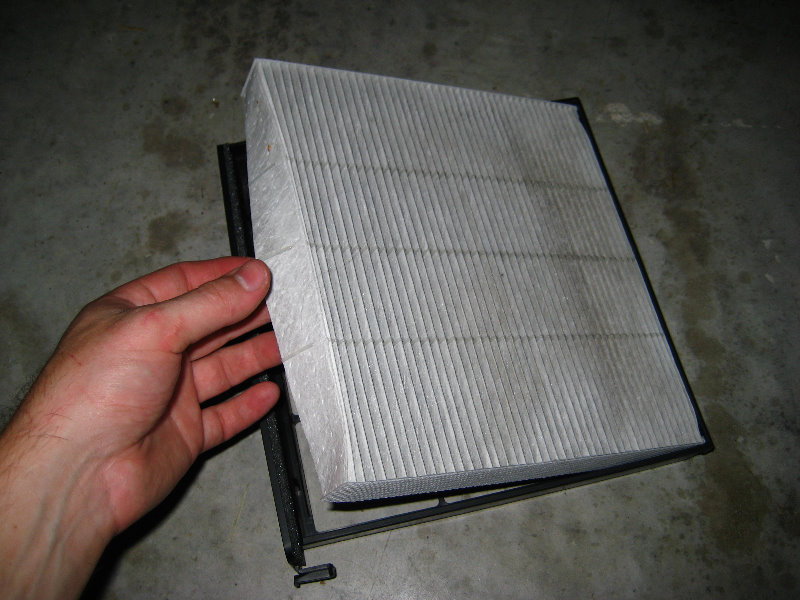
Step 4 – Remove old filters and insert new ones
Remove each cabin filter from its frame. Place the new air filters into each frame.
Pro Tip
Before removing the filter from its frame, note how it's positioned. This will help you correctly insert the new filter into the frame. Most filters have an arrow that indicates which side is faced up.
Step 5 – Insert new cabin air filters
Insert the filter that will be on the right-hand side first. Slide it to the right by its tab. Next, insert the left-hand side filter, which should fit snugly in place.
Step 6 – Install air cabin filter cover
Position the air cabin filter cover above the opening. Insert the right-hand side of the cover into the slit. Push down on the left-hand side of the cover to snap it into place.
Step 7 – Re-install black plastic glove box clips
With the glove box back into place, position one clip onto the slot inside the glove box. While holding the clip in place, close the glove box as much as you can. Push the clip through its slot until you hear it snap into place. Follow the same procedure with the other clip. Make sure the glove box opens and closes as it should.
Featured Video: Honda Accord Cabin Air Filter Replacement
Related Discussions and Site
- DIY: Cabin Air Filter Replacement - Honda-Tech.com
- Air and Cabin Filter Change - Honda-Tech.com
- What's a Cabin Air Filter and When Should You Replace It? - Cars.com