Honda Civic: How to Tune Up Your Car
Regularly tuning up your car is an easy way to extend your vehicle's life and help minimize damage. Performing the work yourself instead of taking it to a mechanic can save you hundreds of dollars, and even the most novice of car owners can do it with tools they already have.
This applies to the Honda Civic/Del Sol (1992-2000).
Some manufacturers recommend "tuning up" or replacing parts at certain mileage marker. For example, your owner's manual may suggest replacing the spark plugs every 25,000 to 35,000 miles, changing your oil and oil filter every 4,000 miles. Your mechanic may suggest performing maintenance even before reaching these mileage milestones. A basic tune up should include replacing the fuel filter, changing the oil, replacing the oil filter, replacing the spark plugs, as well as replacing the distributor cap and rotor. Paying someone to tune up your car can cost almost twice as much as paying for the part and doing it yourself. Even if you're not an experienced DIY-er, tuning up your car is relatively easy, doesn't take very long, and requires tools you likely already have.

Materials Needed
- 8 mm, 10 mm and 17 mm socket wrench
- Cloth towels
- 14 mm line or combination wrench
- Spark plug socket
- Four spark plugs
- Spark plug wire set
- Phillips head screwdriver
- Funnel (optional)
- Small flat head screwdriver
- Fuel filter
- Distributor cap
- Distributor rotor
- Five quarts of oil
- Oil container
Fuel Filter Replacement
Step 1 – Release pressure in the fuel system
Remove the gas cap to help release any pressure that has built up in your fuel system. Some models also have service bolts on top, holding the fuel filter in place. If your car has a service bolt, then remove it using your 10 mm or 12 mm socket wrench, whichever fits.
Step 2 – Remove fuel filter
Loosen and remove the bolt on top of the filter using a 17 mm socket wrench. Also, remove the washer under the head, which is on top of and under the fuel line fitting. Loosen and remove the bolt on the bottom of the filter using a 14 mm combination or line wrench. Loosen and remove the bolt holding the swing portion of the bracket clasp in place using a 10 mm socket wrench. You may need to use an extension in order to reach the bolt. At this point, you can pull out your old filter. Before you do, place a cloth towel under the fuel filter and on the battery because some fuel will likely spill when you remove the fuel filter.

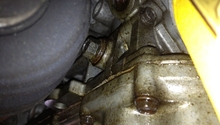
Figure 1. Use 17 mm socket wrench to remove top bolt. 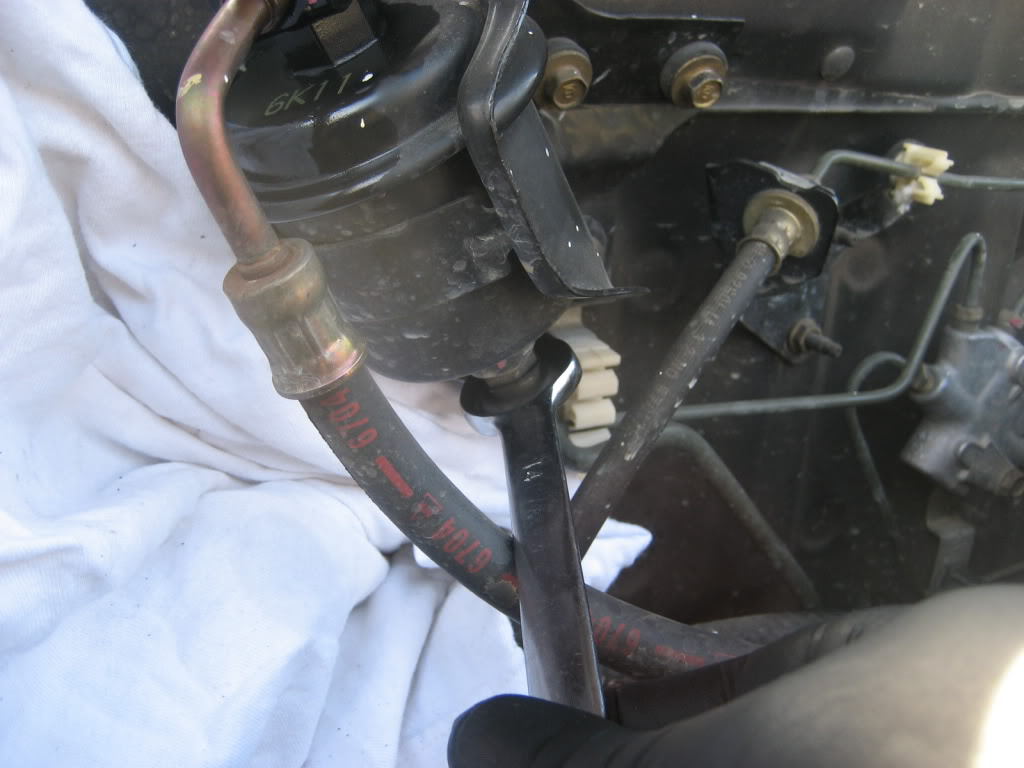
Figure 2. Use 14 mm combination or line wrench to loosen the bottom line bolt. 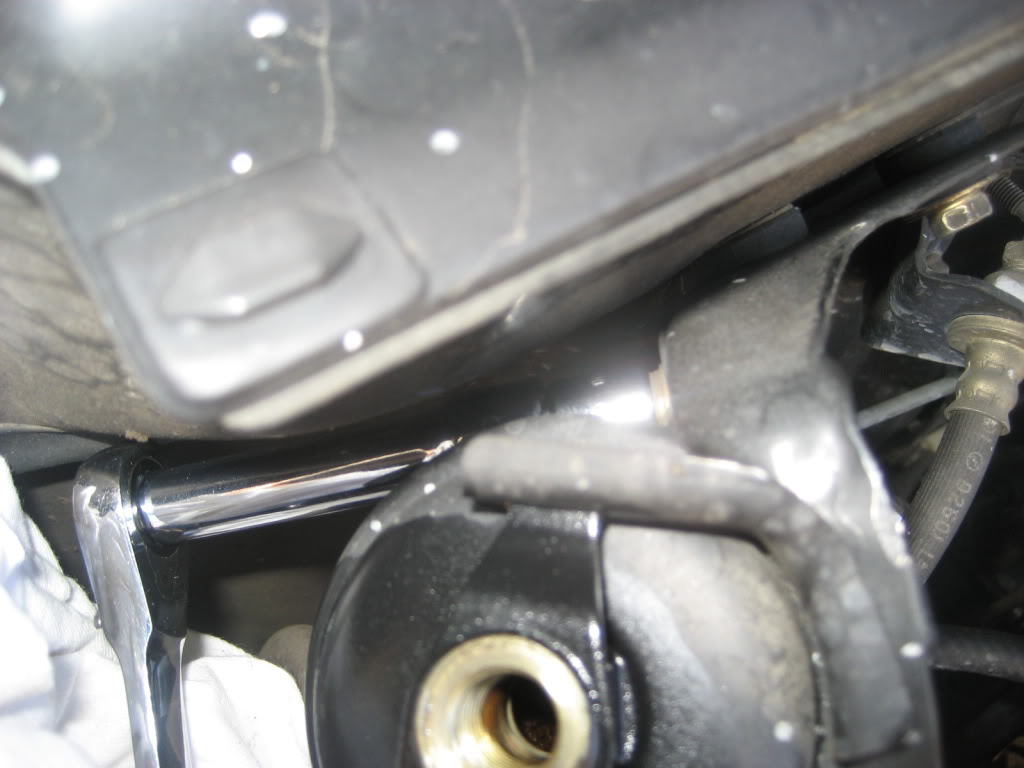
Figure 3. Use 10mm socket wrench to remove bolt, holding the swing portion of the bracket clasp.
Step 3 – Install new fuel filter
Put the new fuel filter into the bracket. Reattach the bottom 14 mm line to the filter, tighten by hand, and then use your 14 mm socket wrench to fully tighten. Attach the swing bracket to the holder, put the 10 mm bolt back in place, tighten by hand, and then fully tighten using the 10 mm socket wrench. Put one washer under the head on top of and under the fuel line fitting. You do not need to reuse your old washers, since your new filter should come with new washers. Position the 17 mm bolt, and use the 17 mm socket wrench to torque to 25 foot-pounds.
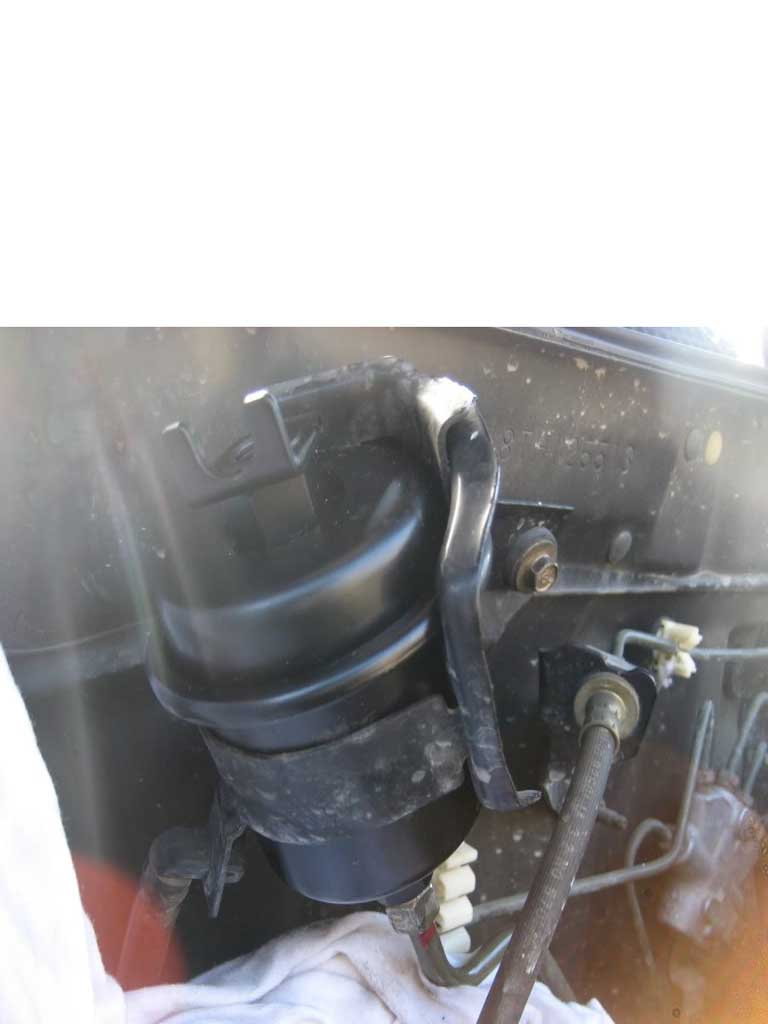
Figure 4. Insert and attach new fuel filter. 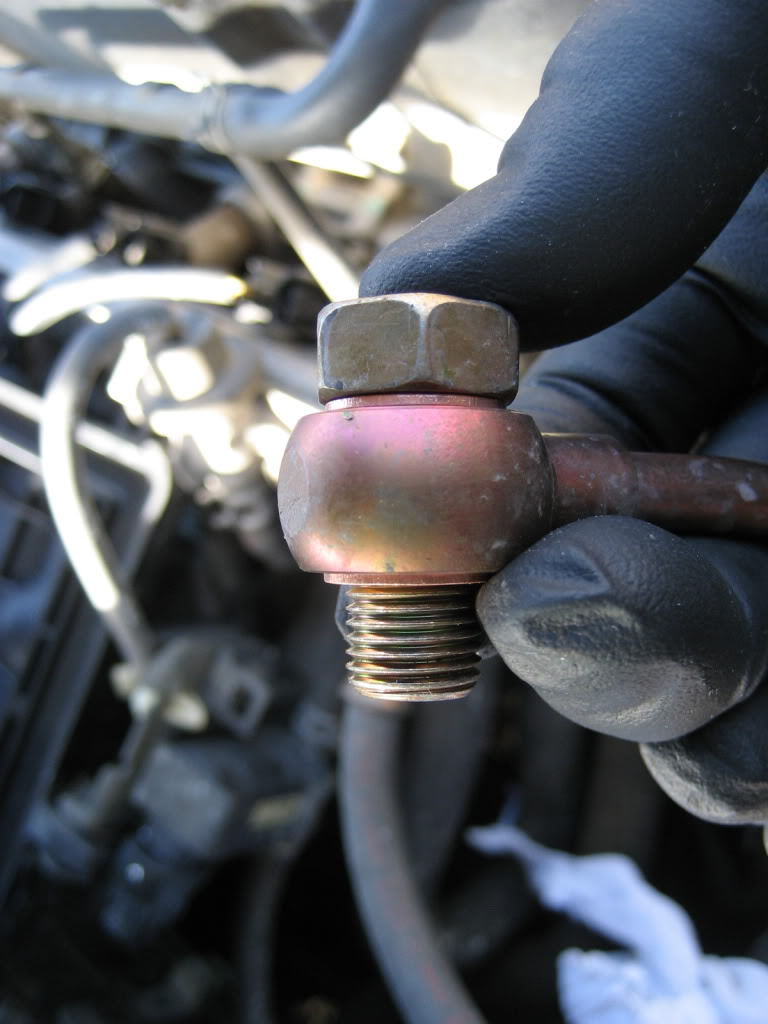
Figure 5. Reattach the top 17 mm bolt and two crush washers to the fuel line fitting.
Step 4 – Confirm installation
Double check that all connectors are tight. Check for leaks by turning the ignition to accessory a few times. Once you've confirmed your car isn't leaking, turn on the car and check for leaks again.
Distributor Cap and Rotor Replacement
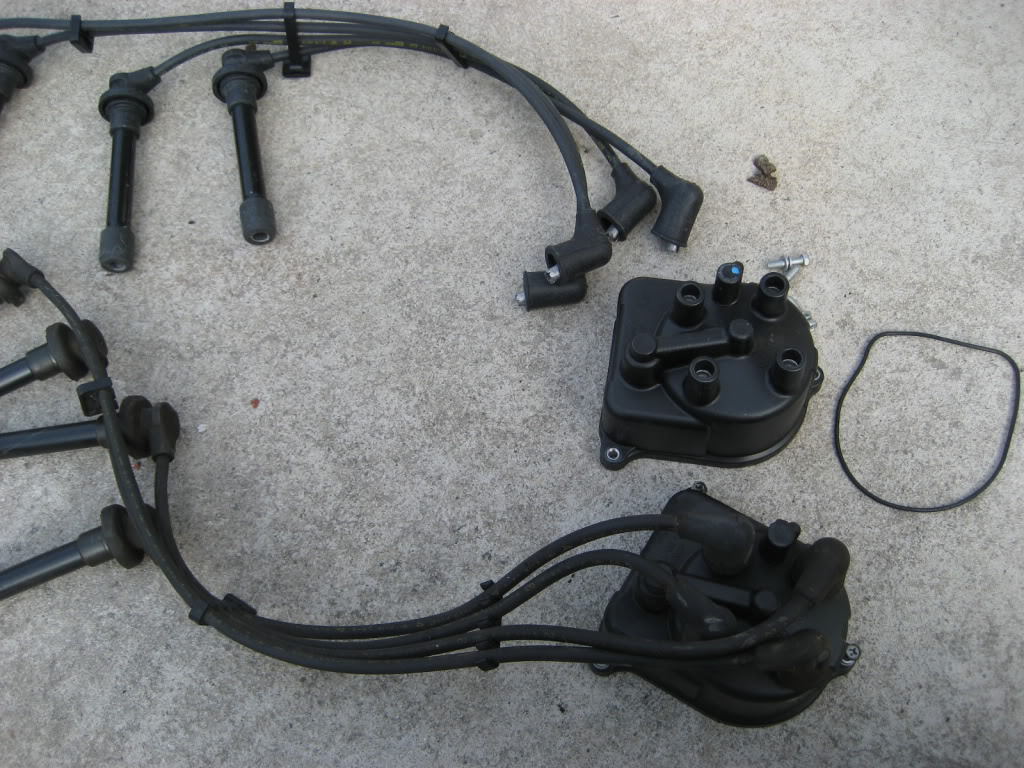
Step 1 – Remove plug wires
Twist each plug wire side to side until you can easily pull it loose from its plug. Be sure to leave the other end attached to the distributor cap because this will ensure you install the new set of wires correctly.
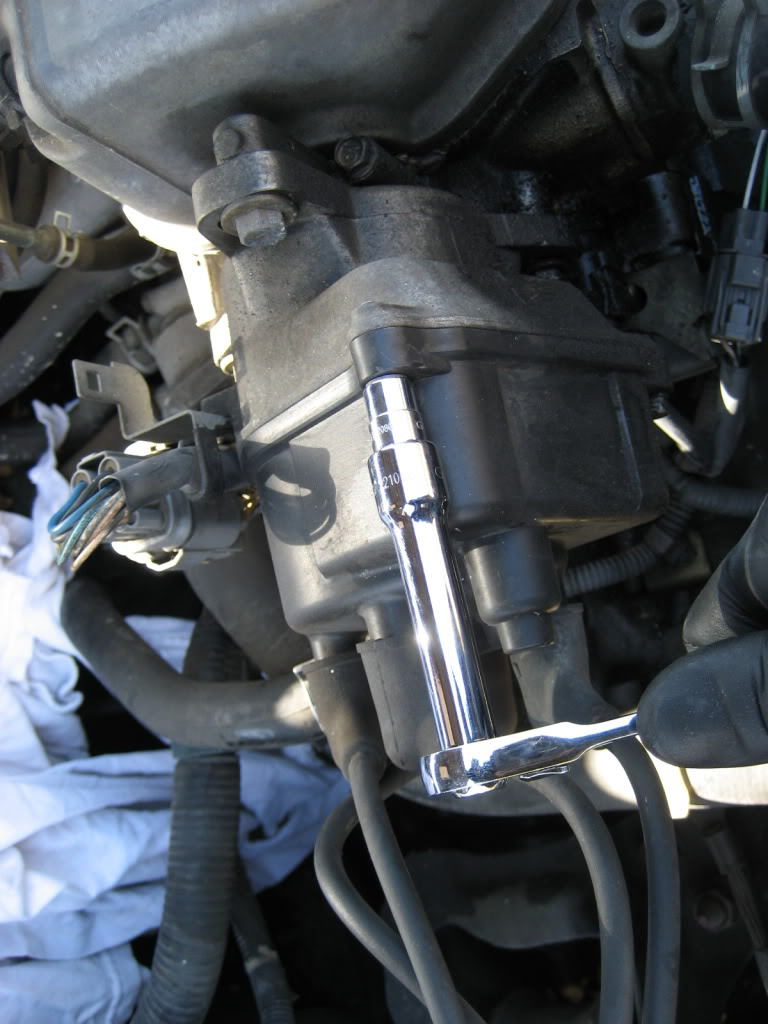
Step 2 – Remove distributor cap
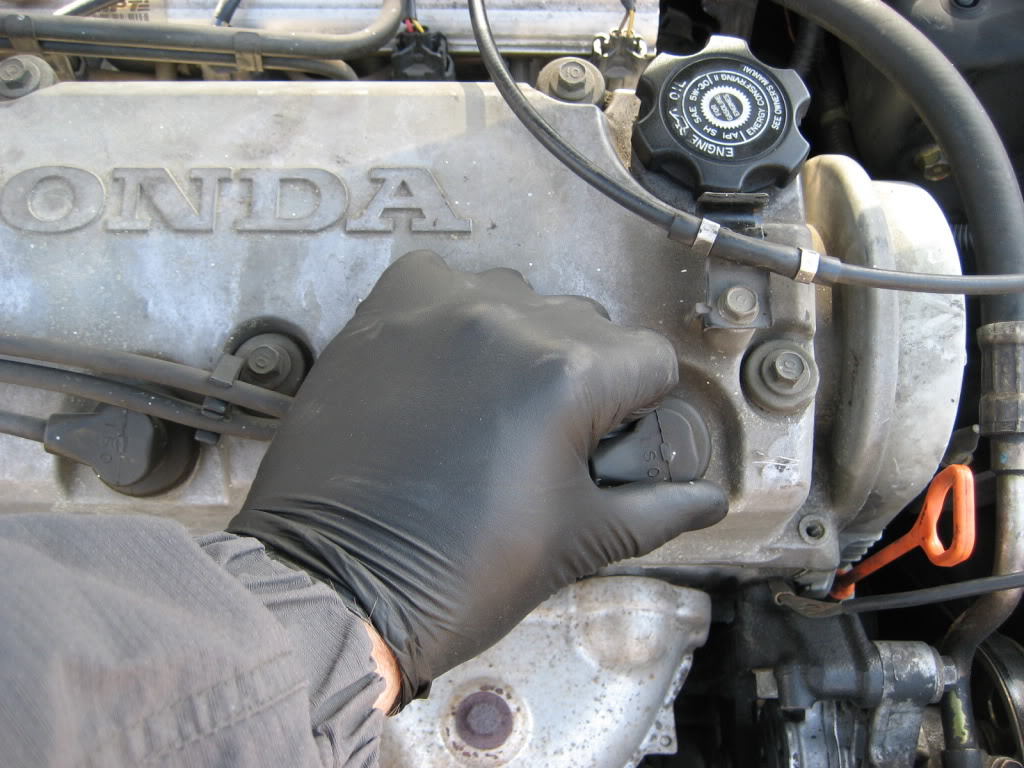
Use an 8 mm socket wrench to remove the three 8 mm bolts, holding the distributor cap in place. Once you remove the cap, you will be able to see the rotor.
Step 3 – Remove rotor
Use a Phillips head screwdriver to remove the screw, which holds the rotor in place. If you don’t see the screw at first, turn your crank pulley until you can see the screw, or crank your car over quickly. When removing the screw, be careful not to strip or lose it.

Pro Tip
While you do not need to remove the air box assembly to tune up your car, doing so will help you more easily access the fuel filter, distributor, and plug wires.
Step 4 – Install new rotor
Position your new rotor in place and attach it with the screw. Make sure it is tight and in place.
Step 5 – Replace distributor cap
Attach the wires to the distributor cap using your old cap as a guide. Use a small screwdriver (or your fingernail) to remove the old gasket from the distributor, and replace it with a new gasket. Put your new cap on the distributor and attach by tightening the three 8 mm bolts you removed in Step 2.
Spark Plug Replacement
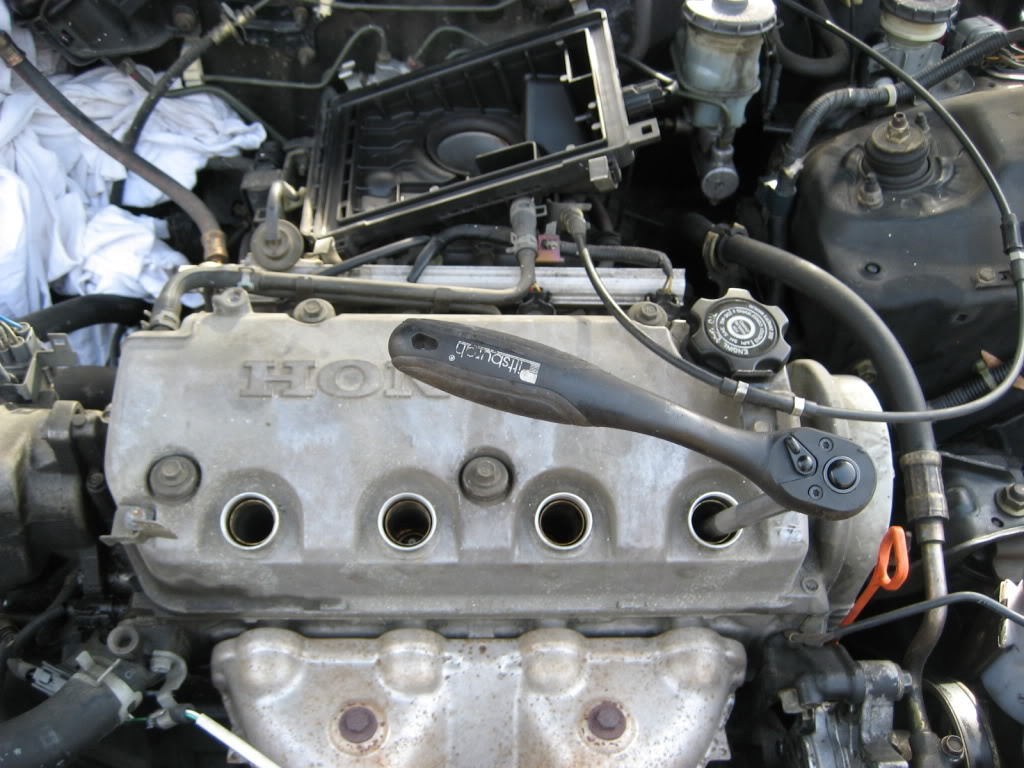
Step 1 – Remove and replace spark plugs
Use the socket wrench and spark plug socket to remove the spark plugs. Removing and replacing them one by one will help decrease risk of dropping something into the plug holes.
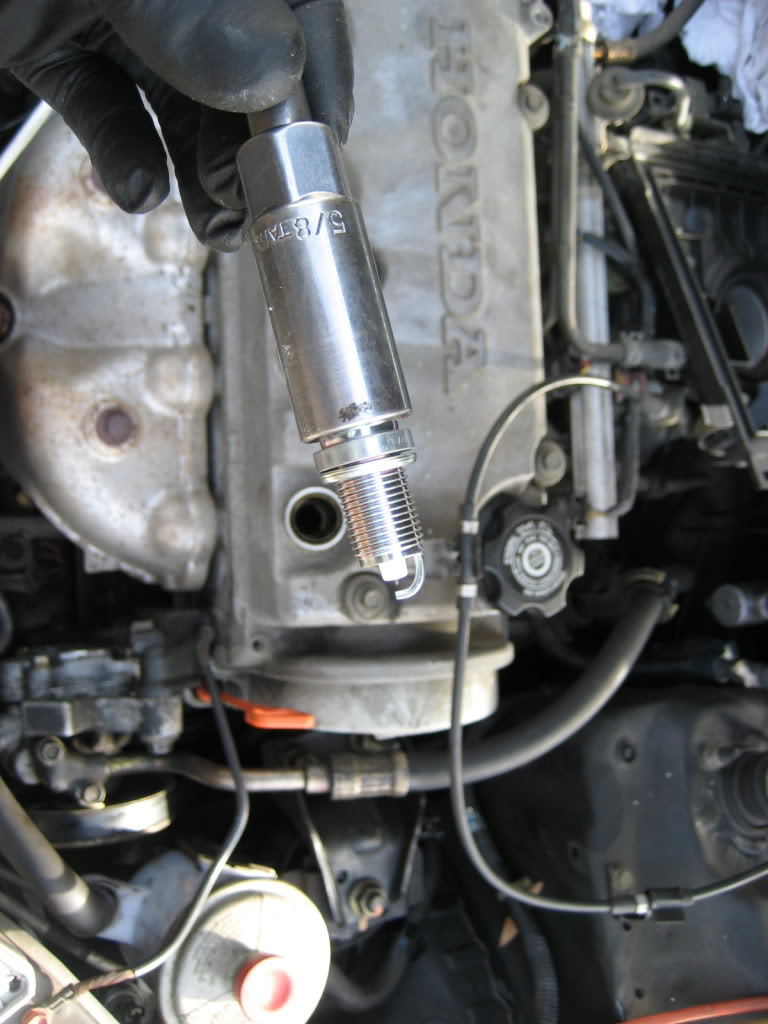
Step 2 – Put plugs into hole
Use the spark plug socket to place one spark plug into its hole. The slower you go for this step, the less likely you are to drop the plug as you insert it. Hand tighten the plug, and then torque to 13 foot-pounds. Repeat this step for the other three spark plugs.
Step 3 – Reattach plug wires to spark plugs
Position plug wires on spark plugs, making sure the wires clips onto the plugs. Attach the plug clip to the bracket.
Pro Tip
If your car doesn't start after replacing the spark plugs, then you likely placed the plug wires in the wrong order.
Oil Change
Step 1 – Prepare to change oil
Park your car on a flat surface, lift it with a jack, and place cement blocks behind the rear tires. Turn on your car and let the engine run for a few minutes. This will heat the oil and help it drain quicker. Turn off the engine and remove the oil cap, which is on top of the engine.
Step 2 – Drain the oil
Locate the oil pan. Spread cloth towels under the oil pan. Place a container under the oil pan as well. Use your socket wrench to loosen the oil plug. As soon as you remove the oil plug, the oil will begin to drain. Be sure it is draining into the container. It will take several minutes for the oil to fully drain from your car. When it stops draining, put the oil plug back in place and hand tighten.
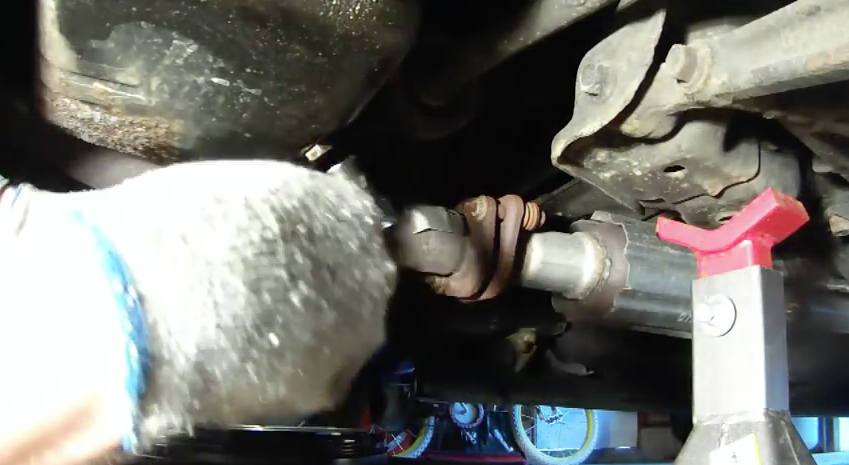
Figure 13. Remove the oil plug. 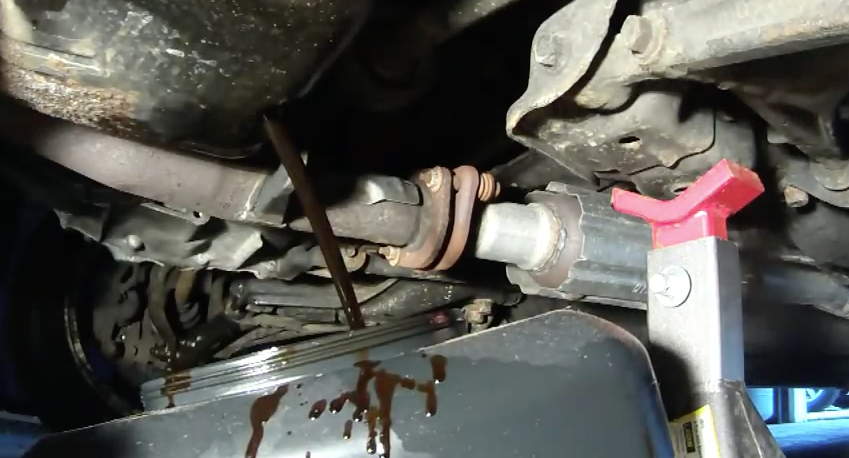
Figure 14. Position container under oil pan to collect old oil.
Step 3 – Remove and replace oil filter
Remove the oil filter by hand. It should twist off. If you can’t get a good grip on it, then wrap a towel around it and twist off the filter. Be sure to keep that container under your car because some oil will spill when you remove the filter. Also, make sure the filter’s rubber gasket ring comes off.
Prepare the new filter by spreading a little oil on its gasket ring. This will lubricate the gasket, and help it create a good seal for the new filter. Pour a little oil into the filter before you put it on to reduce how long your car needs to regain proper oil pressure. Position filter in place by hand and hand tighten.

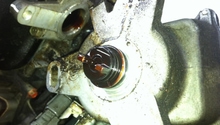
Figure 15. Twist off oil filter and be sure to remove old gasket ring. 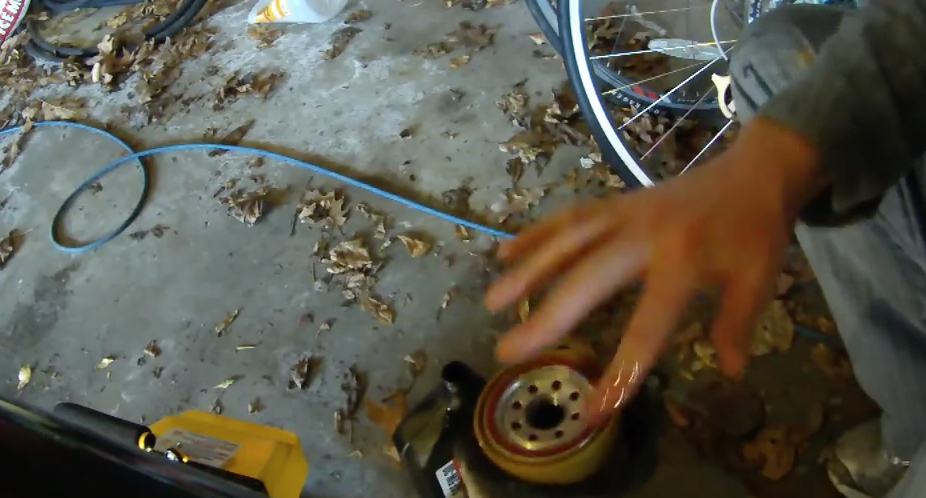
Figure 16. Before replacing oil filter, spread a little oil on its gasket ring.
Step 4 – Add new oil
Insert funnel (if you’re using one) into the fill hole, and slowly begin adding oil. Fill until your dipstick reads full. Put fill cap back on and tighten. Turn on car and run engine, just to make sure that no warning lights come on. Shut the engine off and re-check the dipstick after the oil has been circulated through the engine.
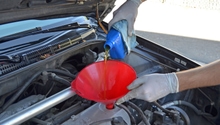
Figure 17. Add oil until dipstick measures full.
Featured Video: Honda Civic Tune Up
Related Discussions and Video
- DIY Honda Civic Tune-up and Fuel Filter - Honda-Tech.com
- Reasonable Price for Major Tune-up - Honda-Tech.com
- Honda Civic Oil Change - YouTube.com