
07 Honda Fit Sport FUJITA CAI INSTALL
 06-12-2007, 01:30 PM
#1
PHANTOM MENACE
Thread Starter
iTrader: (2)
Join Date: May 2005
Location: SYCUAN NINE, CA, USA
Posts: 6,042
Likes: 0
Received 3 Likes
on
3 Posts
Hey wassup everyone. I was browsing around and didn't see an install thread yet for the FUJITA CAI so I thought I'd share my pics from the install I did last night on my girlfriend's Fit. There really wasn't much to it, very basic tools were needed, and the install was pretty smooth. If you purchase this product, a very detailed installation manual is included and it makes it relatively easy enough to do for someone who has never installed anything like this before. Ok, on with the pics...
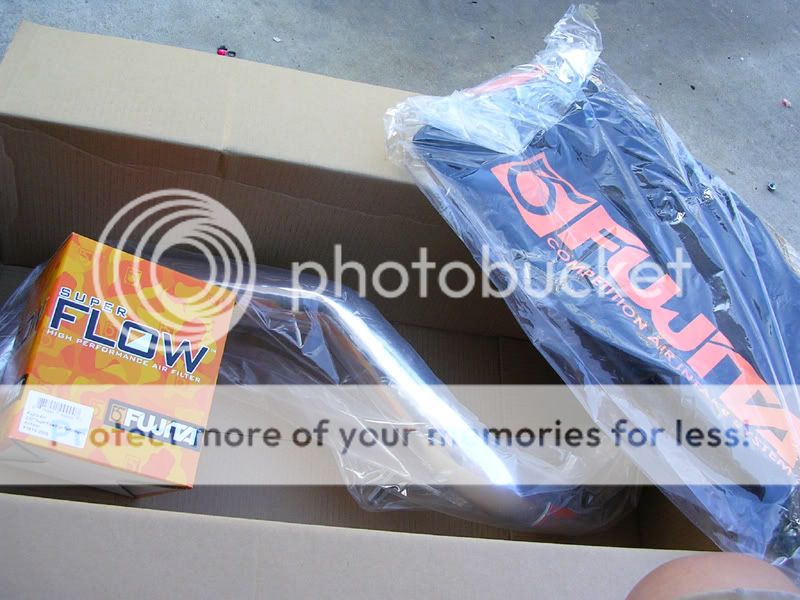
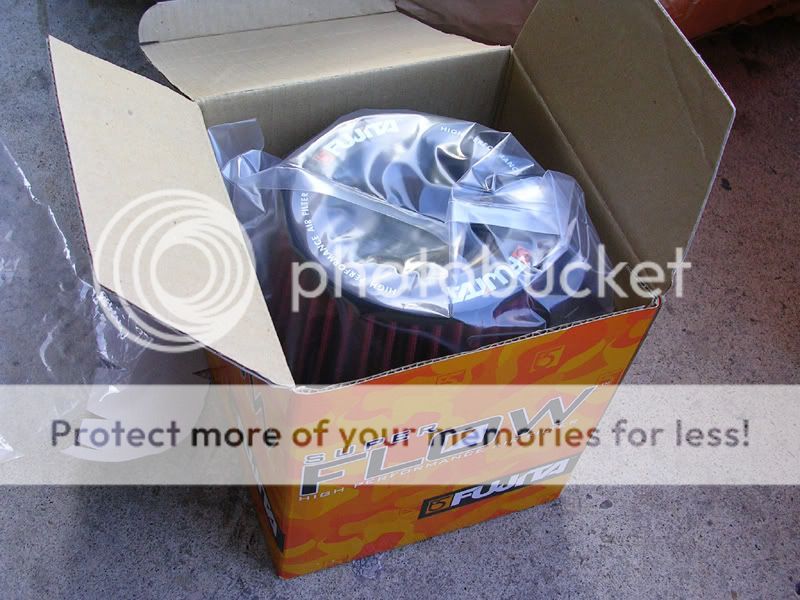
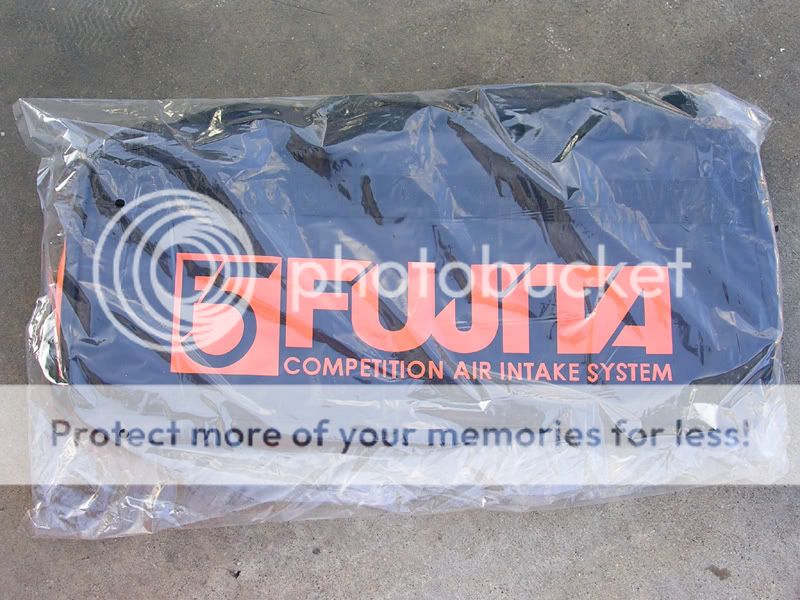
First things first, open the box and see what's inside.

Alright, there's a few different things in here. Aside from the obvious intake itself, there was a plastic bag with some parts and the installation manual:
And some other goodies:

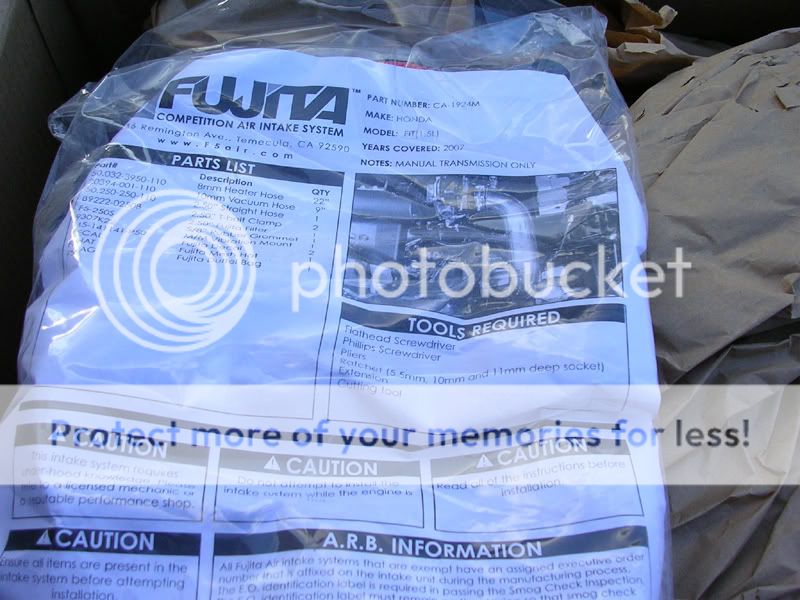
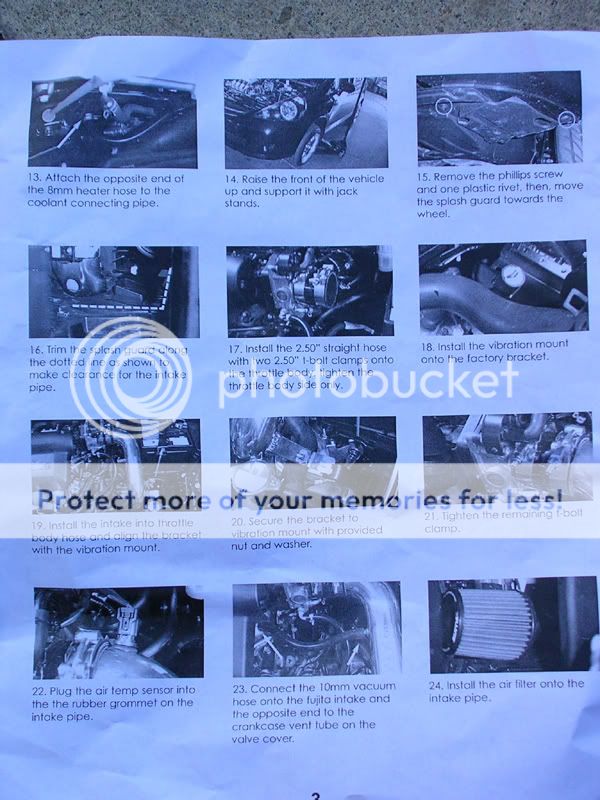
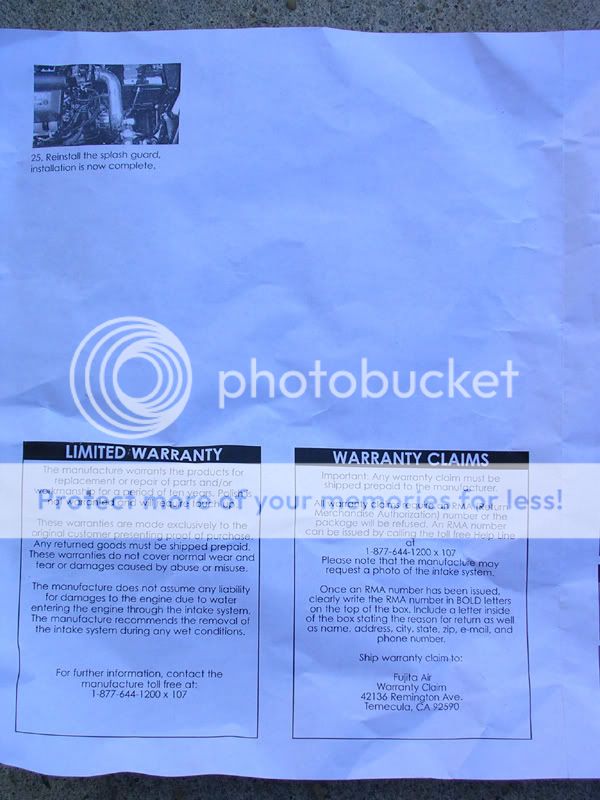
So I opened up the bag to take a look at the installation manual. The manual is very thorough and detailed:
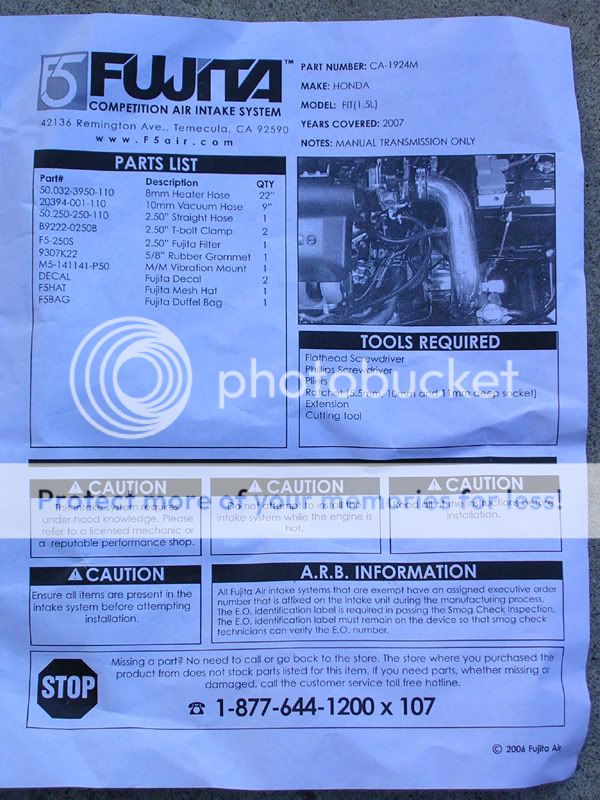
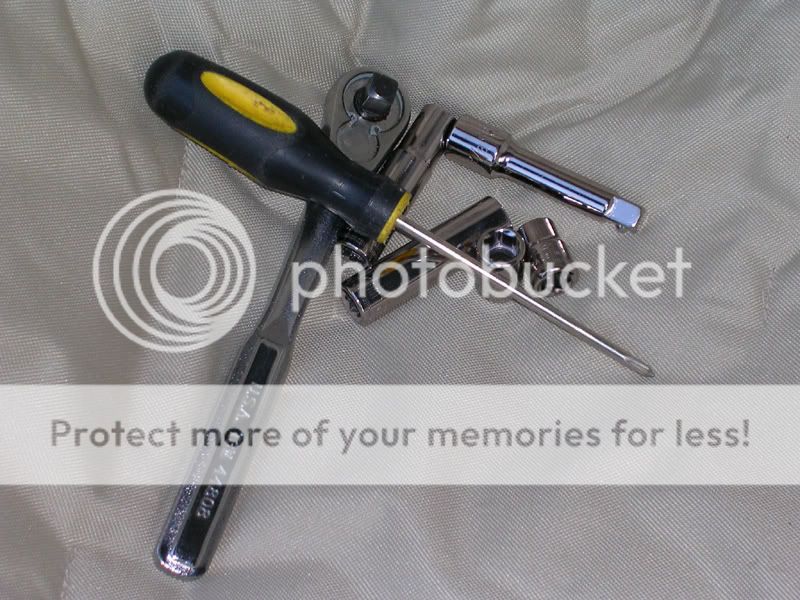
The tools needed:

So I just grabbed what I needed immediately (not pictured are the flathead screwdriver and pliers, but you will need them):
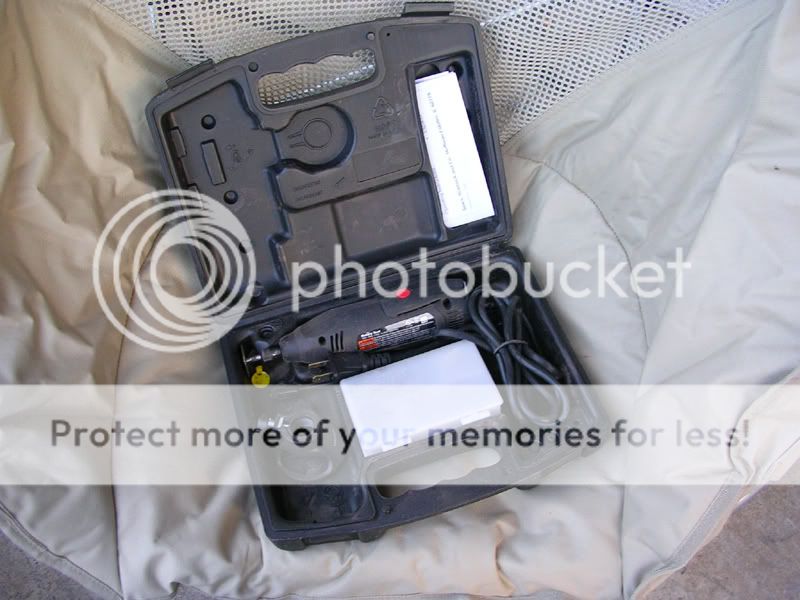
The instructions said a cutting tool is needed so I grabbed my favorite power tool...my rotory cutting tool
So time to double check the parts and make sure I have everything:
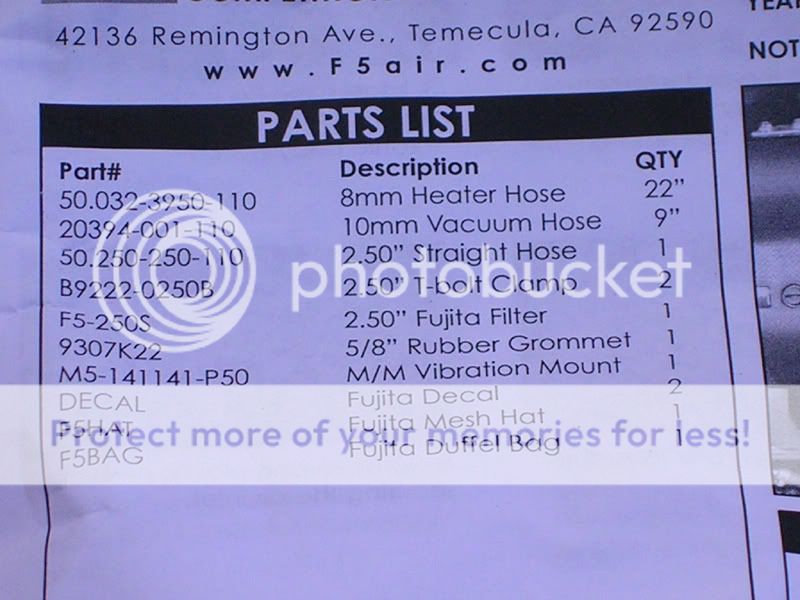
8mm Heater Hose 22"- CHECK
10mm Vacuum Hose 9"- CHECK
2.50" Straight Hose x 1- CHECK
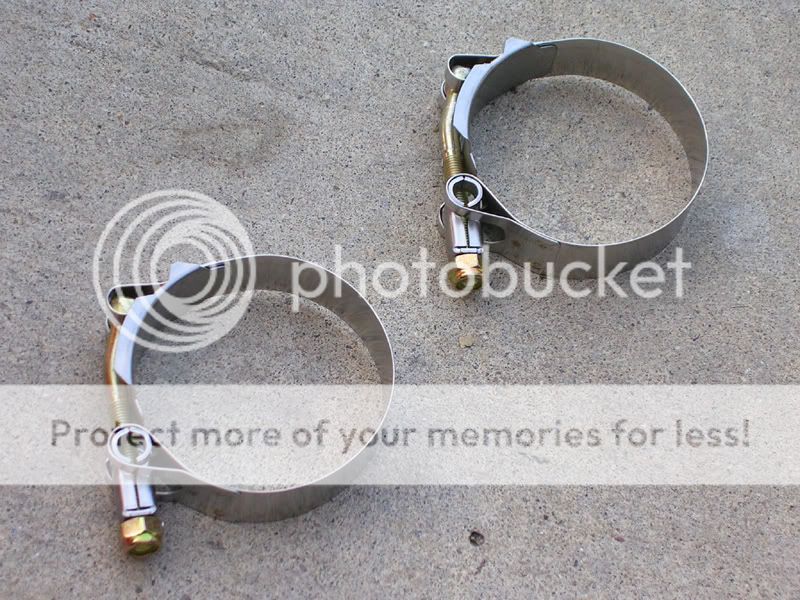
2.50" T-Bolt Clamp x 2- CHECK
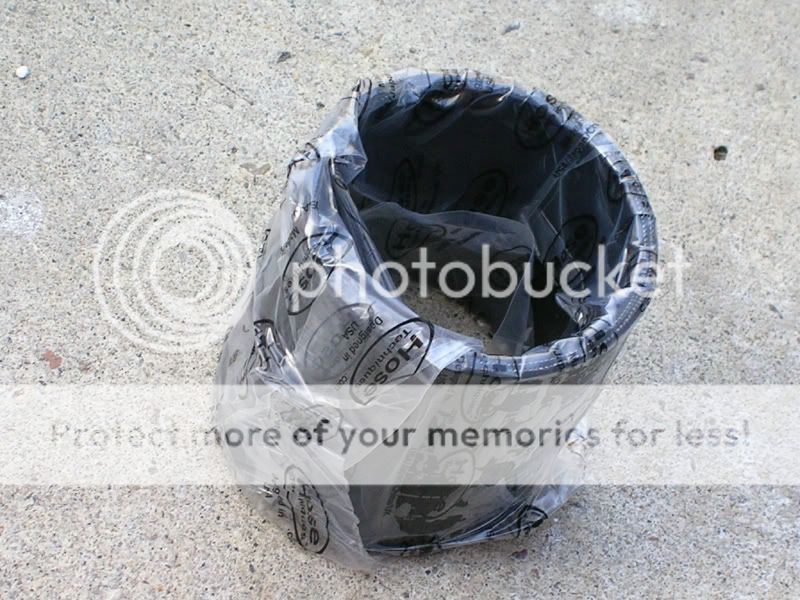
2.50" Fujita Filter x 1-CHECK
5/8" Rubber Grommet x 1-CHECK (it's on the intake pipe for the air temp sensor)
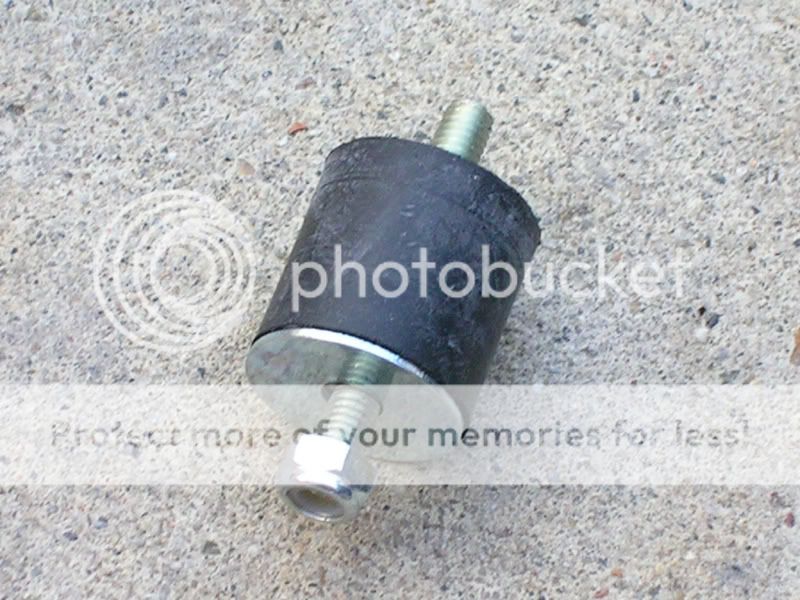
M/M Vibration Mount x 1-CHECK
Fujita Decal x 2-CHECK

Fujita Mesh Hat x 1-CHECK

Fujita Duffle Bag x 1-CHECK
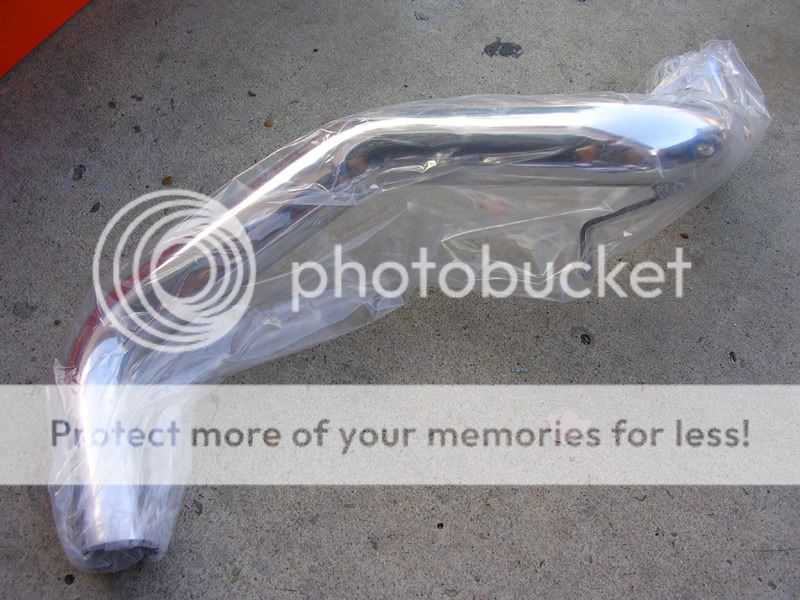
One thing I noticed about the intake pipe, the filter end was not round like the throttle body side.
The throttle body side, good, has one slight flat spot:
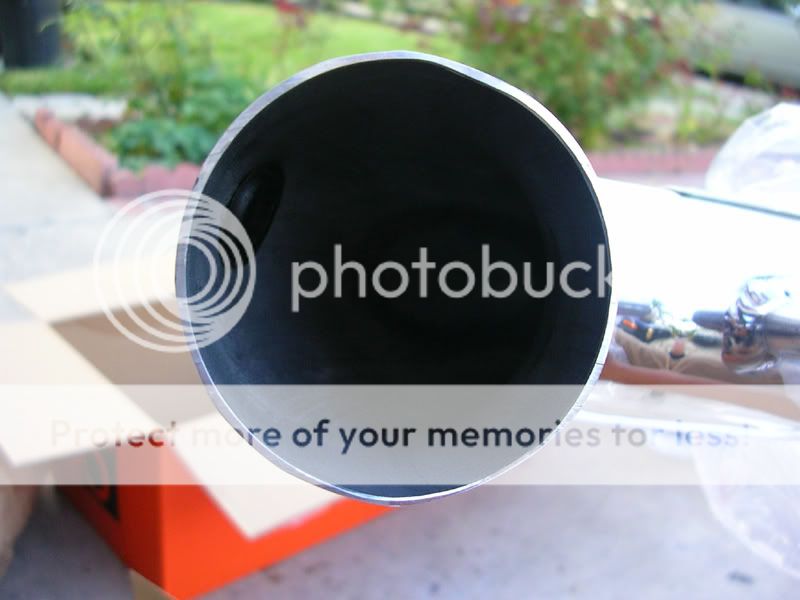
The filter side, not so good, has one big flat spot:

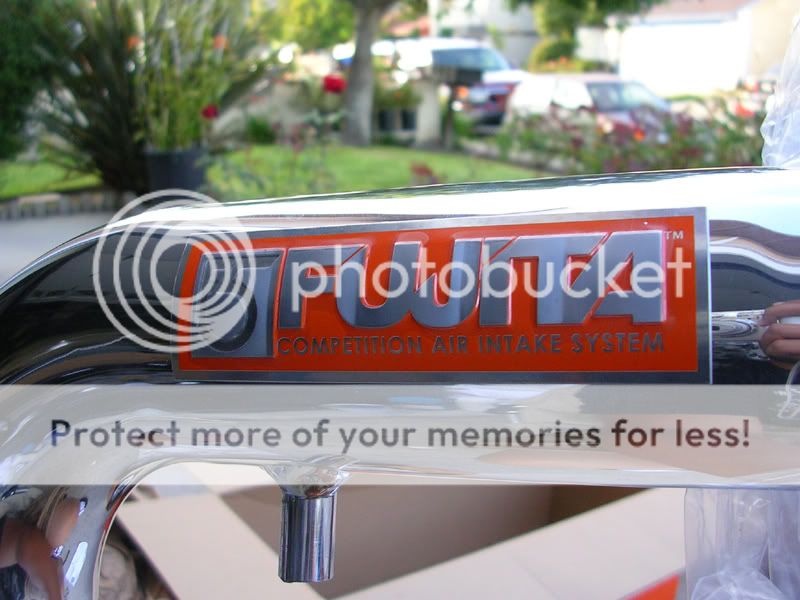
Mid section, logo, pretty cool:
Alright, everything is there, all my tools are an arm's reach away, so I slap on the hat and get started

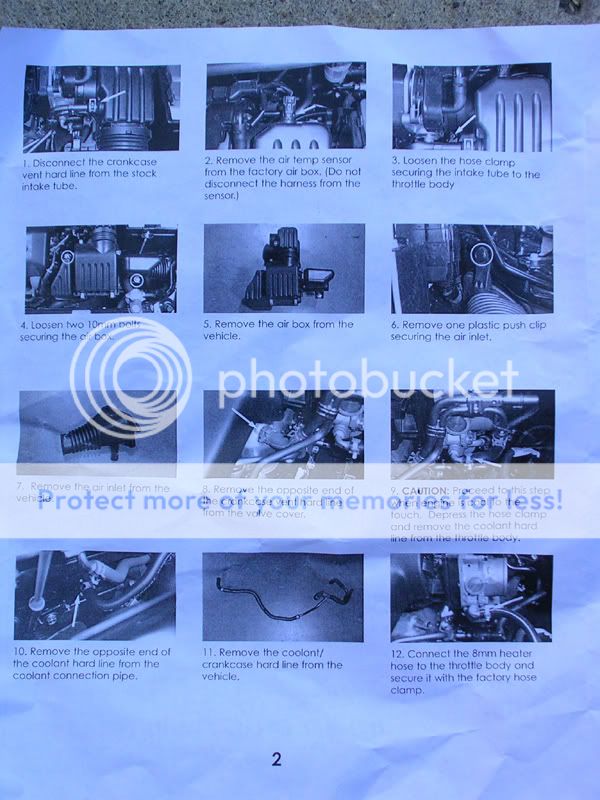
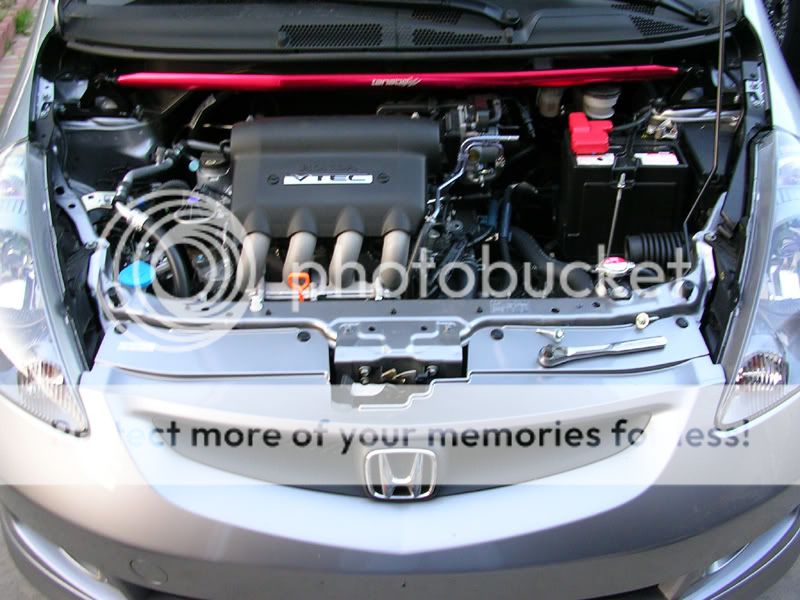
Steps 1-5 consisted of removing some clamps and two 10mm bolts in order to remove the factory air box.
Before removal:
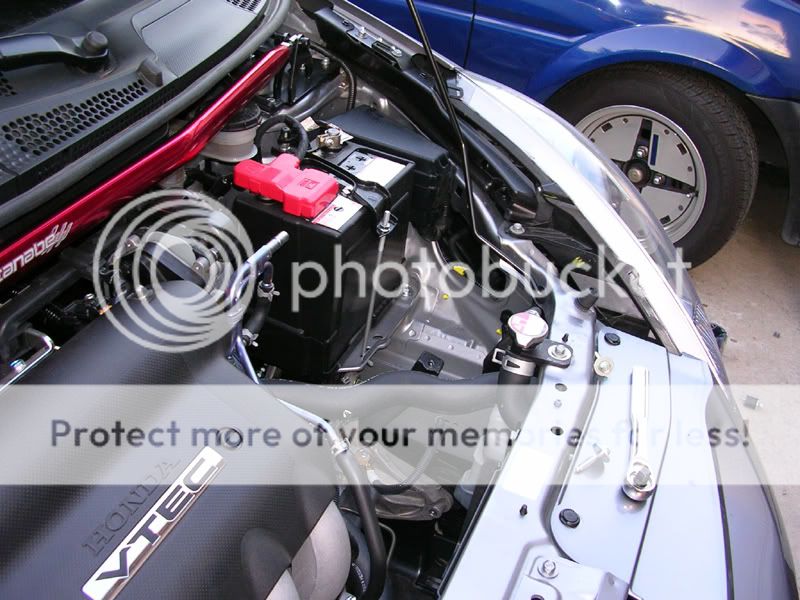
After removal:
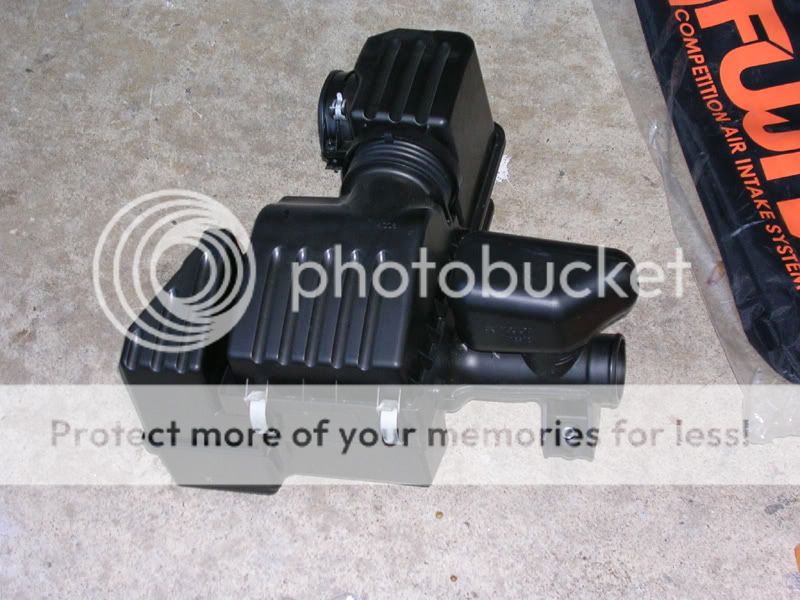
The factory airbox:
Steps 6 and 7 were for removing the air inlet tube, it only required removing one push clip.
Here's the engine bay without the air inlet tube (far side of the engine bay):
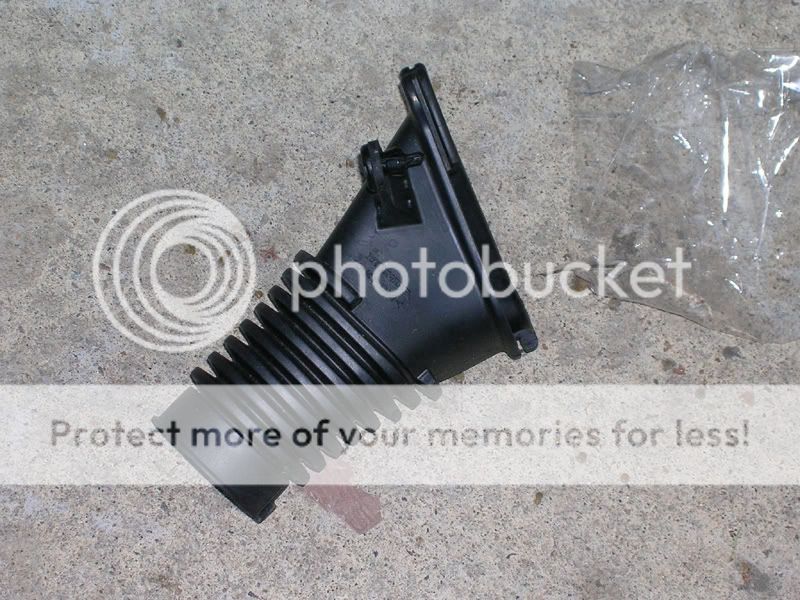
And the actual air inlet tube:
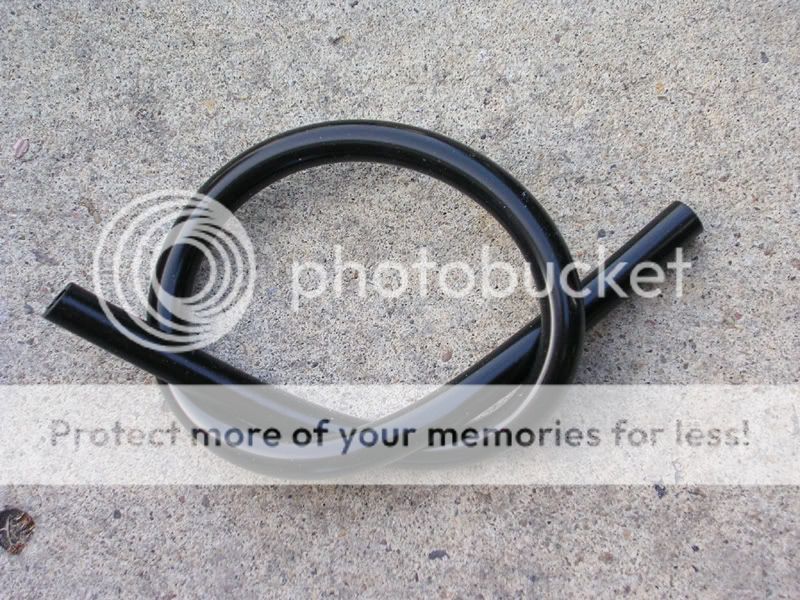
Steps 8-11 consist of removing two hard/soft lines, one is the crankcase line and the other is a coolant line. Step 9 emphasizes that the engine needs to be cool to the touch before proceeding to remove the coolant line. Well, I was touching it...and I wasn't getting burned...so I proceeded. BIG MISTAKE!!! As soon as I removed the soft line from the throttle body, I splashed some coolant here and there. Not that big of a deal. Then I went to remove the other end from the coolant connection pipe (front side of the motor) and BAM!!! Coolant everywhere and it was shooting forward from the pipe. Immediately I plugged the damn thing with my finger...needless to say it was hot. Not burning, but definitely hot. I saw a rag close by so I grabbed it and stuck it there while I went to go and get the new line included with the kit. I connected it and positioned it upright so that the coolant wouldn't shoot out anymore.
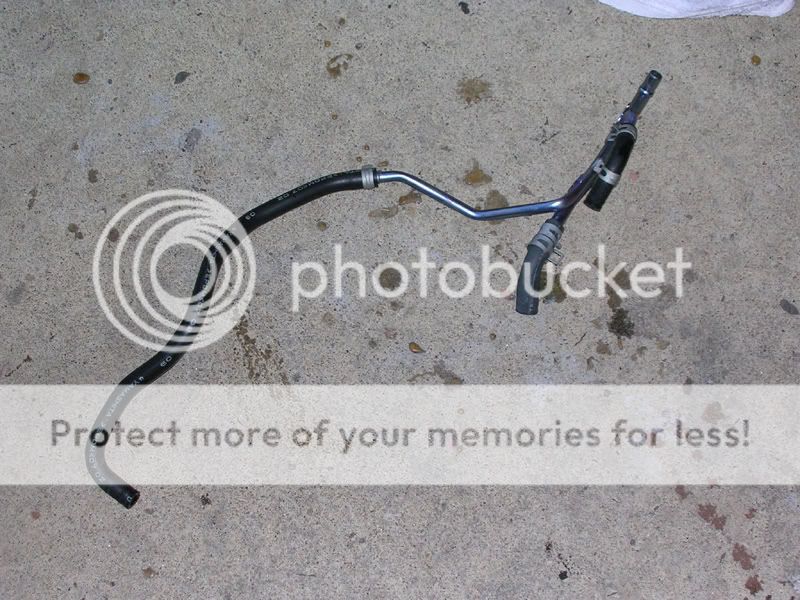
Here's the old OEM hard/soft lines for the crankcase and coolant:
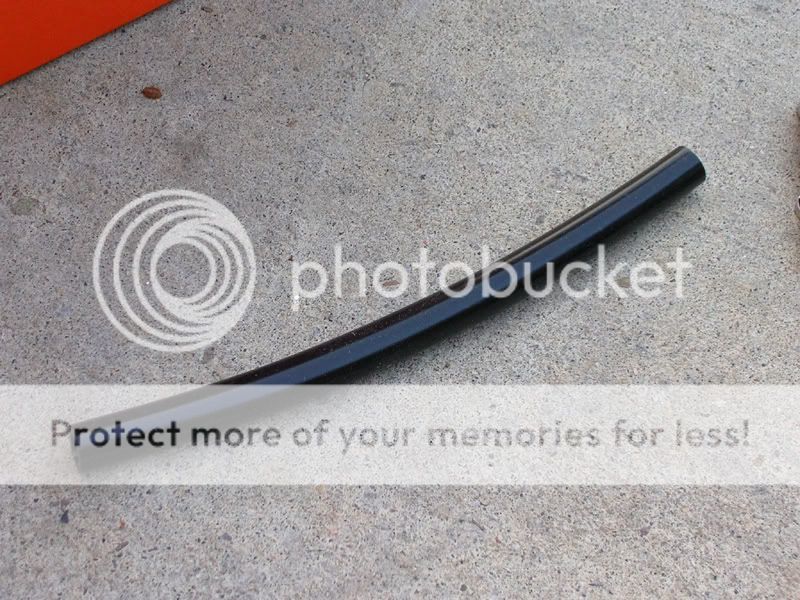
Steps 12 and 13 are for installing the new coolant line.
Two connections, one at the throttle body:

And the other back at the front side of the motor on the coolant connection pipe which was already done in my panic to save the coolant LOL (it's the one in the middle of the pic and not the one at the top)

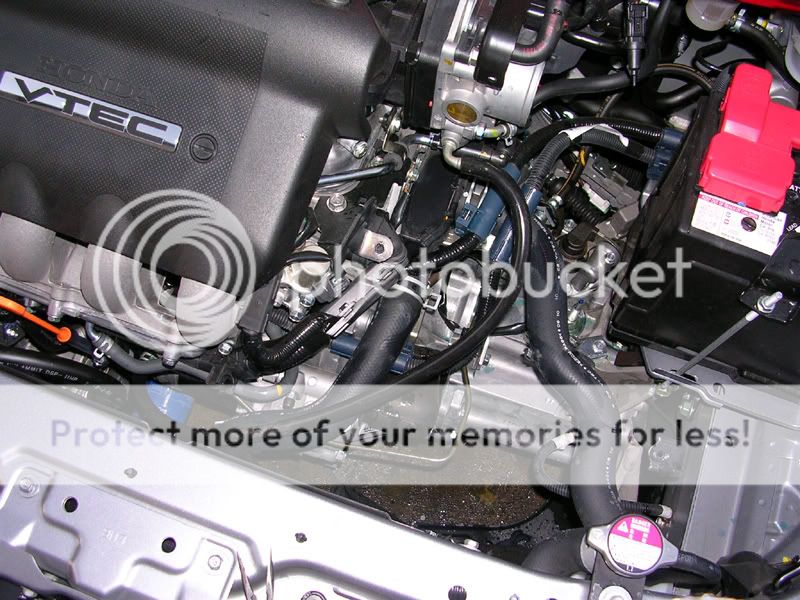
Here's what the new coolant line looks like installed:
Steps 14-16 consist of directions for cutting the front splash shield to allow the intake pipe to come through. This was the only part of the install I was unsure of because the picture included in the installation manual was not very clear. What I did was jack the car up as stated in the manual, removed the screw and clip securing the splash shield, and stopped there. I figured if I wait until the pipe is in, I'll be able to see what needs to be cut.
Steps 17-24 are for installing the intake pipe, the vibration mount, the hose clamp, the crankcase line, and the filter. It's really straight forward. Put it in, put the hose clamps on the throttle body and intake pipe, secure the vibrations mount to the chassis, install the air temp sensor, secure the intake bracket to the vibration mount, secure filter to the other end of the intake tube under the car. So I completed those steps with the exception of installing the filter and took a look under the car to see what needed to be cut. Now I could tell. I didn't cut anything off, rather I just cut a slit to bend a section of the splash shield to allow the intake arm to come through.
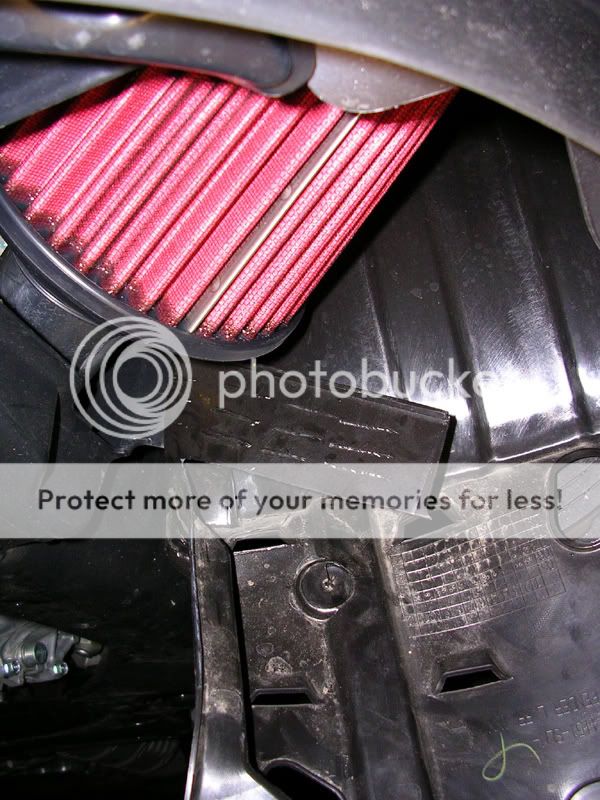
This pic was taken from the front driver's side looking striaight back. The splash shield is bent downward and in the center of the picture, you'll see a section that is bent at an angle. I cut that section in order for that to bend backwards and it didn't require the rotory cutting tool, just an ordinary pair of scissors will do:
Now that the filter had been installed after cutting the splash shield, I went to make sure everything was ready.
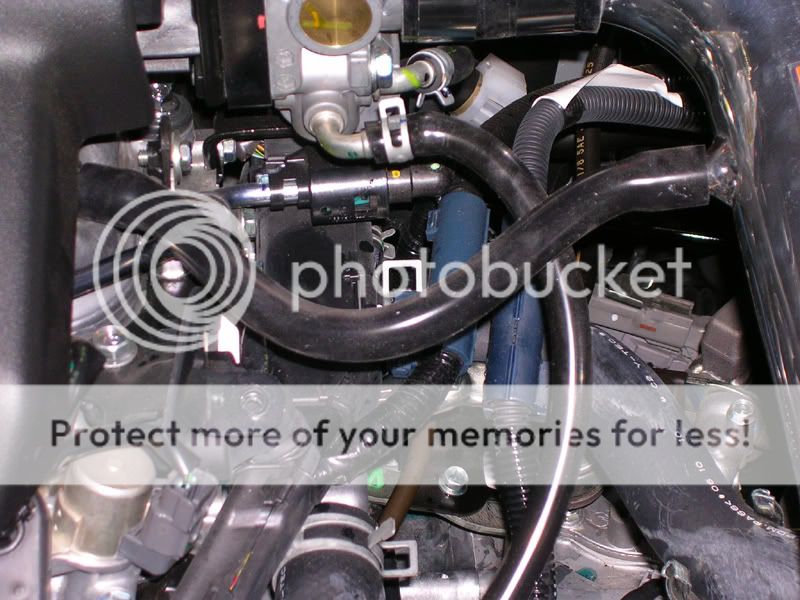
Taking a look at the new crankcase soft line (notice the new coolant line):
Crankcase soft line is connected to the valve cover:
And the other end is connected to the intake pipe:
Double checking to see if anything fell LOL:
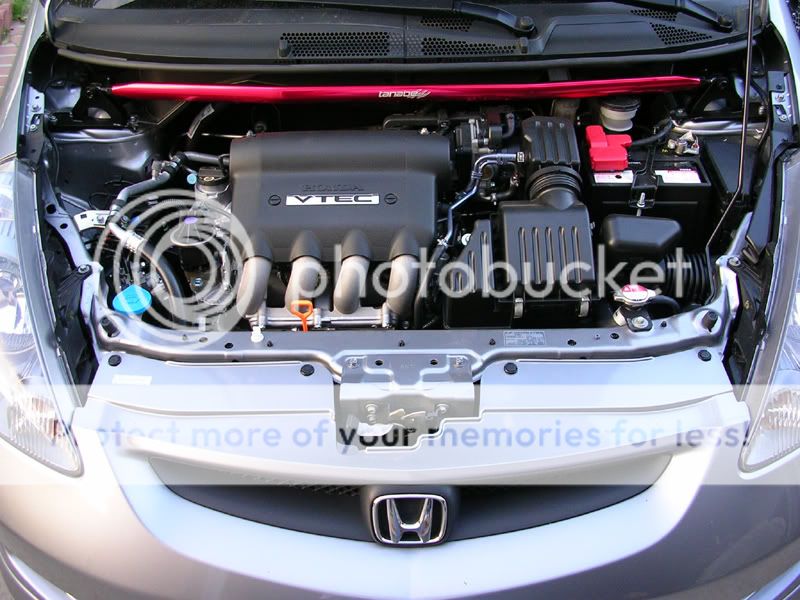
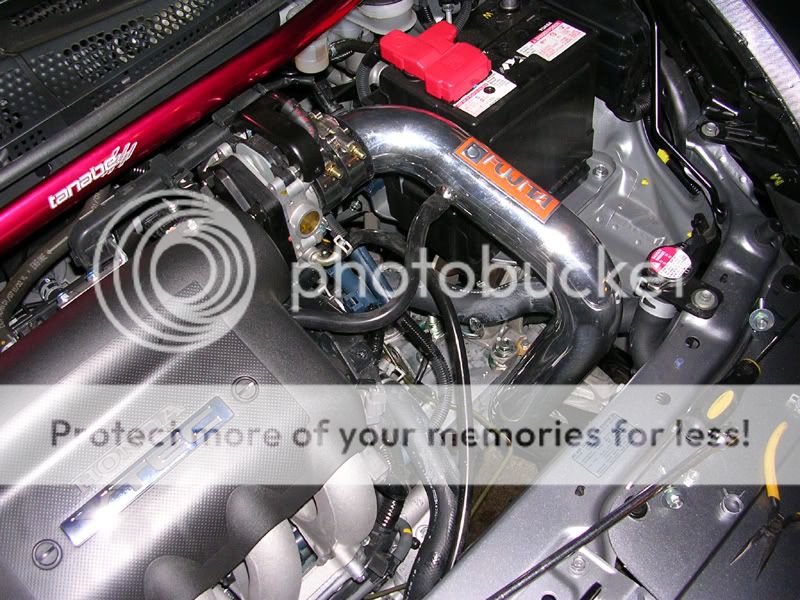
And now you see what it looks like fully installed:

The final step (25) is to secure the splash shield. Now everything is done and it's time to clean up.
Driving impression...I dunno, it's not my car. She said it definitely accelerates better. From the outside, it didn't effect the sound of the car much. Under full load/full throttle, it had a little bit that "growl" effect, but it was very faint (if you're used to older hondas with D/B series, you know the sound an after market filter makes? It's not like that on the Fit). I guess we'll see if there is any change in gas mileage after this.
NOTE: If you don't want coolant to spill, make sure the engine is COMPLETELY COOLED DOWN. We now have air in the coolant and we can hear the coolant moving/sloshing around while we are driving. Now I have to go to the dealer and buy some coolant and bleed the system.
First things first, open the box and see what's inside.
Alright, there's a few different things in here. Aside from the obvious intake itself, there was a plastic bag with some parts and the installation manual:
And some other goodies:
So I opened up the bag to take a look at the installation manual. The manual is very thorough and detailed:
The tools needed:
So I just grabbed what I needed immediately (not pictured are the flathead screwdriver and pliers, but you will need them):
The instructions said a cutting tool is needed so I grabbed my favorite power tool...my rotory cutting tool
So time to double check the parts and make sure I have everything:
8mm Heater Hose 22"- CHECK
10mm Vacuum Hose 9"- CHECK
2.50" Straight Hose x 1- CHECK
2.50" T-Bolt Clamp x 2- CHECK
2.50" Fujita Filter x 1-CHECK
5/8" Rubber Grommet x 1-CHECK (it's on the intake pipe for the air temp sensor)
M/M Vibration Mount x 1-CHECK
Fujita Decal x 2-CHECK
Fujita Mesh Hat x 1-CHECK
Fujita Duffle Bag x 1-CHECK
One thing I noticed about the intake pipe, the filter end was not round like the throttle body side.
The throttle body side, good, has one slight flat spot:
The filter side, not so good, has one big flat spot:
Mid section, logo, pretty cool:
Alright, everything is there, all my tools are an arm's reach away, so I slap on the hat and get started
Steps 1-5 consisted of removing some clamps and two 10mm bolts in order to remove the factory air box.
Before removal:
After removal:
The factory airbox:
Steps 6 and 7 were for removing the air inlet tube, it only required removing one push clip.
Here's the engine bay without the air inlet tube (far side of the engine bay):
And the actual air inlet tube:
Steps 8-11 consist of removing two hard/soft lines, one is the crankcase line and the other is a coolant line. Step 9 emphasizes that the engine needs to be cool to the touch before proceeding to remove the coolant line. Well, I was touching it...and I wasn't getting burned...so I proceeded. BIG MISTAKE!!! As soon as I removed the soft line from the throttle body, I splashed some coolant here and there. Not that big of a deal. Then I went to remove the other end from the coolant connection pipe (front side of the motor) and BAM!!! Coolant everywhere and it was shooting forward from the pipe. Immediately I plugged the damn thing with my finger...needless to say it was hot. Not burning, but definitely hot. I saw a rag close by so I grabbed it and stuck it there while I went to go and get the new line included with the kit. I connected it and positioned it upright so that the coolant wouldn't shoot out anymore.
Here's the old OEM hard/soft lines for the crankcase and coolant:
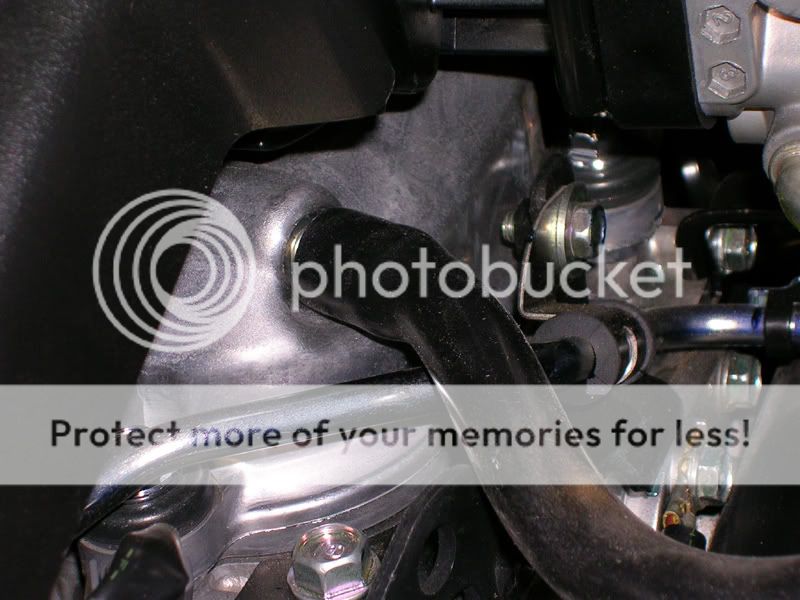
Steps 12 and 13 are for installing the new coolant line.
Two connections, one at the throttle body:
And the other back at the front side of the motor on the coolant connection pipe which was already done in my panic to save the coolant LOL (it's the one in the middle of the pic and not the one at the top)
Here's what the new coolant line looks like installed:
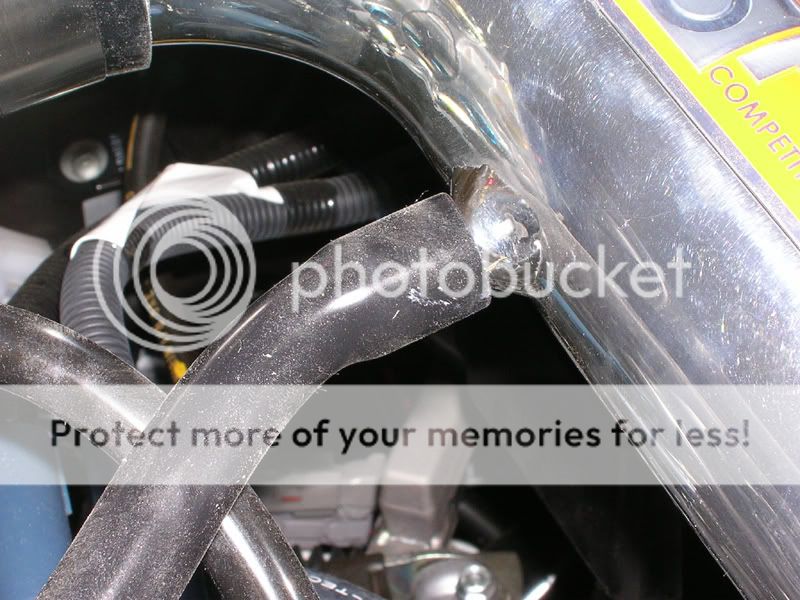
Steps 14-16 consist of directions for cutting the front splash shield to allow the intake pipe to come through. This was the only part of the install I was unsure of because the picture included in the installation manual was not very clear. What I did was jack the car up as stated in the manual, removed the screw and clip securing the splash shield, and stopped there. I figured if I wait until the pipe is in, I'll be able to see what needs to be cut.
Steps 17-24 are for installing the intake pipe, the vibration mount, the hose clamp, the crankcase line, and the filter. It's really straight forward. Put it in, put the hose clamps on the throttle body and intake pipe, secure the vibrations mount to the chassis, install the air temp sensor, secure the intake bracket to the vibration mount, secure filter to the other end of the intake tube under the car. So I completed those steps with the exception of installing the filter and took a look under the car to see what needed to be cut. Now I could tell. I didn't cut anything off, rather I just cut a slit to bend a section of the splash shield to allow the intake arm to come through.
This pic was taken from the front driver's side looking striaight back. The splash shield is bent downward and in the center of the picture, you'll see a section that is bent at an angle. I cut that section in order for that to bend backwards and it didn't require the rotory cutting tool, just an ordinary pair of scissors will do:
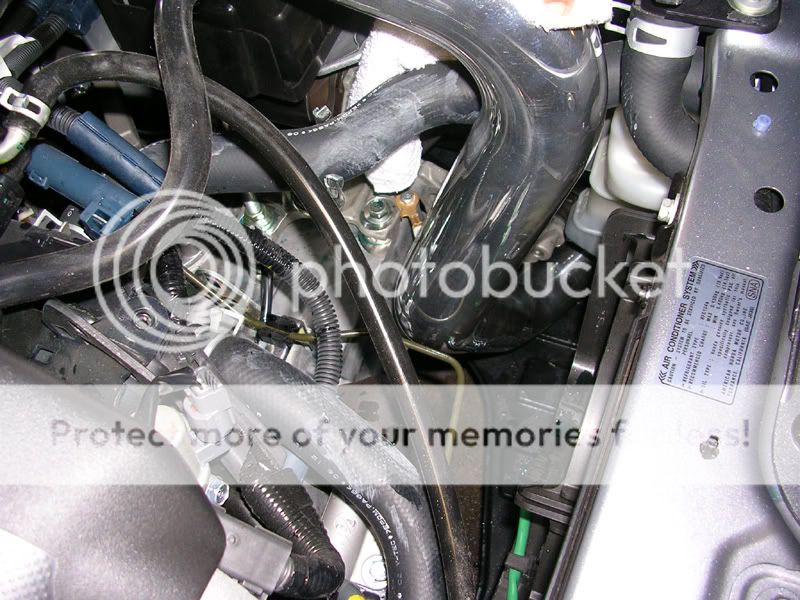
Now that the filter had been installed after cutting the splash shield, I went to make sure everything was ready.
Taking a look at the new crankcase soft line (notice the new coolant line):
Crankcase soft line is connected to the valve cover:
And the other end is connected to the intake pipe:
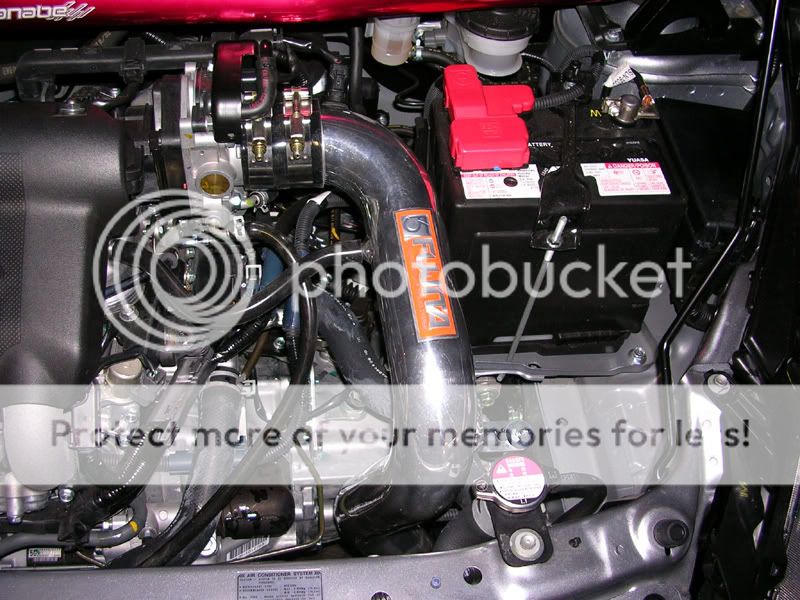
Double checking to see if anything fell LOL:
And now you see what it looks like fully installed:
The final step (25) is to secure the splash shield. Now everything is done and it's time to clean up.
Driving impression...I dunno, it's not my car. She said it definitely accelerates better. From the outside, it didn't effect the sound of the car much. Under full load/full throttle, it had a little bit that "growl" effect, but it was very faint (if you're used to older hondas with D/B series, you know the sound an after market filter makes? It's not like that on the Fit). I guess we'll see if there is any change in gas mileage after this.
NOTE: If you don't want coolant to spill, make sure the engine is COMPLETELY COOLED DOWN. We now have air in the coolant and we can hear the coolant moving/sloshing around while we are driving. Now I have to go to the dealer and buy some coolant and bleed the system.
 06-12-2007, 05:40 PM
#2
Honda-Tech Member
Join Date: Jan 2003
Location: watching you fap in the bathroom
Posts: 5,172
Likes: 0
Received 0 Likes
on
0 Posts
very nice writeup!
And yes I suggest bleeding the system ASAP. Air in radiator = bad.
And yes I suggest bleeding the system ASAP. Air in radiator = bad.
06-13-2007, 12:42 PM
#5
PHANTOM MENACE
Thread Starter
iTrader: (2)
Join Date: May 2005
Location: SYCUAN NINE, CA, USA
Posts: 6,042
Likes: 0
Received 3 Likes
on
3 Posts
<TABLE WIDTH="90%" CELLSPACING=0 CELLPADDING=0 ALIGN=CENTER><TR><TD>Quote, originally posted by 07ssmfit916 »</TD></TR><TR><TD CLASS="quote">great writeup 24TEN!
this should definitely be linked in the DIY sticky thread!</TD></TR></TABLE>
I wish I took more pics of the exhaust, strut tower bar, and spring install. I would've been happy to do a DIY on those.
<TABLE WIDTH="90%" CELLSPACING=0 CELLPADDING=0 ALIGN=CENTER><TR><TD>Quote, originally posted by 07fitsport »</TD></TR><TR><TD CLASS="quote">what was cost and where did u get it</TD></TR></TABLE>
She got it on sale at a local shop called http://www.aerocosmetixx.com/. The shop owner had his Fit in one of the recent magazines but I forget which one (Honda Tuning?). His Fit was white with the Mugen widebody kit. Anyways, I think right now if you look around, the Fujita CAI should be about $220 or in that neighborhood.

Trending Topics
06-15-2007, 10:56 AM
#8
PHANTOM MENACE
Thread Starter
iTrader: (2)
Join Date: May 2005
Location: SYCUAN NINE, CA, USA
Posts: 6,042
Likes: 0
Received 3 Likes
on
3 Posts
Thanks guys, just wanted to be very thorough. The instructions themselves are very detailed, just make sure you are careful when it comes to switching the coolant line and pay attention to what you are cutting on the splash shield.
***Anyone that needs springs installed on a Fit in the SD area, let me know and I'll do a write up on that too***
***Anyone that needs springs installed on a Fit in the SD area, let me know and I'll do a write up on that too***
06-20-2007, 09:34 PM
#10
Honda-Tech Member
Join Date: Mar 2007
Location: San Leandro, CA, United State
Posts: 160
Likes: 0
Received 0 Likes
on
0 Posts
I just installed my Fujita CAI. When I was changing the line coolant spilled so now Im guessing I have air in my radiator too. I noticed that the coolant was blue, my dad's truck is green whats the differences? and would a local auto shop carry it or would i have to go back to the dealer?
06-20-2007, 10:49 PM
#11
PHANTOM MENACE
Thread Starter
iTrader: (2)
Join Date: May 2005
Location: SYCUAN NINE, CA, USA
Posts: 6,042
Likes: 0
Received 3 Likes
on
3 Posts
I thought the same thing. I doubt anything would happen if you used coolant from the local parts store BUT I didn't wanna risk mixing it (blue/green) since the car is new so I got a bottle of the coolant at the dealer (it was just under $15 for the gallon or whatever size it is, premixed).
06-21-2007, 08:07 AM
#12
Honda-Tech Member
Join Date: Mar 2007
Location: San Leandro, CA, United State
Posts: 160
Likes: 0
Received 0 Likes
on
0 Posts
<TABLE WIDTH="90%" CELLSPACING=0 CELLPADDING=0 ALIGN=CENTER><TR><TD>Quote, originally posted by 24TEN »</TD></TR><TR><TD CLASS="quote">I thought the same thing. I doubt anything would happen if you used coolant from the local parts store BUT I didn't wanna risk mixing it (blue/green) since the car is new so I got a bottle of the coolant at the dealer (it was just under $15 for the gallon or whatever size it is, premixed).</TD></TR></TABLE>
thats what i thought. i called up my uncle who owns an auto shop and he said just add water to the water tank and it should be fine. dont know if that works but i guess ill know today.
thats what i thought. i called up my uncle who owns an auto shop and he said just add water to the water tank and it should be fine. dont know if that works but i guess ill know today.
 06-25-2007, 02:53 PM
#14
Honda-Tech Member
Join Date: Jul 2006
Location: Hell, Ca, USA
Posts: 1,360
Likes: 0
Received 0 Likes
on
0 Posts
<TABLE WIDTH="90%" CELLSPACING=0 CELLPADDING=0 ALIGN=CENTER><TR><TD>Quote, originally posted by 24TEN »</TD></TR><TR><TD CLASS="quote">
She got it on sale at a local shop called http://www.aerocosmetixx.com/. The shop owner had his Fit in one of the recent magazines but I forget which one (Honda Tuning?). His Fit was white with the Mugen widebody kit. Anyways, I think right now if you look around, the Fujita CAI should be about $220 or in that neighborhood.</TD></TR></TABLE>
I've got one brand new that I'm selling for much cheaper because it didn't fit my automatic. PM for details

Thread
Thread Starter
Forum
Replies
Last Post

