
cleaning write up 56K beware
 04-21-2007, 06:02 AM
#1
Honda-Tech Member
Thread Starter
Join Date: Feb 2007
Location: fl, usa
Posts: 3,211
Likes: 0
Received 0 Likes
on
0 Posts
well i brought a motor for the local junk yard for $300 and thought it would be great for a 500-650hp DD, circuit track, and occasional strip car so stay tuned for that thread. Now this is a write up of how to clean parts.
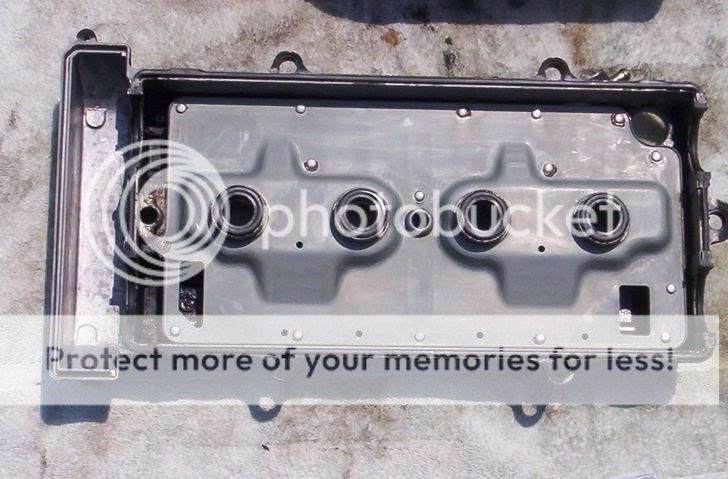
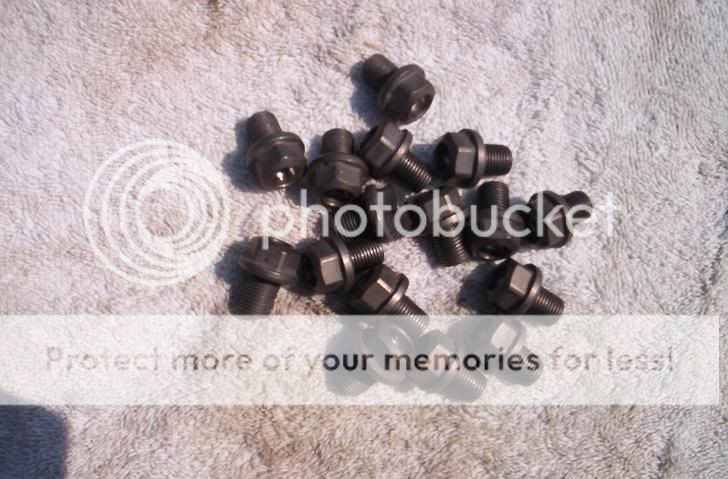
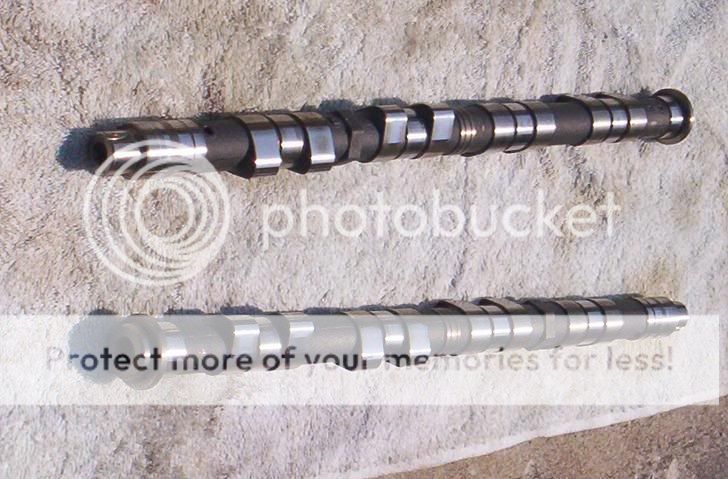
first a little before an after shots
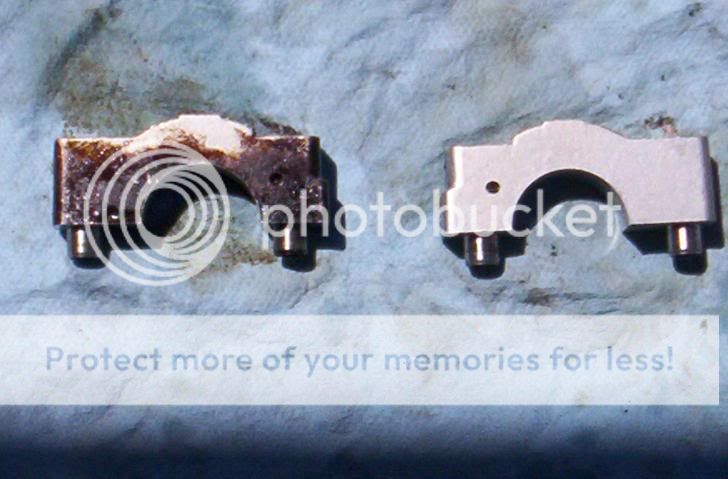

before
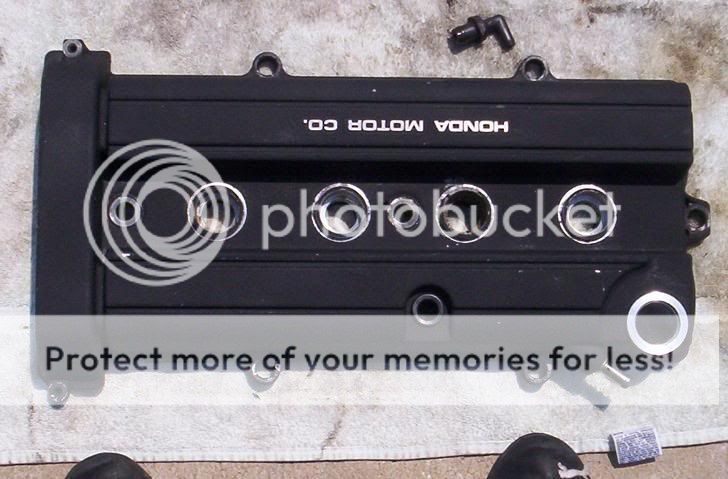
after
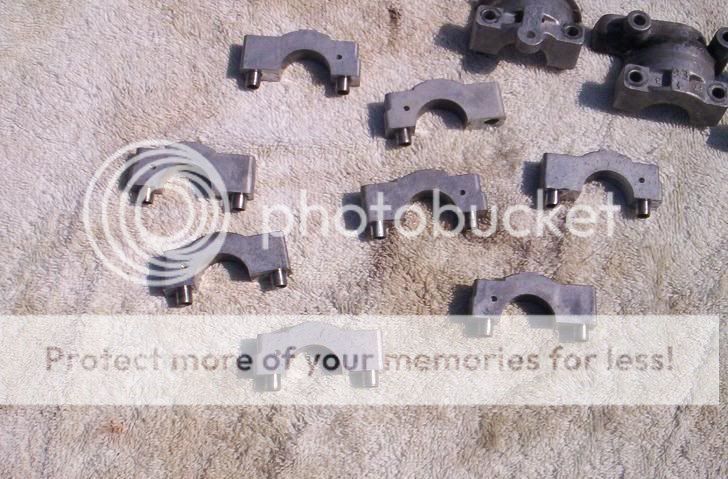
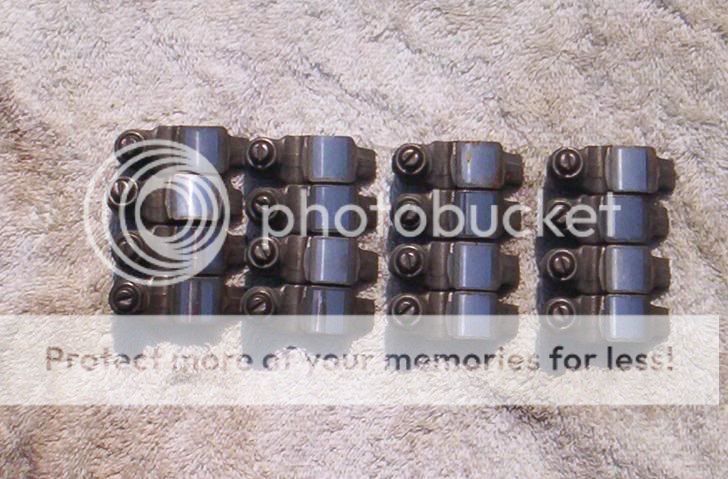
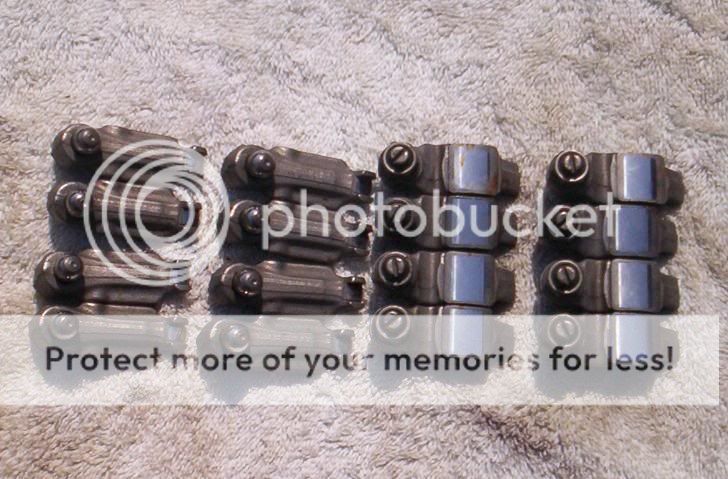
rocker arms
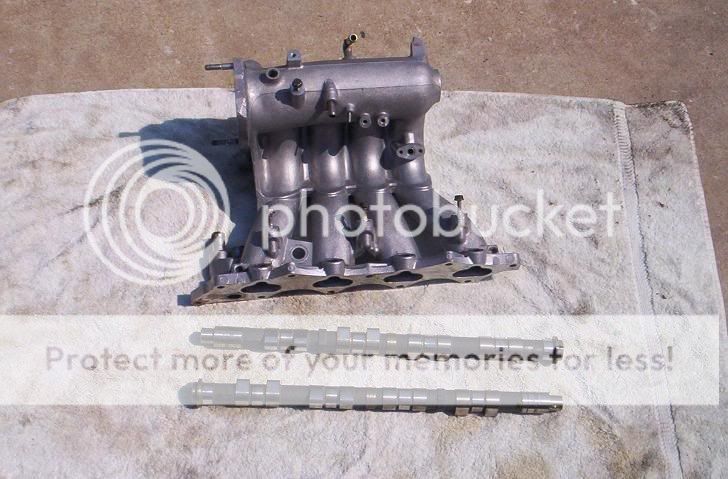
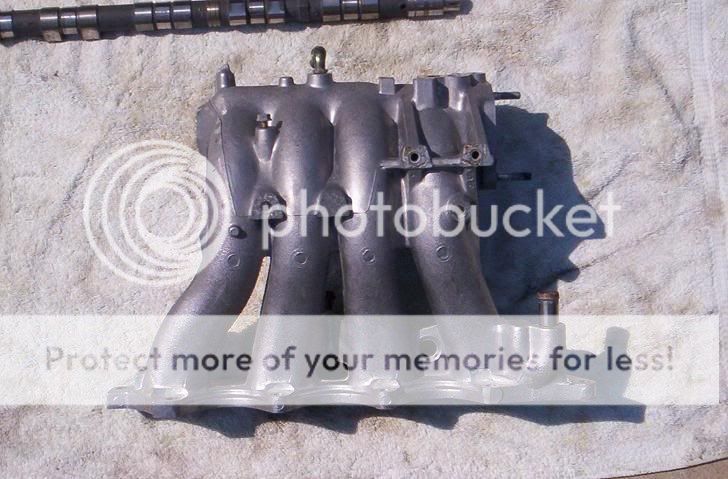
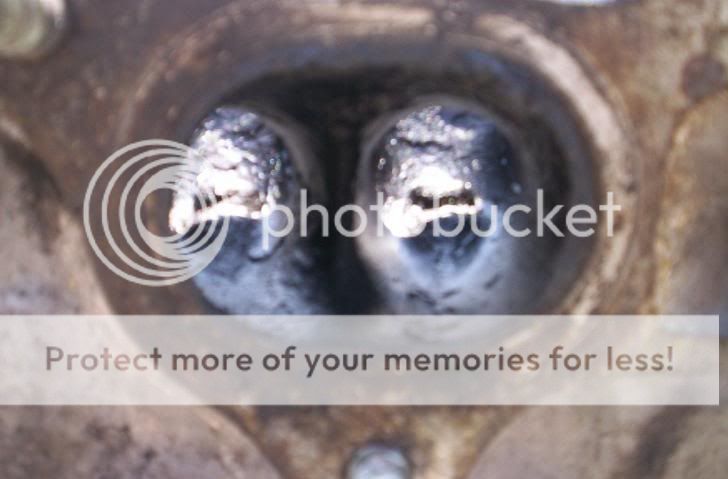
intake ports after cleaning


the head itself which will be cleaned in my little bath

the supplies
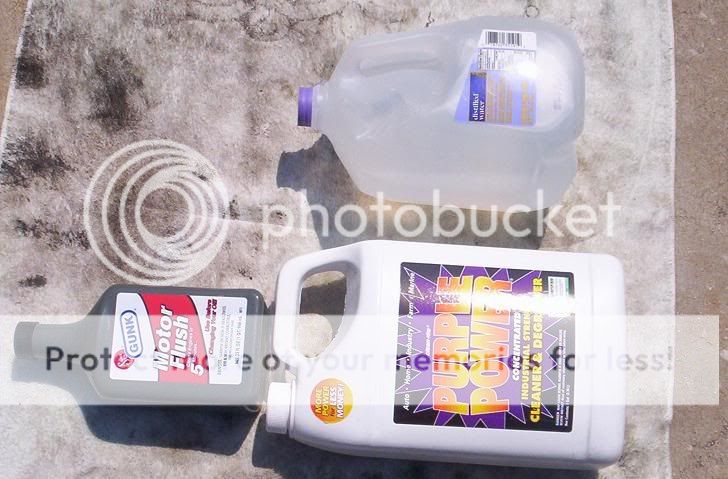
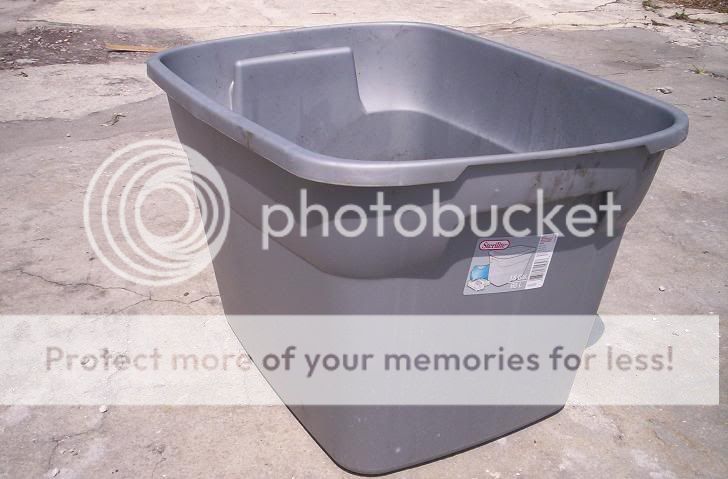
1. get a 18 gallon or more container
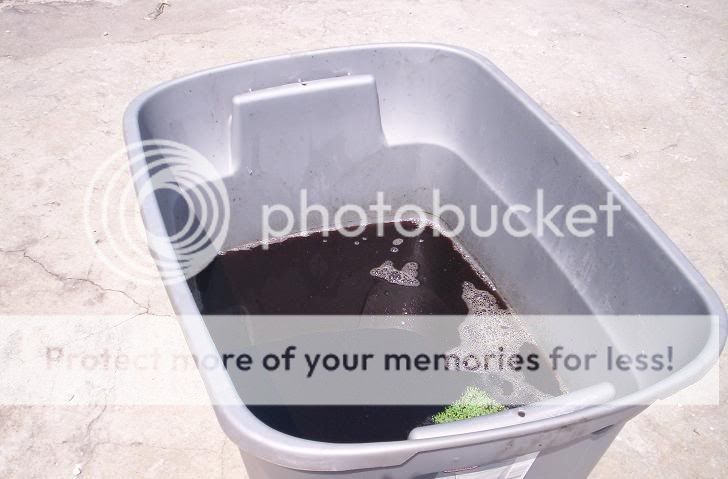
2. fill the container with a 3 parts cleaner to 2 parts DISTILLED water solution. ( in the pic above i only used 3 gallon of cleaner and 2 gallons of water haha )
3. allow parts to sit in solution for NO longer than 45min. i produced the results above with only 15-30min. of soaking time
4. while parts are in solution scrub thoroughly
5. after parts are to your liking dry as best you can
6. give most parts a LIGHT coat of WD-40 to prevent rust ( i didnt do this on the pics above but it works better when you do )
now you may be wondering what is the gunk motor flush for ? well its to pre soak really hard to clean parts that have oil burned on or other containminants. after you do that then complete steps 1-6 hope you guys enjoyed the write up and pics OH BTW i will be doing the WHOLE cylinder head once i get the sensors off so keep checking for updates
Modified by tony413 at 12:00 AM 5/31/2007
Modified by tony413 at 12:01 AM 5/31/2007
first a little before an after shots
before
after
rocker arms
intake ports after cleaning
the head itself which will be cleaned in my little bath
the supplies
1. get a 18 gallon or more container
2. fill the container with a 3 parts cleaner to 2 parts DISTILLED water solution. ( in the pic above i only used 3 gallon of cleaner and 2 gallons of water haha )
3. allow parts to sit in solution for NO longer than 45min. i produced the results above with only 15-30min. of soaking time
4. while parts are in solution scrub thoroughly
5. after parts are to your liking dry as best you can
6. give most parts a LIGHT coat of WD-40 to prevent rust ( i didnt do this on the pics above but it works better when you do )
now you may be wondering what is the gunk motor flush for ? well its to pre soak really hard to clean parts that have oil burned on or other containminants. after you do that then complete steps 1-6
hope you guys enjoyed the write up and pics OH BTW i will be doing the WHOLE cylinder head once i get the sensors off so keep checking for updates Modified by tony413 at 12:00 AM 5/31/2007
Modified by tony413 at 12:01 AM 5/31/2007
 04-22-2007, 05:26 PM
#3
Honda-Tech Member
iTrader: (1)
Join Date: Apr 2005
Location: Cleveland, OH
Posts: 1,063
Likes: 0
Received 0 Likes
on
0 Posts
yo this is siiiiiiiiiiiiiiiiick. I got alot of carbon buildup on my pistons and I hope you could show me the way. I tried using paint thinner but that didnt do anything.


Trending Topics
 05-03-2007, 01:54 AM
#10
H-T White Ops
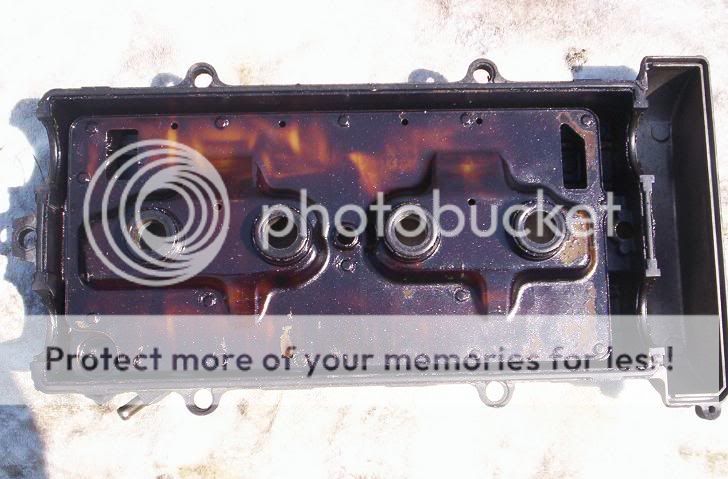
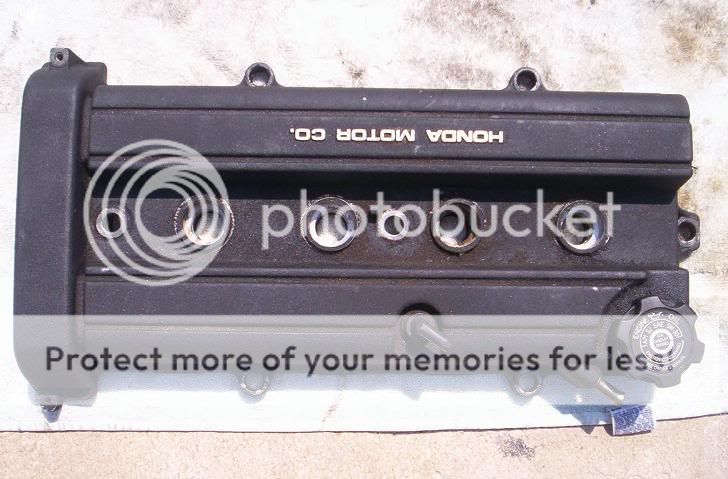
I did a SOHC valve cover awhile back doing basically the same thing. The valve cover was pretty nasty, but it cleaned it all up. I did extra work on it too and made it look better than it had when it even came off the car.
05-03-2007, 03:15 PM
#11
Honda-Tech Member
Thread Starter
Join Date: Feb 2007
Location: fl, usa
Posts: 3,211
Likes: 0
Received 0 Likes
on
0 Posts
<TABLE WIDTH="90%" CELLSPACING=0 CELLPADDING=0 ALIGN=CENTER><TR><TD>Quote, originally posted by Boostedb20EH2 »</TD></TR><TR><TD CLASS="quote">So your saying just the supplies listed..and alot of scrubbing did all that?</TD></TR></TABLE>
yup i used everything i listed an it worked great i brought everything from wal mart go figure $20 do it at home or you could pay $50-$80 for hot tank its your choice in the end.
yup i used everything i listed an it worked great i brought everything from wal mart go figure
$20 do it at home or you could pay $50-$80 for hot tank its your choice in the end.
05-04-2007, 11:24 PM
#12
Honda-Tech Member
Join Date: Feb 2005
Location: USA
Posts: 424
Likes: 0
Received 0 Likes
on
0 Posts
Excellent, need to try that. My head is freakin nasty, hot tanked it twice and used the aqueous cleaner but with cold water and it suck *****. Hot tank it at school, sometimes the hot water works and sometime it doesn't; I can't say much cuz it's free, but definately trying this method.
 05-30-2007, 10:48 PM
#15
Honda-Tech Member
Thread Starter
Join Date: Feb 2007
Location: fl, usa
Posts: 3,211
Likes: 0
Received 0 Likes
on
0 Posts
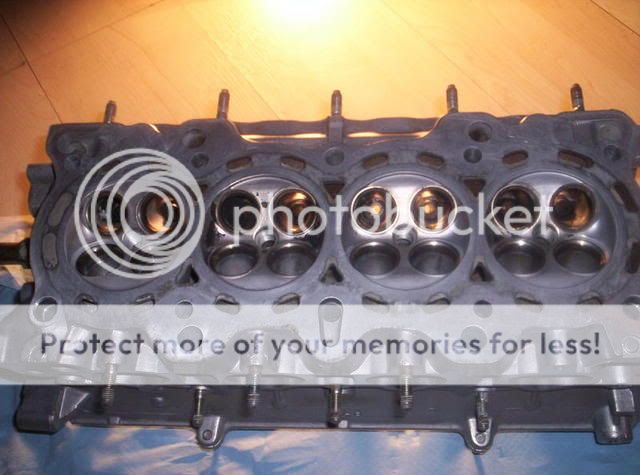
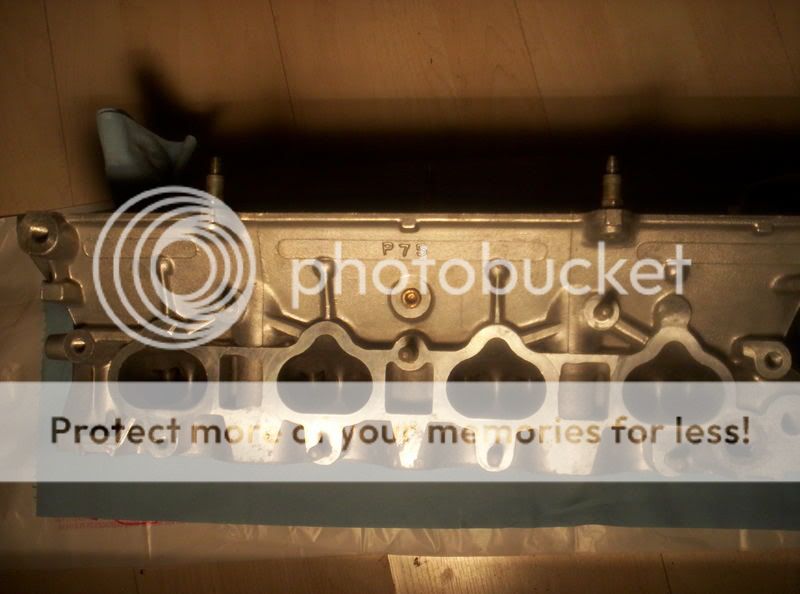
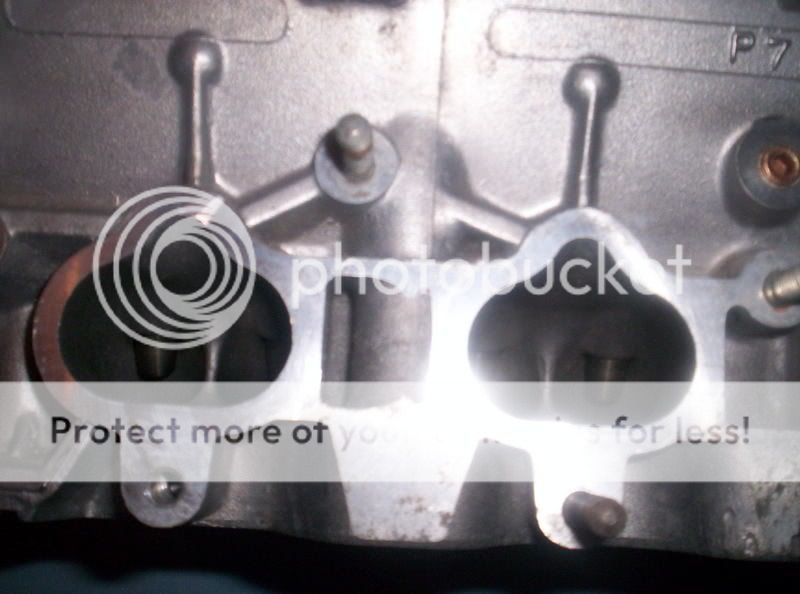
ok so i promised updates and never got a chance to do it until now and im 93% happy with the out come its not what i was expecting BUT when i started at 8pm and finished at 10pm (because i was sleepy) this is what i got. so let me know or  anyway i will be letting it soak for another 2 hours straight and then sandblasting it
IF YOU WANT TO SEE B4 PICS UP AT BEGINNING OF THREAD ENJOY
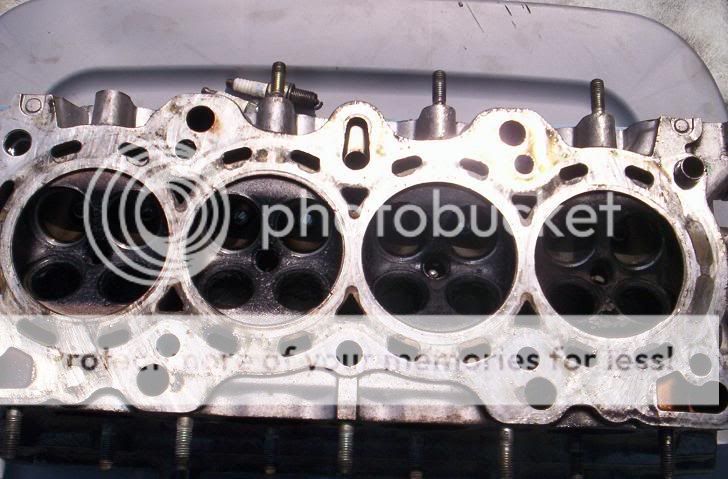
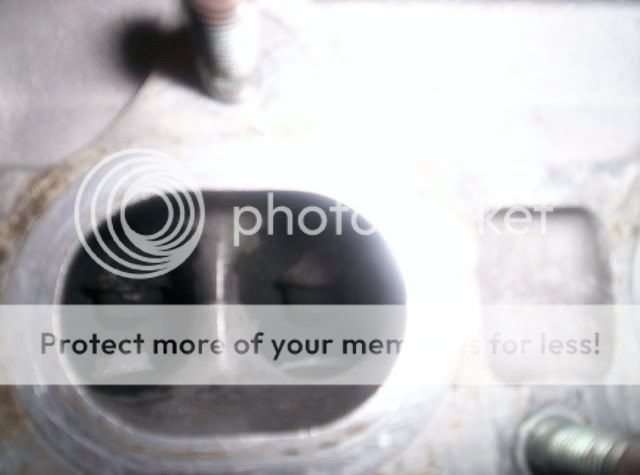
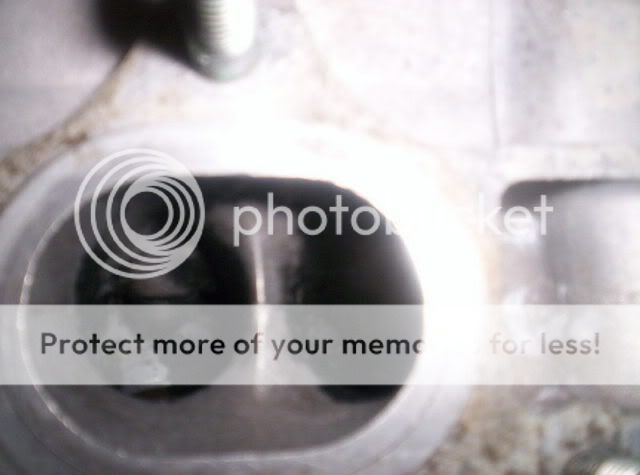
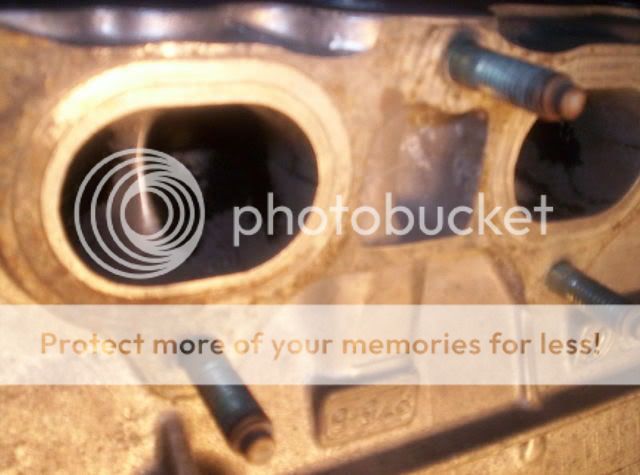
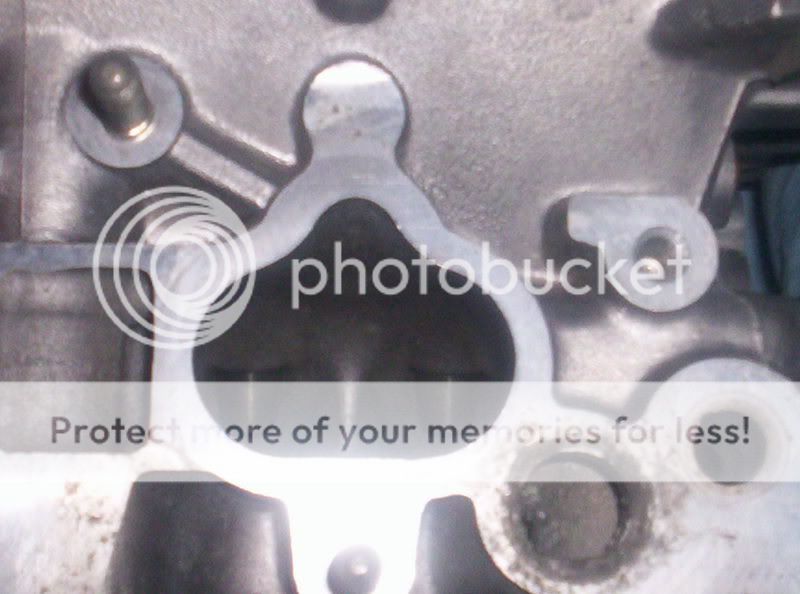
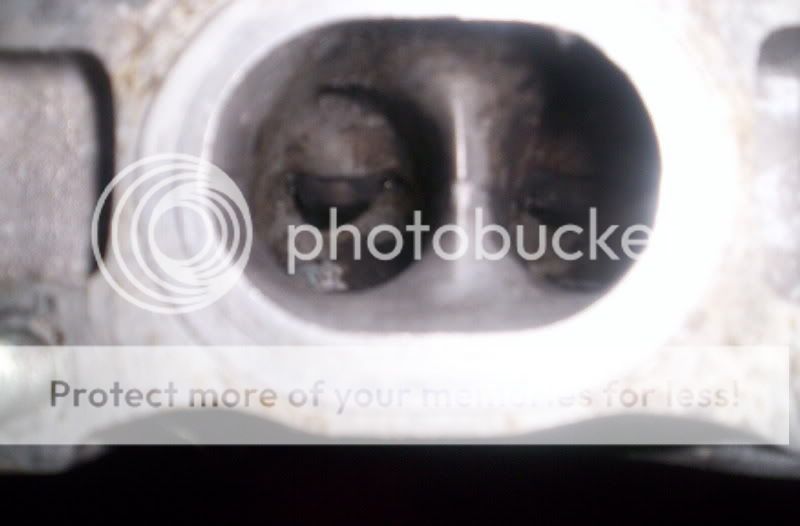
EXHAUST PORTS BEFORE


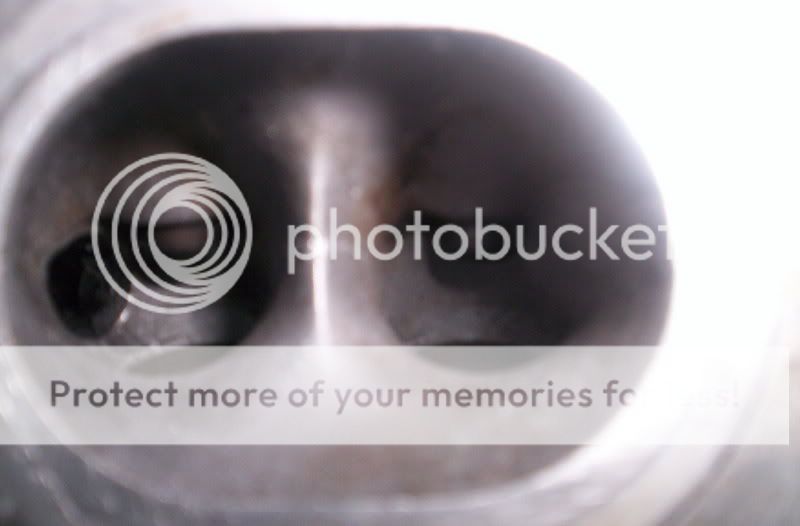
EXHAUST PORTS AFTER CLEANING


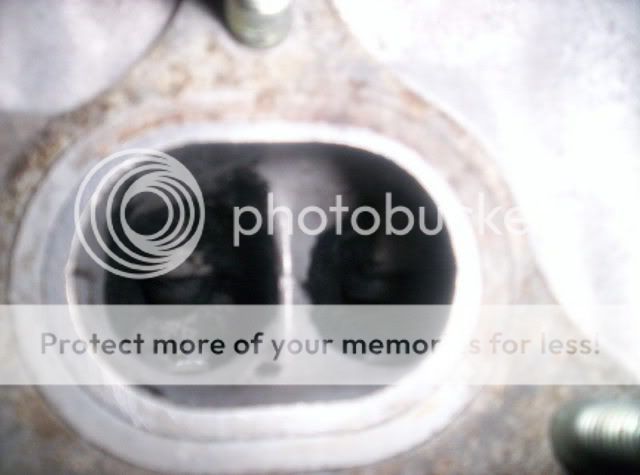


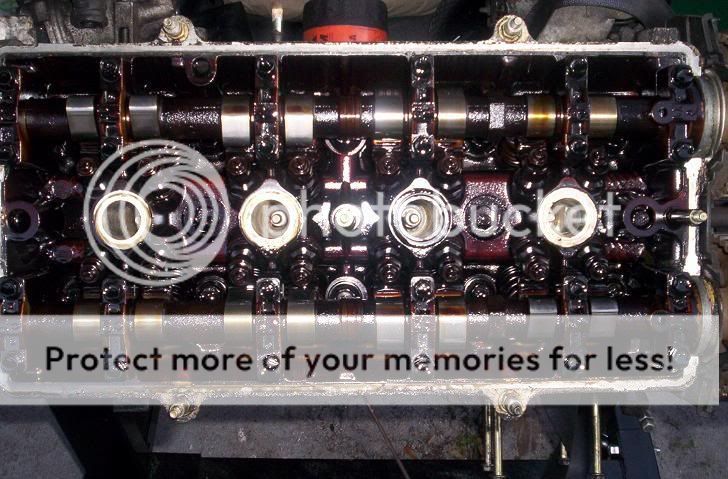
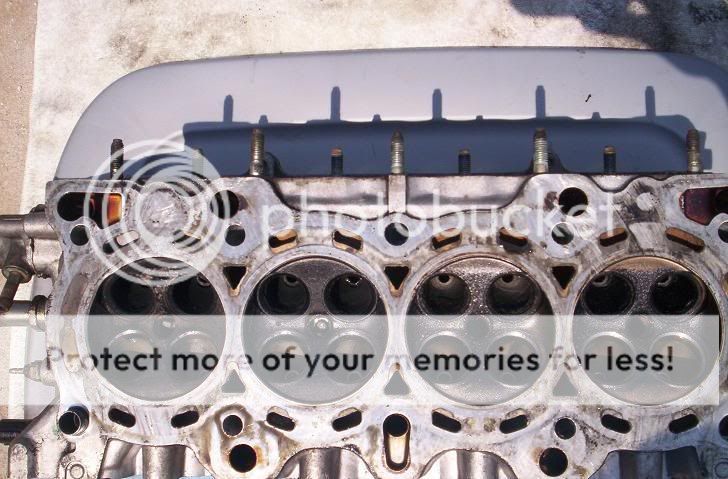
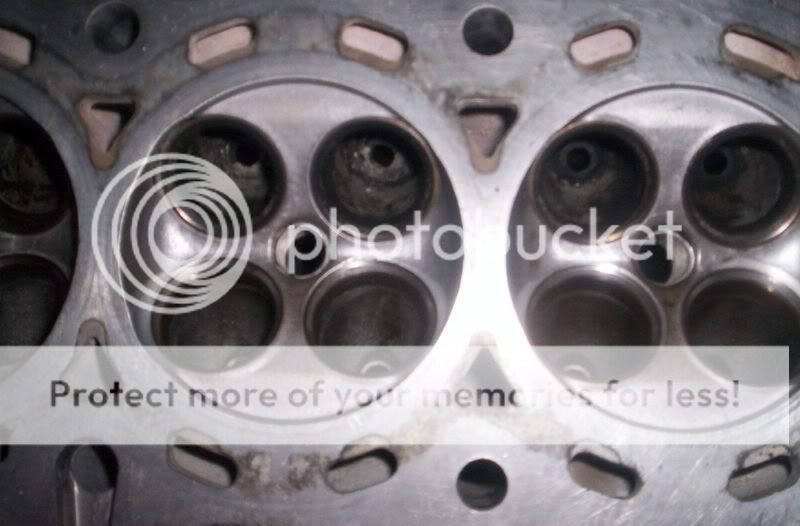
HEAD BEFORE CLEANING


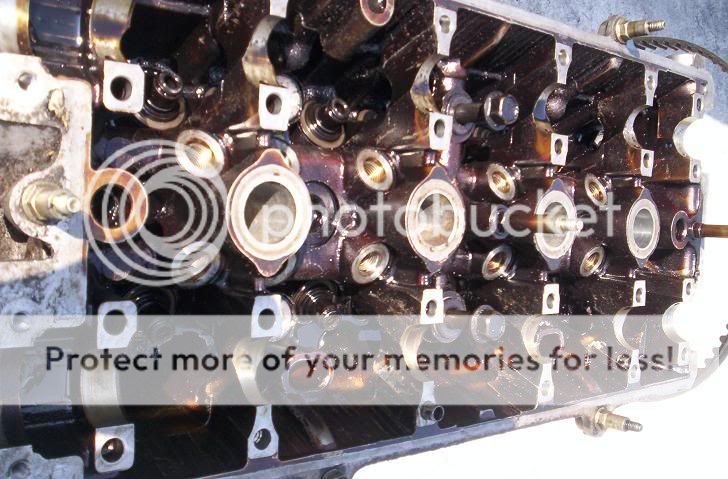
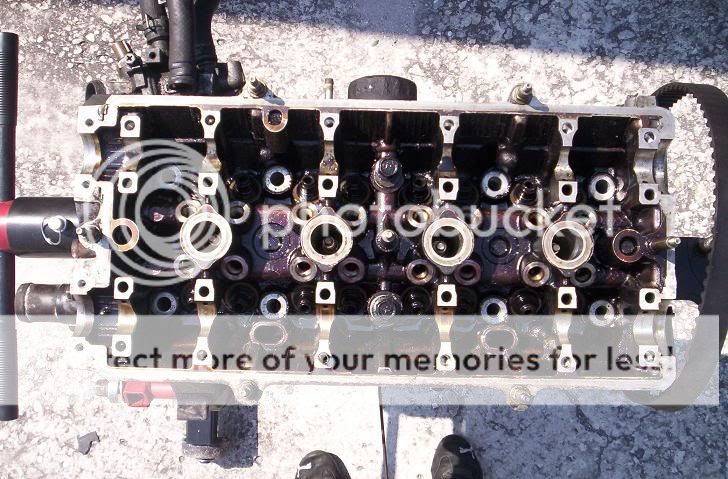
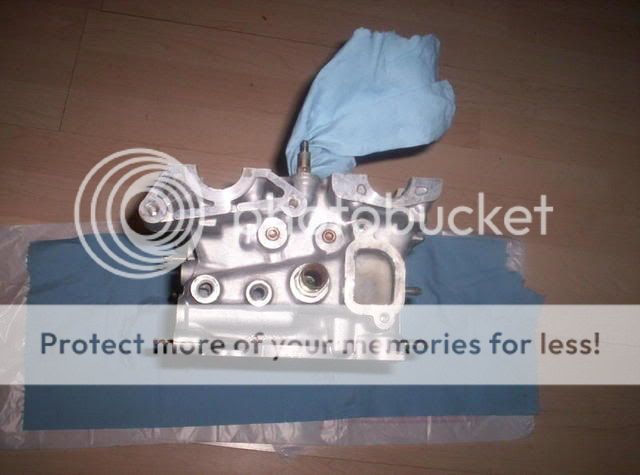
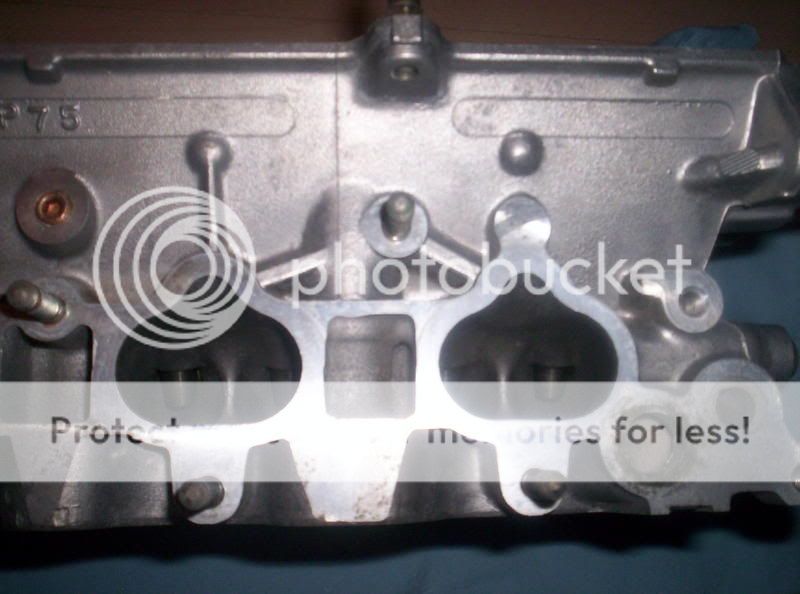
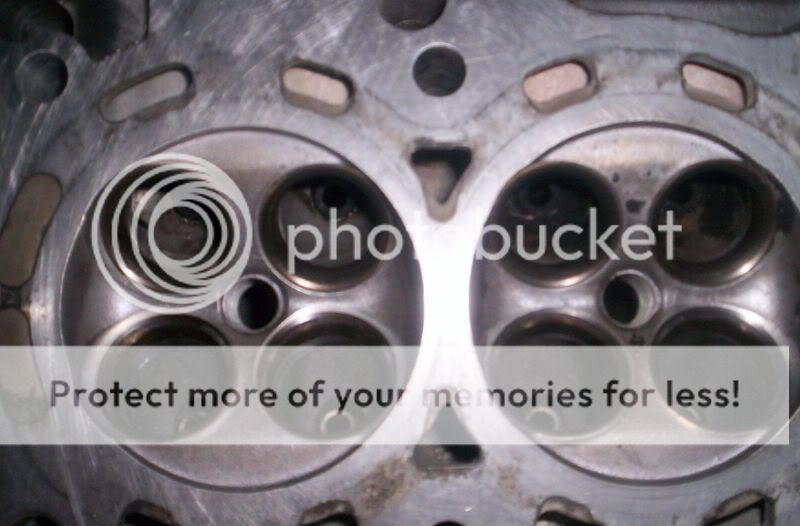
CYLINDER HEAD TOP AND SIDE VIEWS AFTER CLEANING
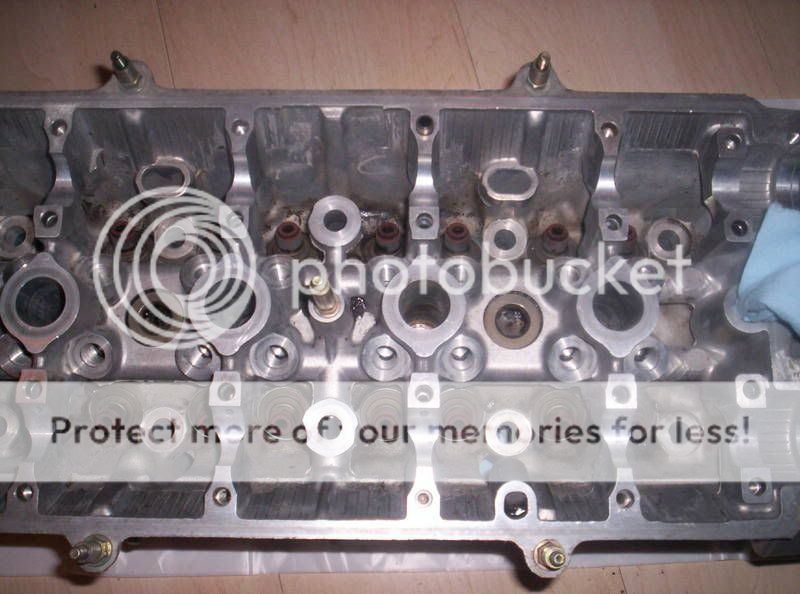

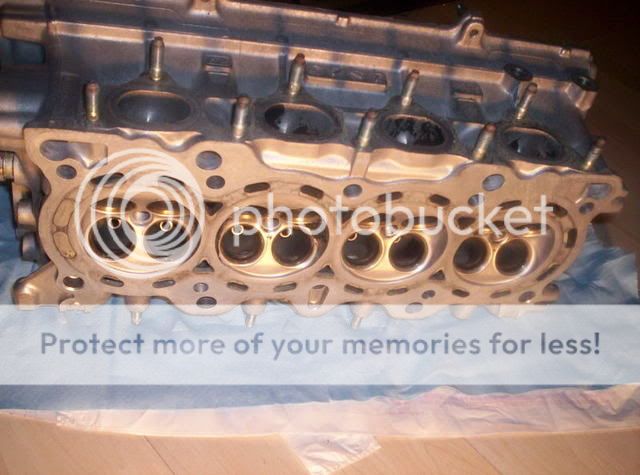
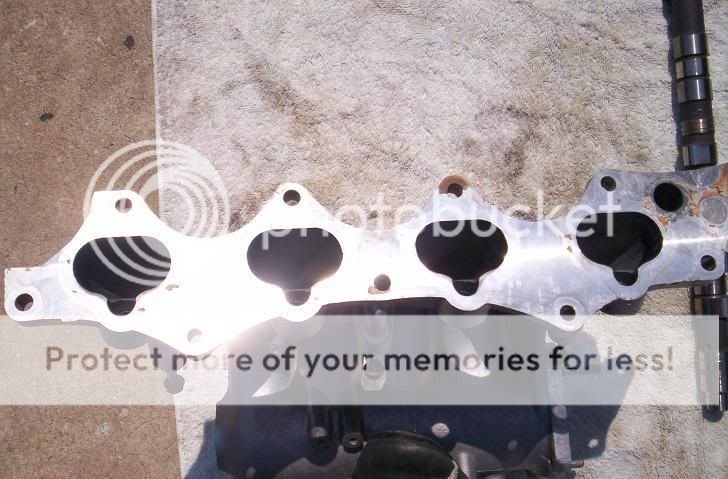
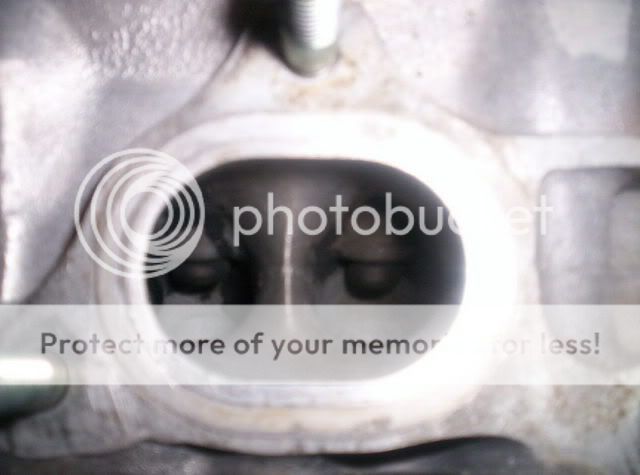
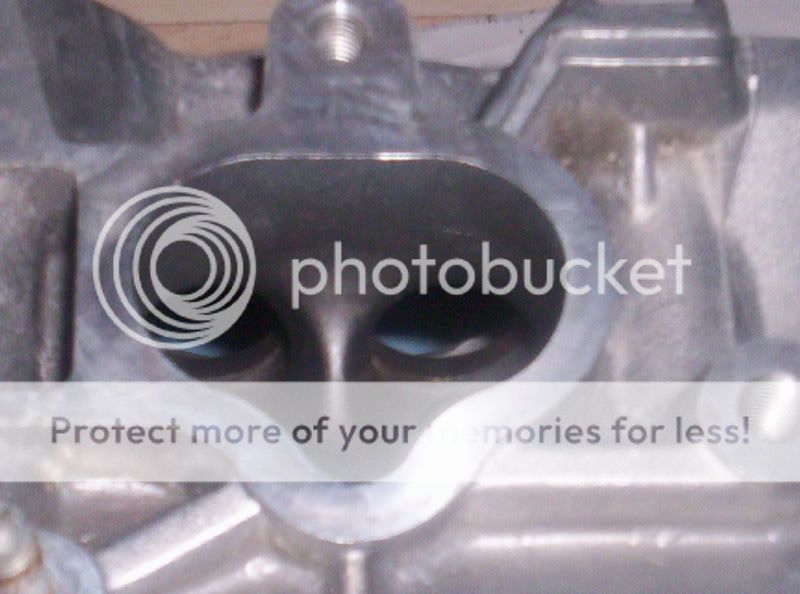
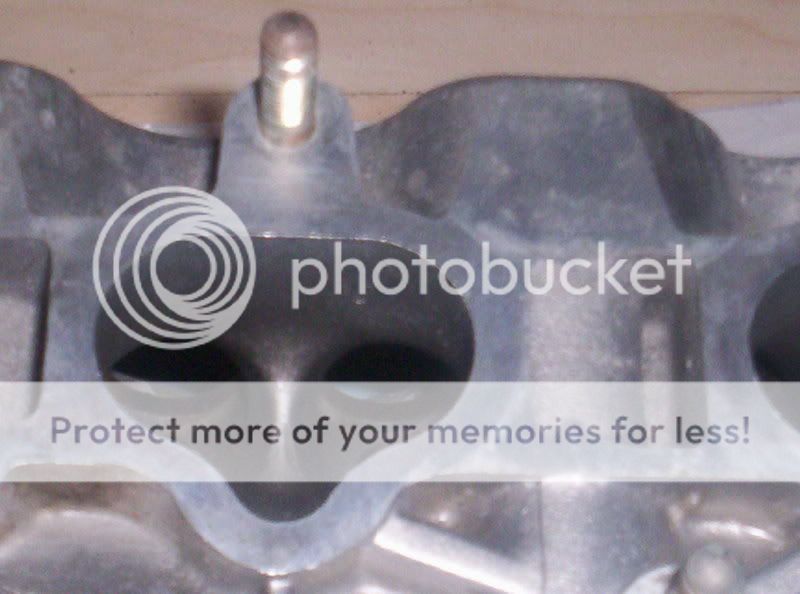
INTAKE PORTS AFTER CLEANING

Modified by tony413 at 11:59 PM 5/30/2007
or anyway i will be letting it soak for another 2 hours straight and then sandblasting it IF YOU WANT TO SEE B4 PICS UP AT BEGINNING OF THREAD ENJOY
EXHAUST PORTS BEFORE
EXHAUST PORTS AFTER CLEANING
HEAD BEFORE CLEANING
CYLINDER HEAD TOP AND SIDE VIEWS AFTER CLEANING
INTAKE PORTS AFTER CLEANING
Modified by tony413 at 11:59 PM 5/30/2007
06-01-2007, 11:12 PM
#20
Honda-Tech Member
Thread Starter
Join Date: Feb 2007
Location: fl, usa
Posts: 3,211
Likes: 0
Received 0 Likes
on
0 Posts
hey guys thanks for the input i have also made some more progress i would say the head is now 95 ot 98% completely carbon deposit FREE!!! i'll post up pics saturday hopefully monday nite at the lastest i'll also add in another time saving trick that i decided to use
i'll post up pics saturday hopefully monday nite at the lastest i'll also add in another time saving trick that i decided to use
06-06-2007, 05:45 PM
#21
Honda-Tech Member
Thread Starter
Join Date: Feb 2007
Location: fl, usa
Posts: 3,211
Likes: 0
Received 0 Likes
on
0 Posts
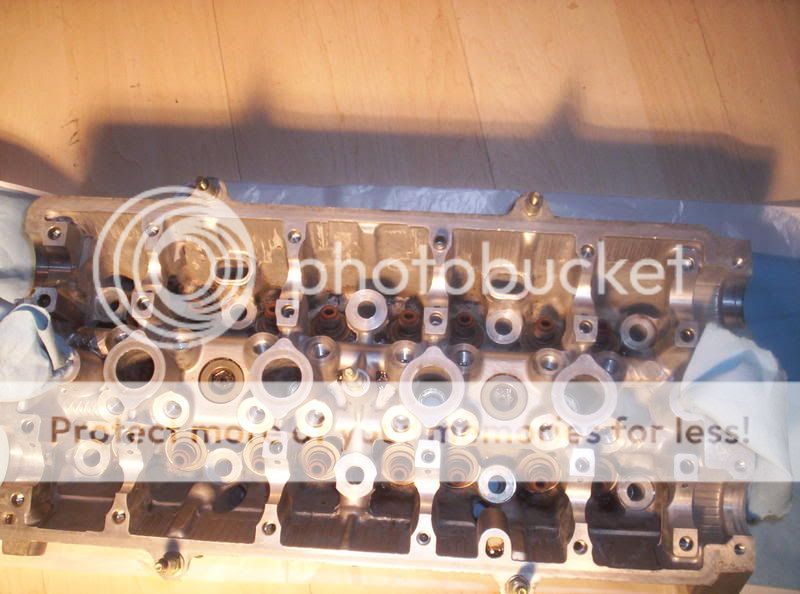
hey guys here are those pics i made i hope you like them. i could have cleaned the ports and entries better BUT i didnt have a brush or pipe cleaner small enough to get in there so yeah. hopefully in july or august the head will be sent out for a stage 2 or 3 port n polish


06-07-2007, 03:09 PM
#23
Honda-Tech Member
i did this clean up on my b16 head the other day and it works realy good...thanks for the heads up...ill have pictures up once i finish cleaning it up...
06-07-2007, 09:29 PM
#25
Honda-Tech Member
My machine shop charges me 10.00 to soak a head and misc parts in brake cleaner solution overnight and comes out around 99% clean.
Better than heads here.
But no doubt for smaller parts and such this looks like a good method. I got my part washer for 20.00 from a local guy and filled it with 1 part heavy duty degreaser and 1 part water.
For engine it says to use 1:4 mix. Whoops, I ran out of room for the water. Anyway I put some pistons in it for about an hour and they came out all grey and the coating was completely eaten away.
These were spares so no loss but I say this because:
You need to be careful what parts you put into what chemicals. Use spare parts first sometimes especially like cams and such that are expensive to replace.
Good find though for DIY budget builder.