Honda: How to Convert to Rear Wheel Drive
Honda is the reason for why the Civic and Accord are front wheel drive cars, but some don't care. Read more to find out just what it takes to convert your Civic or Accord to rear wheel drive.
This article applies to the Honda Civic (1992-2000), and Accord (1990-2002).
Anytime you decide to move in the completely opposite direction from where the manufacturer originally intended, you will definitely come across obstacles, a lot of work, and customization. Converting your front wheel drive (FWD) Honda Civic or Accord to rear wheel drive (RWD) is no exception. This build may require adjustments to the frame, suspension, transmission, and possibly even relocating the engine to the back. While this article is not a step-by-step guide on how to convert your Civic or Accord to RWD, it will outline the big picture as well as what is required to do so.

Materials Needed
- Transmission
- Differential
- Subframe
- Suspension system
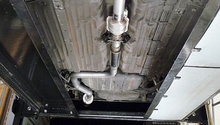
- Exhaust system
- Engine
Step 1 – Plan your build
Since converting a FWD car into RWD is not walk in the park, you must plan a strategy on how to tackle the project. First, figure out where the project will take place, and if you have all the necessary tools as well as equipment to successfully complete the conversion. Things such as what kind of rear axle you will use, or which transmission and suspension will be installed for the build must be ironed out at the beginning.
Step 2 – Strip the car
Lay out your parts, and make sure to keep track of everything. The first thing you must do is strip down your Civic or Accord down to the bare body—this means removing the seats, hardware, carpeting, etc. You will need access into the transmission tub in order to disconnect it and release it from the frame, so the more you can remove, the better. At this point, the only thing that should remain is the dashboard (if that).
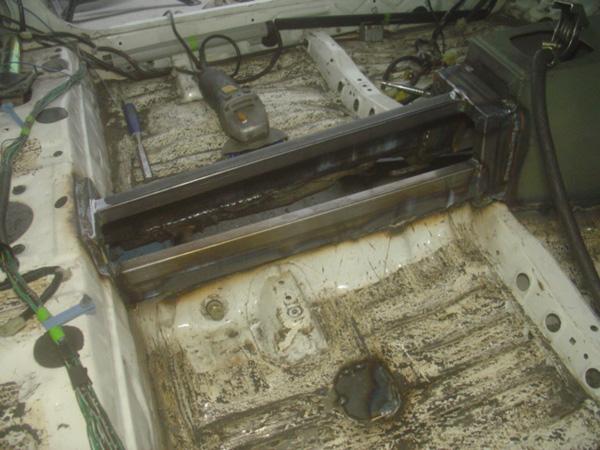
Figure 2. Strip down the entire interior of the car. 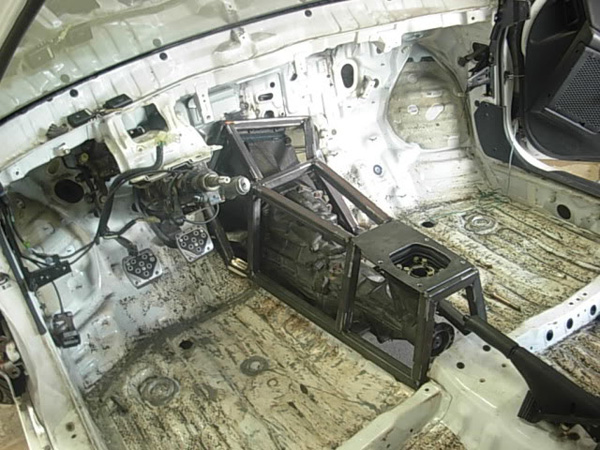
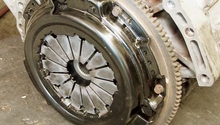
Figure 3. Remove everything to install the new transmission.
Step 3 – Customize the frame
Because your Honda wasn't designed for this RWD configuration, several areas of the frame must be welded and customized to fit whatever upgraded parts or configurations you choose. This conversion will require a lot of welding as well as cutting into the chassis to make room for the new drivetrain and other components. Depending on the engine configuration, the shock towers and suspension geometry must be reworked.
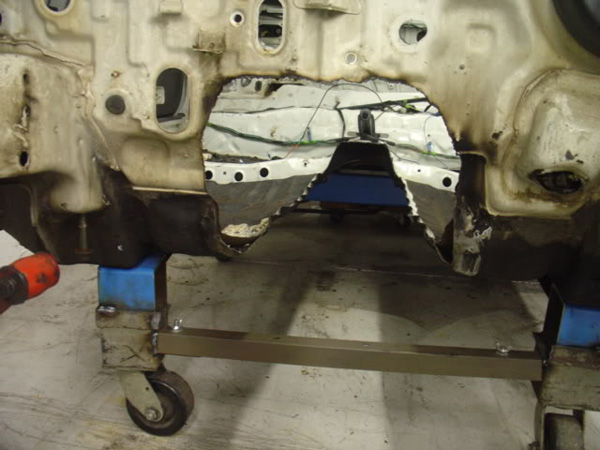
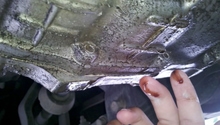
Figure 4. Cut the frame to make room for a new transmission. 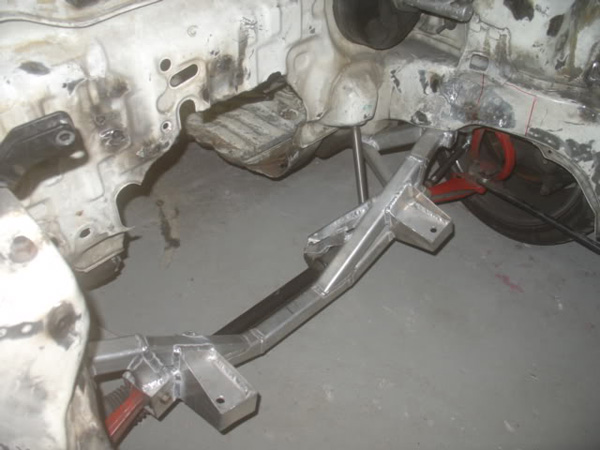
Figure 5. Install a new engine mount.
Step 4 – Install the new components
After days or weeks of prepping the car, start installing the new major components. If you have swapped the engine to fit your RWD configuration, start by lowering it into the engine bay and work your way to the transmission. Once these are in place, all of the other components must be welded, bolted in, and connected. All electrical systems, fluids, etc. must be replaced and hooked up.

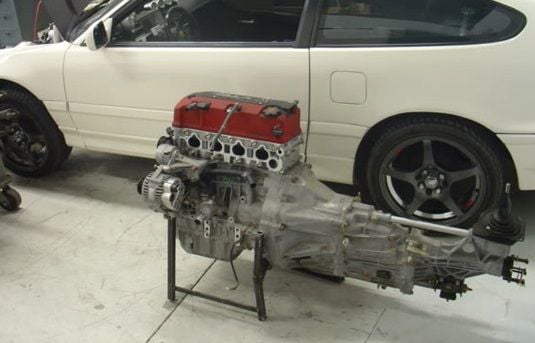
Figure 6. Mount the new engine. 
Figure 7. Set up the new rear suspension.
Step 5 – Double check the build
Because your FWD to RWD conversion requires you to take apart and rebuild the car, double check that everything—from the engine, transmission, and suspension down to every hose, bolt, and nut—is properly installed as well as assembled. Just one loose hose clamp or incorrect fluid levels could ruin vital and expensive components.

Related Discussion
- Rear Wheel Drive Honda Civic - Honda-Tech.com