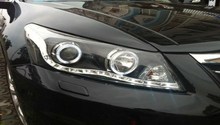
Honda Civic: Why Are My Headlights Dim?
Dim lights could be from something as simple as a bad bulb to something a bit more complicated like an alternator that is failing, but there's no reason to be in the dark about how to identify and fix the problem. Continue reading to find out the reason your Civic's headlights are dim.
This article applies to the Honda Civic/Del Sol (1992-2000).
Ninety percent of the time, a bad bulb is the reason why your headlights are dim. Replace it, and you are usually good to go. But there are other reasons why your headlights are dim or not even working. The three other common reasons include poor grounding, a faulty alternator, and a weak or dead battery. Identifying and resolving each of these issues is easy, even for a novice DIY-er. Your mechanic can do it, but you'll save a bundle by doing it yourself. Before attempting one or more of these potential fixes, clean the outside and inside of the headlight lens. Condensation or dirt can “muddy” the lens, and give the appearance that the bulb is dim.
Step 1 – Check for bad bulb(s)
A bad bulb is most likely the reason why one or both headlights are intermittently dim or completely out. Ask your mechanic to replace the bulb(s), and you’ll pay three or four times the cost of the bulb itself. But since you don’t need tools to replace a bulb, even the most novice car owner can do it.
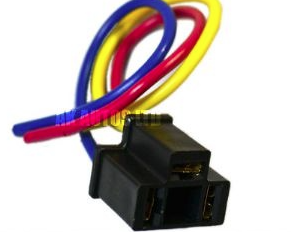
- Open the hood, locate the back of the headlight, and identify the bulb holder. You will likely see three wires coming out of a trapezoid-shaped plug.
- Pull out the plug. You may need to press a lever, and pull out at the same time. Either you will need to unscrew it or simply pull it out.
- Remove the old bulb. You may need to unscrew it to remove it from the plug, but most likely you can pull it out.
- Put the new bulb in place. Make sure you've placed it all the way in.
- Insert the plug. You will hear a click or snap indicating that it’s all the way in.
- Turn on the headlights to make sure you have installed it correctly.
- If the headlight(s) doesn't come on, then double check that you installed the bulb correctly. If you have, then check for a bad ground.

Step 2 – Check the grounding
Faulty or worn ground wires can cause headlights to dim or fail completely. To check your ground wire, you’ll need a multimeter. If you don’t have one, you’ll need to buy one and it will cost between $20 to $40.
- Open the hood, locate the back of the headlight, and identify the bulb holder. You likely will see three wires coming out of a trapezoid-shaped plug.
- Pull out the plug. You may need to press a lever, and pull out at the same time. Either you will need to unscrew it, or simply pull it out.
- Identify the wire(s) that connect the plug to the chassis.
- Turn on the ignition.
- Set the multimeter to measure resistance or Ohm. There are two leads connected to the multimeter. Connect one of these leads to the ground wire. If there are two ground wires, just connect the lead to one of the ground wires. Connect the other lead on the chassis itself. If the display registers a resistance of continuity, then the wire is okay. If there is another wire, then test it the same way. If the display shows a resistance of no continuity, then it is faulty, not connected properly, corroded, or otherwise damaged.
- Tighten the connection. If this doesn't solve the problem, then you may need to replace the wire.
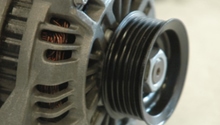
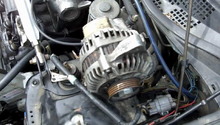
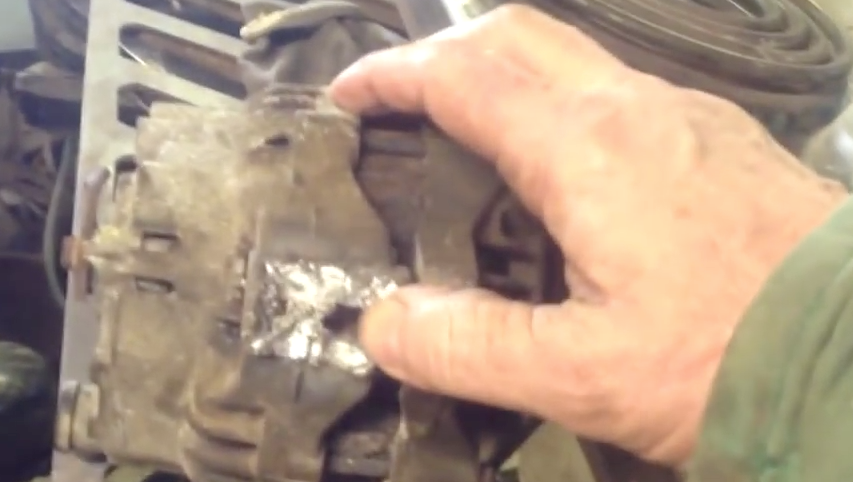
Step 3 – Check the alternator
A faulty or failing alternator can cause dim headlights. A failing alternator can also cause a dim instrument panel, wipers that don’t turn on, or even a radio that intermittently works. Additionally, a weak or dead battery can also signal a problem with your alternator. Replacing one is relatively easy. You will need a jack, jack stands, tire iron, wrench, and hose clamps. Before beginning, make sure you have an appropriate replacement alternator on hand. Your owner’s manual will have information about your alternator’s ID number(s), the size, and the location of the power terminals.
(Related Article: How to Replace Your Alternator - Honda-Tech.com)
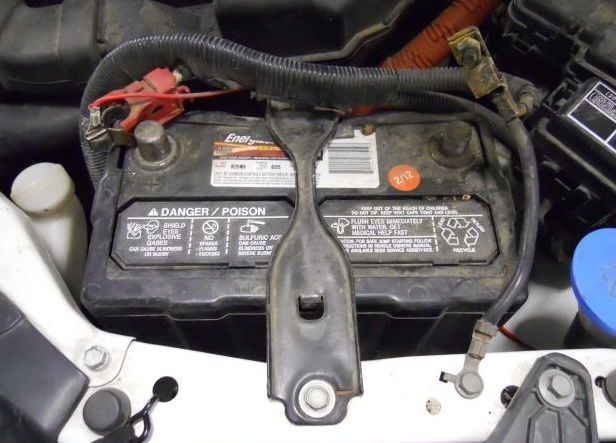
Step 4 – Check the battery
A weak or dead battery can affect how much power your car supplies to your headlights. Your car may have a battery warning light that indicates when there is a problem with your battery. If you suspect that the battery is causing the problem, try jumping it. If after doing so your headlights work as expected, then it may be time to replace your battery. Charging your battery can also resolve the problem. But if you find yourself needing to do this often, then your battery is likely on its last legs and you should replace it.
Related Articles
- How to Replace Battery - Honda-Tech.com
- How to Safely Jump Start Your Battery - Honda-Tech.com
Related Discussions, and Video
- Headlights Bright and Then Dim - Honda-Tech.com
- Why Are My Headlights So Dim? - Honda-Tech.com
- Headlights Go Dim, and Then High Beams Come On - Honda-Tech.com
- How to Change an Alternator in a Honda Civic - YouTube.com