Honda Civic: How to Replace Rear Quarter Panel
The rear quarter panel is the most likely part of the car that needs body repair work. Luckily, you can do this work on your own for less than half the price an auto shop would charge. This guide will help you through the process of removing the rear quarter panel on your Civic.
This article applies to the Honda Civic/Del Sol (1992-2000).
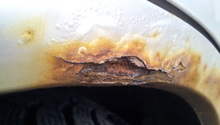
The rear quarter panel is the most common part that needs body work because rust will appear on the rear wheel openings. This is also where many collisions, minor scratches, and dents occur from backing accidents. Depending on the area and the damage, replacing the rear quarter panel can either be relatively simple or very expensive. If you don't feel confident in your welding ability or the damage is too extensive, then it's highly recommended you take it to an auto shop.

Materials Needed
- Replacement rear quarter panel
- Ratchet and socket set
- Philips head screwdriver
- Flat head screwdriver
- Air hammer with body ripper attachment
- MIG welder
- Angle die grinder
- Masking tape
- 5" sander
- Solvent
- Rust resistant primer
- OEM paint and primer
- Jack and jack stands
Pro Tips
- Expensive hardware like the MIG welder can be rented from a hardware store.
- Affordable rear wheel fender panels can be found on eBay to deal with rust, but for more extensive work an OEM full quarter panel kit will cost up to $500.
Step 1 – Lift the car and remove the rear wheel
Set your car on four jack stands, and remove the rear wheel you'll be working around. Then remove the rear fender, tail light, side skirt, side molding, and the wheel well lining. Also, remove the rear seats, and the interior trim.
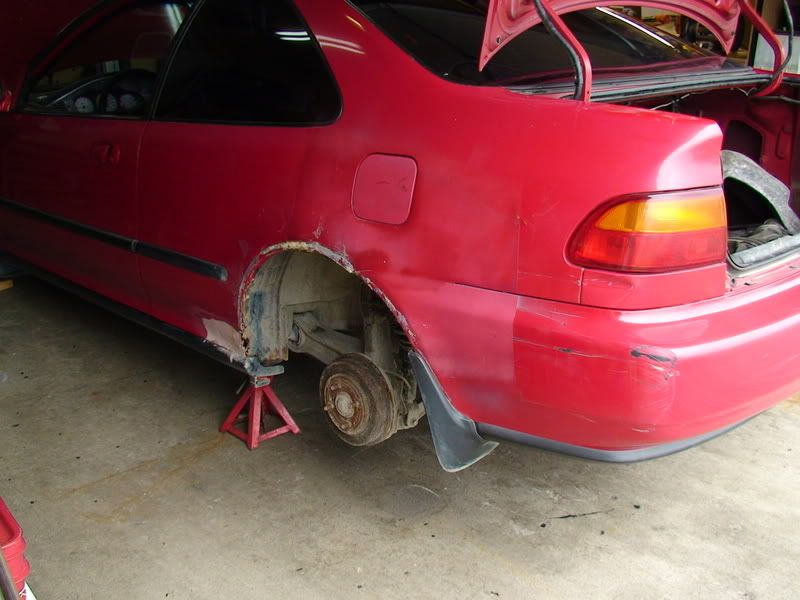
Figure 1. Remove the rear wheel. 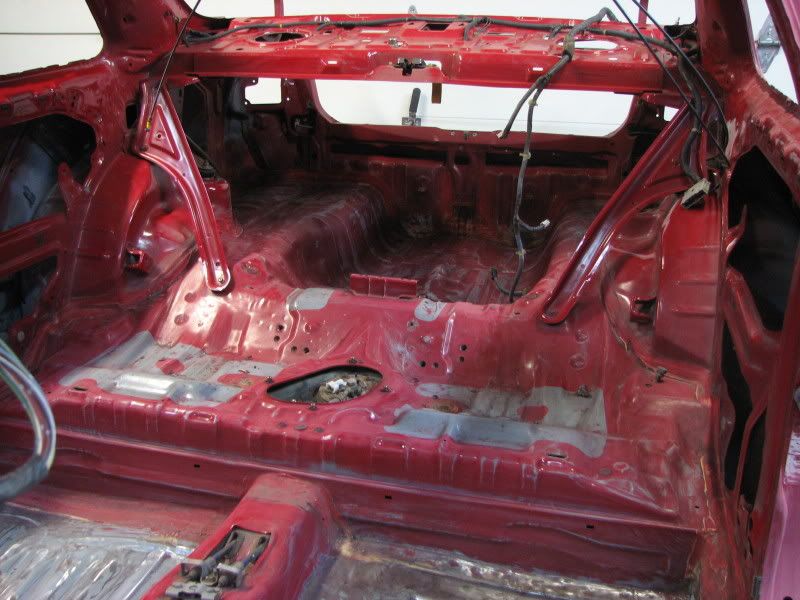
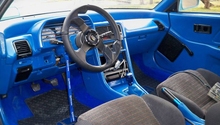
Figure 2. Remove the rear seats and interior trim.
(Related Article: How to Jack Up Your Civic - Honda-Tech.com)
Step 2 – Measure and cut the old the paneling
Use your replacement panel as a template, and trace around it. Use the air hammer to cut off the old section of panel, but stay inside the line by at least one inch to avoid cutting too much off. After the initial cut has been made, trim as necessary with your grinder tool. Pry off the old panel, then use a grinder to smooth out the edges.
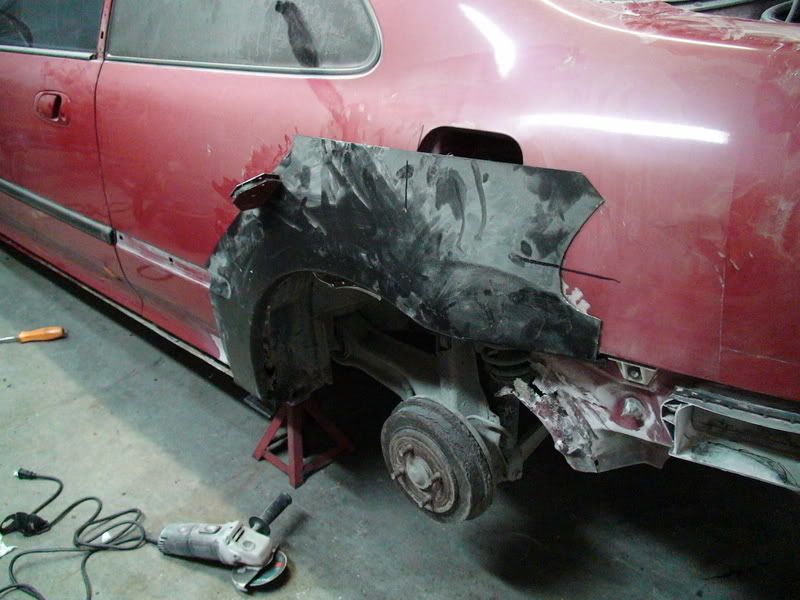
Figure 3. Use the new panel as a template. 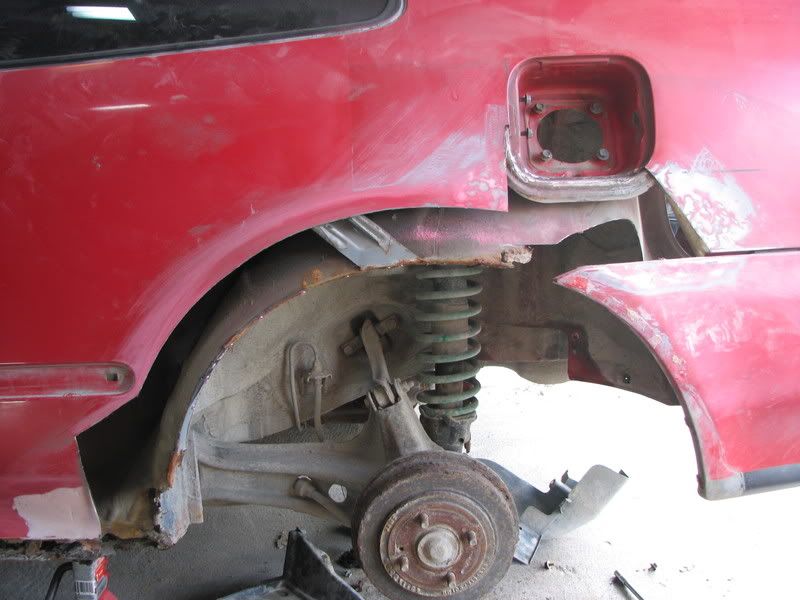
Figure 4. Remove the old panel.
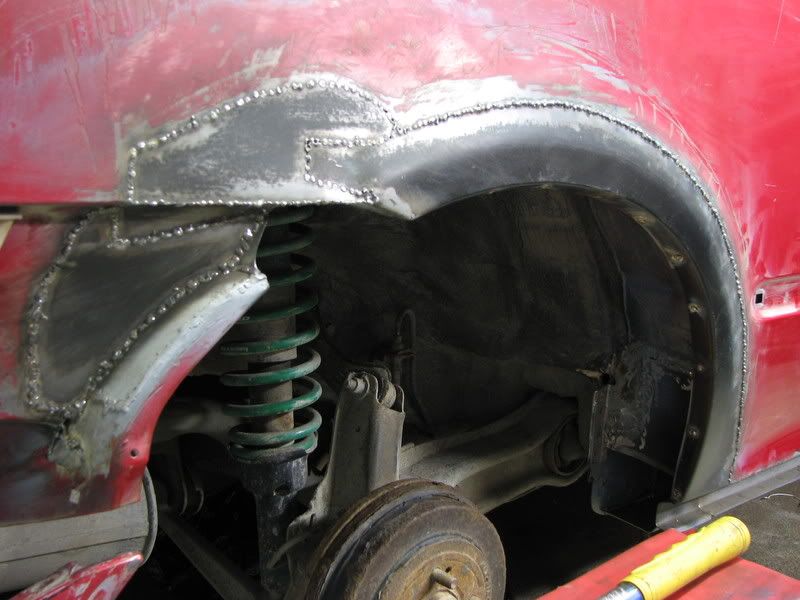
Step 3 – Attach the new quarter panel
Before you start welding, make sure the new panel is flush with the rest of the car. You may have to do some additional trimming with the grinder. Use the clamps to hold the panel steady as you start welding. You will need to often stop to make sure the panel is still flush.
Pro Tip
For a cheaper alternative to welding, you can use a panel bonding adhesive. Just apply it to the new panel's surface, clamp it tight, and then let it set overnight.
Step 4 – Apply primer and paint
Put masking tape and plastic sheets around any surfaces you don't want painted. Sand down the body, and apply a solvent to clean the surface. Spray on a rust resistant primer, and wait for it to dry. Then spray on the paint. Wait a day for it to dry, and then remove the tape and plastic. If everything went right, the new quarter panel should be seamless with the rest of the car. Depending on your paint prep, level of experience, or spray location, it may be necessary to denib and wet-sand the finish to remove surface imperfections in order to add gloss. This can be accomplished with 2,000 grit sandpaper (extremely fine) and normal wet-sanding technique.

Figure 6. Apply the primer. 
Figure 7. Apply the paint.
Step 5 – Re-install
When finished re-install the components you removed:
- Interior trim
- Rear seats
- Rear wheel well lining
- Side molding
- Side skirt
- Tail light
- Rear fender
- Rear wheel
Related Discussions
- How To: DIY Rust Repair - Honda-Tech.com
- Replacing Rear Quarter Panel - Honda-Tech.com
- 92 Civic Rust Pics - Honda-Tech.com
- EG Project 95 Civic SI Rust Bucket - Honda-Tech.com