Honda Civic: How to Correct Error Code P1457
Error P1457 seems to plague some Civics on the road. If you are experiencing this problem, then keep reading to find the solution.
This article applies to the Honda Civic (1992-2000).
The error code P1457 gets triggered when there is a malfunction with the evaporator. The evaporator in your Civic collects the hot air in your car and cools it down in an almost-instantaneous process, creating condensation along the way. Because of its nature, the evaporator could sometimes leak or go bad, and that's when error code P1457 happens. We've created the guide below to help you fix it.

Materials Needed
- Floor jack
- Jack stands
- Needle nose pliers
- 10mm wrench
- Phillips screwdriver
- New canister evaporator valve
Step 1 – Secure the car
Locate the jacking spot for your car, lift the front end, and set it on stands.
(Related Article: How to Jack Up Your Civic - Honda-Tech.com)

Step 2 – Locate the canister
Locate the evaporator canister. On the 1992 to 2000 year model Civics, the canister is located directly underneath the driver's side door. The canister, valve, and bracket can be located as numbers 12, 19, and 28 in Figure 2.

Figure 2. Diagram of a 2000 Honda Civic. 
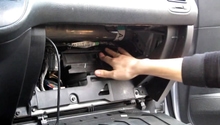
Figure 3. Canister protective undertray.
Pro Tip
Depending on the model year, there may be a plastic undertray. Remove it to gain access to the bracket.
Step 3 – Disconnect lines
The evaporator canister has multiple lines connected to it. You must disconnect them before freeing the canister. Use your needle nose pliers to squeeze the line clamps and slide the rubber lines off.

Pro Tip
There may be water in the lines from condensation.
Step 4 – Remove canister
The canister is held in place by a bracket with one bolt. Use your 10mm wrench to undo this bolt, and the bracket will unhinge from its location.
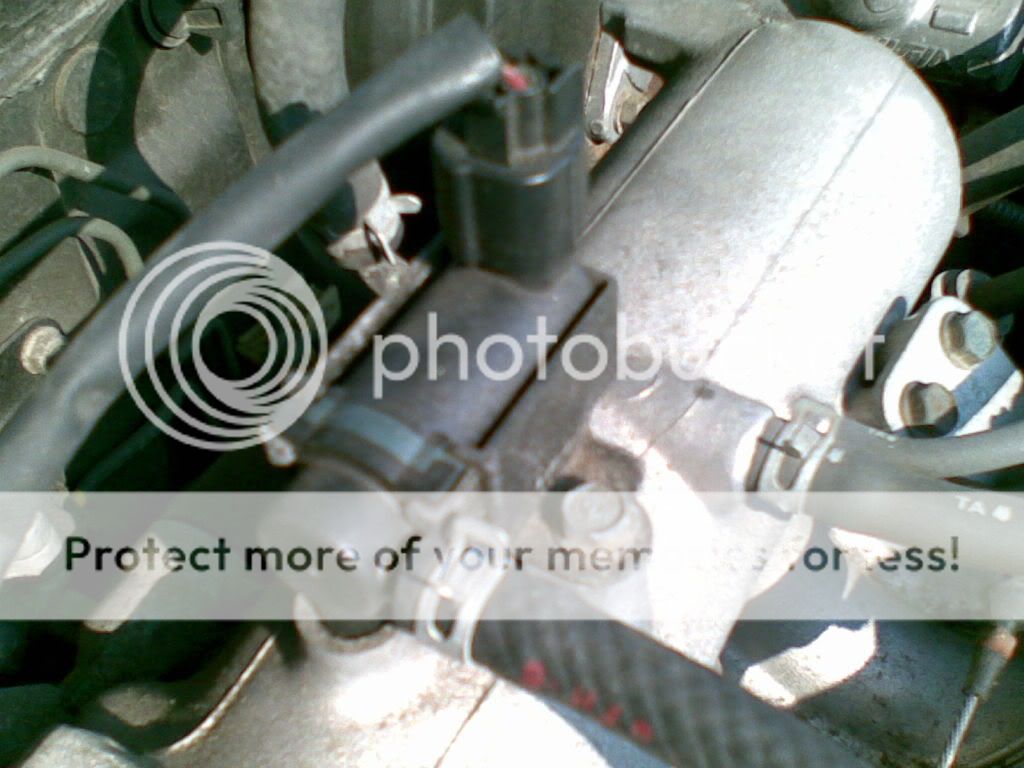
Step 5 – Remove valve
Now that the canister is separated from the car, set it vertically on top of a table and prepare to remove the valve. The valve is located atop of the and is attached to the main cylinder by a small bracket. By now the bracket is most likely corroded, so be careful while unscrewing it. Too much force could snap the bolts and turn into a big headache.

Step 6 – Install new valve
Grab your new valve and bracket from your valve it and replace it on the same place where the old one came from.

Step 7 – Re-install canister
The next steps consecutive steps happen in reverse order as just performed, but just in case, here they are outlined again:
- Insert canister into hinge bracket.
- Bolt bracket down using a 10mm wrench.
- Connect the rubber hose lines by opening the clamps with the needle nose pliers.
- Lift the car up using your floor jack.
- Remove jack stands.
- Lower the car to the ground.
Pro Tip
It is recommended to unplug your negative (black) terminal and reconnect it before starting the car. This way, your ECU will power cycle and do another scan for the P1457 error code. If this no longer shows up, then you've completed the work.
Featured Video: P1457 Error Fix
Related Discussions
- Charcoal Canister Tips - Honda-Tech.com
- Removing Charcoal Canister - Honda-Tech.com