Honda Civic: Front and Rear Seat Modifications
Read on to discover some easy DIY front and rear seat modifications for your Honda Civic. They're not exactly what you think, but they might actually be better.
This article applies to the Honda Civic (1992-2000).
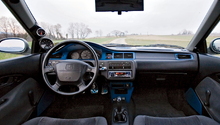
When considering seat modifications for a Honda Civic, the options are more than you think. Of course, aftermarket racing and performance seats are easy to find, but they can also put a relatively large dent in your wallet. So what if you want new front and rear seats, but you also want something with a lower profile and a little more comfort? Well, consider swapping out your seats with the stock seats of a different car. It's a modification many don't know about, and don't bother to look up. This article will give you a rundown of the top OEM seat picks within the Honda/Acura family that are compatible with your Civic. You can swap the front and rear seats from different make and model vehicles, or seats from a different generation of Honda Civics; the possibilities seem endless. Continue reading for a list of proper seat fitments, and pick out which one is right for you.
Front and Rear Seat Modifications
Some OEM seats are direct bolt-ins, while others might need some adjustments. However, they're all easy DIY tasks, and require a little drilling as well as some fabricating of simple parts. You most likely already have the tools, and the parts you can find at any scrapyard or auto parts stores.
RSX Front and Rear Seats in a 1996-2000 Civic Coupe


DIY Cost – $300-$500
Professional Cost – $800-$1,300
DIY Time – 2 to 3 hours
Skill Level – Moderate; requires drilling and some fabrication
This DIY is one of the more difficult ones. It requires drilling and possibly some welding if you don't have the exact metal parts. The rest, however, is an easy bolt-in. To do this job, cut off the rear left bracket of the driver's seat and the rear right bracket of the passenger's seat. New bracket extensions will have to be made. Fabricate the brackets to match the old ones, except at a proper fitment height, and create extension brackets for the other stock brackets. It's not that simple, but it's also not that difficult. Recommended for its bolt-in installation.
The rear seats also needs fabricated brackets (and some painting if you wish to do so), but after that, they are direct bolt-in. For detailed instructions on how to swap your front and rear Civic seats for those of an RSX, click here.
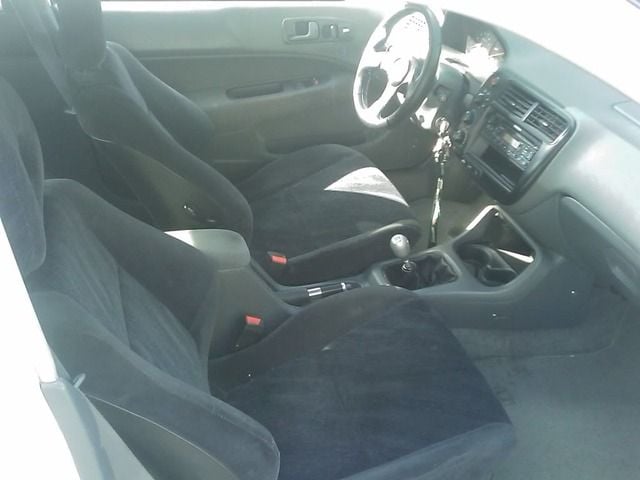
2008 Civic (8th generation) Si seats in a Civic EF (92-95)

DIY Cost – $400-$700
DIY Time – 2 to 3 hours
Professional Cost – $900-$1,500
Skill Level – Moderate; requires the use of a drill
These 8th generation Civic seat swaps are popular among the Honda-Tech community. Because they are of the most recent OEM Civic model seats, and they are the closest in comfort to aftermarket racing seats. Sure, they're a little bulkier for earlier model year Civics, but they are also easier to install. Installation requires new brackets, but no extensive fabrication. After that, it's a simple bolt-in DIY job. Recommended for its popularity and comfort.
These OEM Civic Si seats are available through online auto parts store as well as some Honda dealerships. They fall a little bit on the pricier end, but if you're willing to risk price and looks for comfort, these may be the best ones.
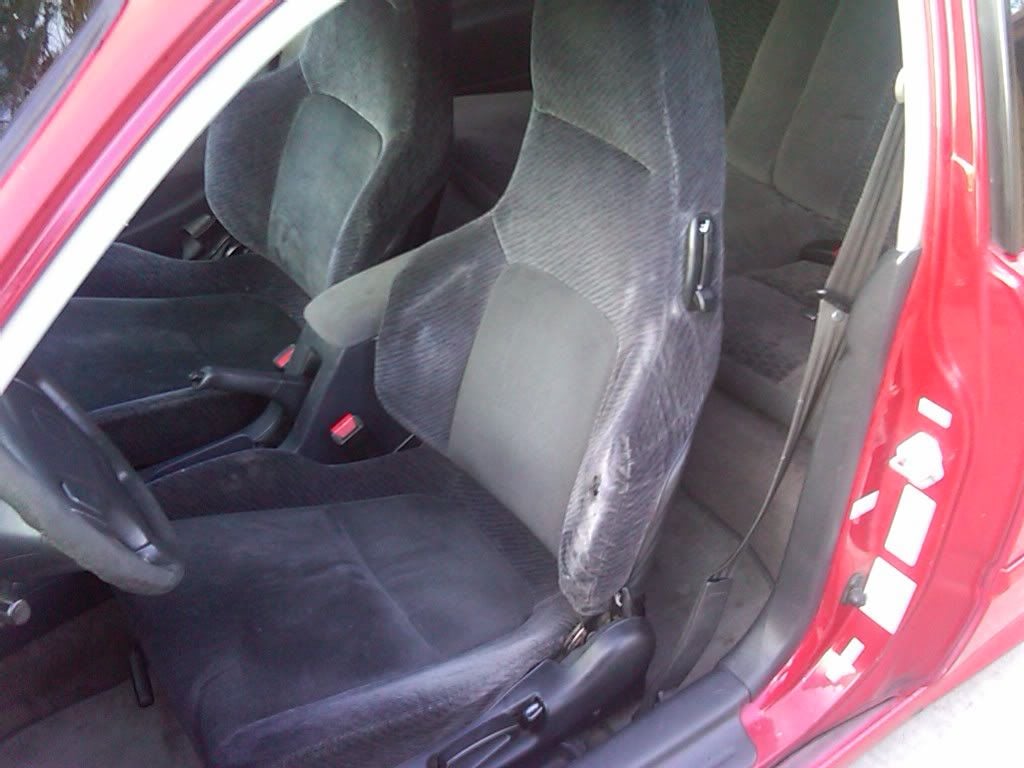
1992-1996 Prelude Front and Rear Seats in a Honda Civic EK
DIY Cost – $300-$450
Professional Cost – $800-$1,250
DIY Time – 2 to 3 hours
Skill Level – Moderate; using a drill helps
1992 to 1996 Prelude seats are easy to install in a Honda Civic EK or EG. They may require new mounting rails (or drilling through the old ones might suffice). After that, these are simple bolt-ins. These seats are lighter, more comfortable, and ride lower than your stock Civic seats. They also look considerably nicer. For a detailed installation guide, click here. Recommended for its lighter, comfortable seats.
Related Discussions
- 1992-1995 Civic Seat Swap Options from OEM Vehicles - Honda-Tech.com
- DIY RSX Front and Rear Seats into '96-'00 Civic Coupe - Honda-Tech.com
- Do '06-'09 Si Seats Fit in an EM1? - Honda-Tech.com
- DIY '92-'96 Prelude Seats in EK - Honda-Tech.com